How to Treat Burns and Injuries While Camping (When Help Is Far Away)
Campfire sparks, hot cookware, and boiling water are the most common burn sources at camp. The right move in the first few minutes determines whether a minor burn heals quickly or turns into a bigger problem. Stop the burning, cool the burn with running water for at least 10 minutes, cover it loosely, and then decide if you need to cut the trip short. Do not use ice, butter, or toothpaste—those make damage worse. This guide walks you through exactly what to do when the nearest clinic is hours away.
Know the Severity Before You Treat
Not every burn needs the same response. The depth of the burn tells you whether you can manage it at camp or need to evacuate. Check these three levels:
| Burn Degree | What It Looks Like | Can You Treat at Camp? |
|---|---|---|
| First-degree | Red, dry, painful, no blisters | Yes — cool, moisturize, monitor |
| Second-degree (superficial partial-thickness) | Red, moist, blisters, very painful | Yes, if small (smaller than your palm) and clean |
| Second-degree (deep partial-thickness) | Waxy, blotchy red and white, less pain than you’d expect | No — evacuate |
| Third-degree | White, leathery, charred, little or no pain | No — evacuate immediately |

The critical checkpoint: if the burn is larger than the victim’s palm, involves the face, hands, feet, or genitals, or has charred white skin, do not attempt full treatment at camp. Cool it, cover it, and head for help.
How to Treat a Burn While Camping (Step by Step)
1. Stop the Burning and Remove the Source
Get the person away from the heat source. If clothing is smoldering or holding heat, douse it with water. Do not pull stuck fabric off the burn—cut around it with clean scissors if needed. Remove jewelry or tight items near the burn site because swelling will start quickly.
2. Cool the Burn With Running Water
This is the single most effective thing you can do. Find your cleanest water source—drinking water is ideal, but filtered stream water is acceptable in an emergency. Run cool (not ice-cold) water over the burn for 10 to 20 minutes. Do not stop early even if the pain seems to fade; the deep tissue is still cooking.
Failure mode to watch for: Packing ice directly on the burn. Ice causes frostbite on top of the burn injury, which doubles tissue damage. Ice water in a bag is acceptable only as a last resort, and only for a few minutes at a time with 5-minute breaks between applications.
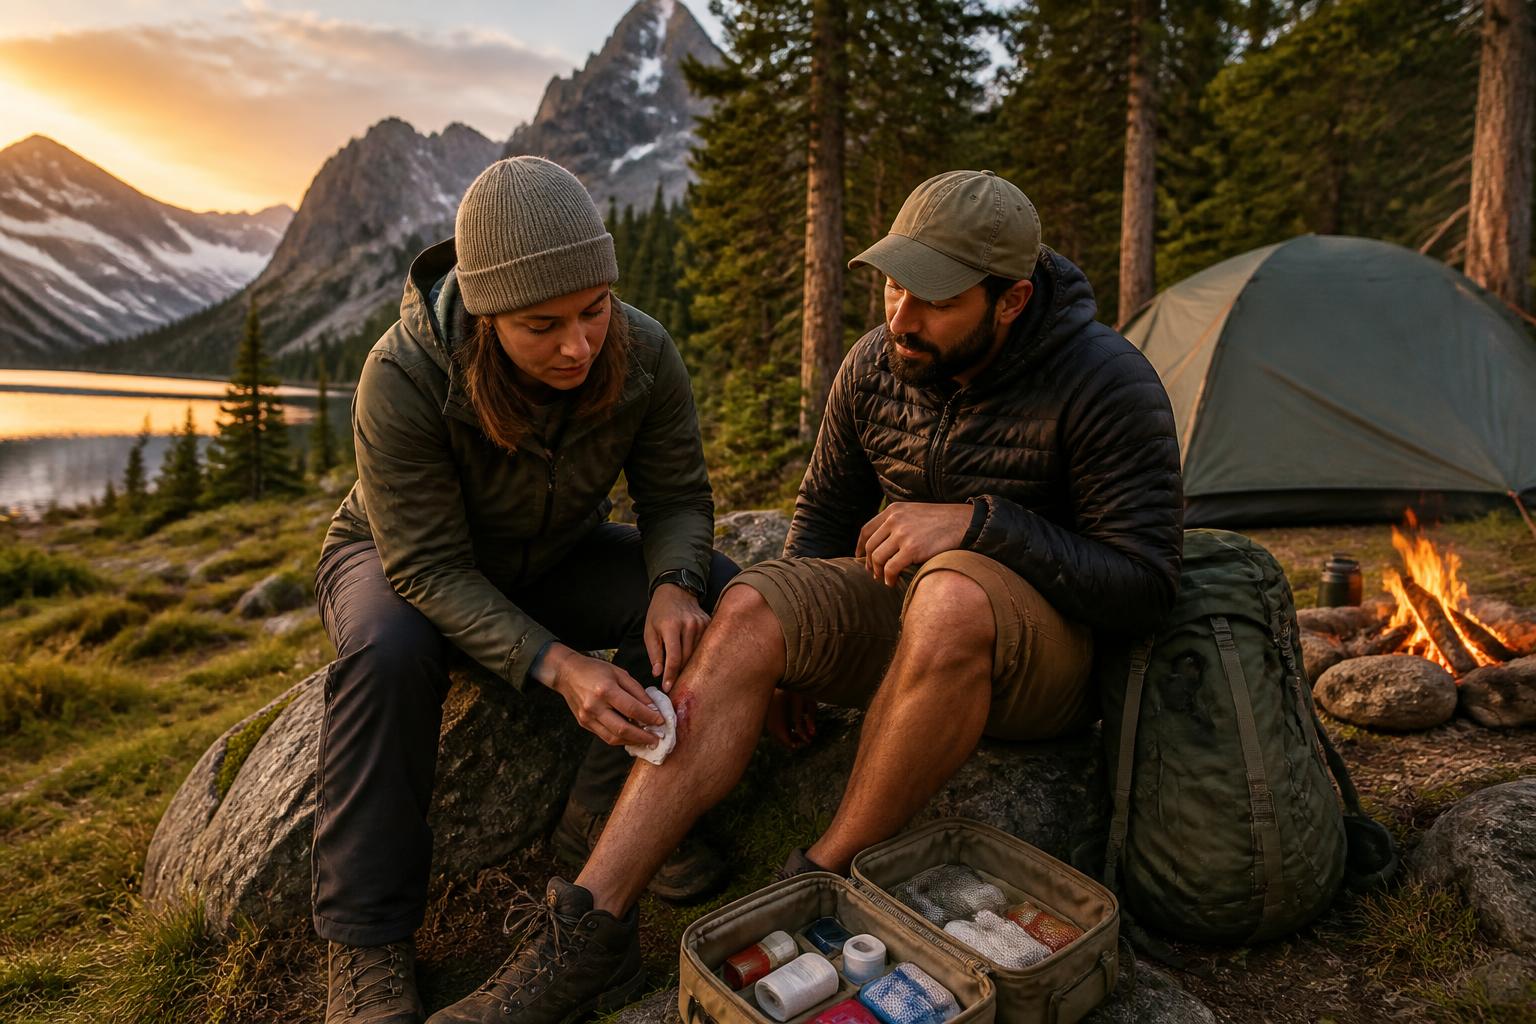
3. Clean the Burn Gently
Once the burn is fully cooled, clean the area. For first-degree burns with no blisters, dab the surrounding skin with mild soap and cool water. Rinse thoroughly. For burns with intact blisters, do not scrub the blister—wash only the skin around it. If the blister broke during cooling, clean the exposed area gently with mild soap and cool water, then apply a thick layer of antibiotic ointment before covering.
4. Cover the Burn Loosely
Apply a thin layer of antibiotic ointment (bacitracin or similar) if you have it. Cover the burn with a sterile, non-stick gauze pad. If you do not have medical gauze, use a clean, lint-free cloth. Secure it loosely with medical tape or a bandage—do not wrap tightly because swelling will increase. Change the dressing once daily, or anytime it gets wet or dirty.
5. Manage Pain and Monitor Healing
Ibuprofen or acetaminophen taken as directed helps with pain and swelling. Keep the burn elevated above heart level when resting to slow fluid buildup. Over the next 24 hours, watch for these signs that the burn is turning into a bigger problem:
– Redness spreading beyond the burn edge
– Increasing pain after the first 12 hours
– Yellow or green drainage
– Fever or chills
Verification step: how to confirm the burn is healing. At your first dressing change (24 hours after injury), look for these signs that treatment is working: pain is less than the day before, redness is not spreading, blisters remain intact or the exposed area looks clean and dry, and there is no unpleasant odor. If you see these, continue daily dressing changes and monitor. If you see any worsening—especially spreading redness more than a finger-width from the burn edge—start oral antibiotics if you carry them and begin planning evacuation.
The One Mistake That Makes Burns Worse
The most common failure mode in a camp setting is treating a second-degree burn as if it were first-degree and ignoring it. A burn that blisters looks alarming, but the real danger is infection setting in unnoticed while you are miles from a pharmacy.
The second most common mistake is applying home remedies—butter, oil, egg whites, or aloe straight from the plant. These trap heat in the tissue and introduce bacteria. The only topical that belongs on a fresh burn is clean water or a sterile burn gel. Once the burn is fully cooled, a plain aloe vera gel from a sealed tube is fine for first-degree burns only.
When to Evacuate or Call for Help
You can safely manage most minor burns (first-degree and small second-degree) at camp if you keep the wound clean and change dressings daily. Evacuate immediately if any of these are true:
- Burn is larger than the victim’s palm
- Burn involves face, hands, feet, groin, or a major joint
- Skin is white, leathery, or charred (third-degree)
- Victim is a child under 5 or an adult over 65
- Signs of infection appear (spreading redness, pus, fever)
- Pain is not controlled with over-the-counter medication
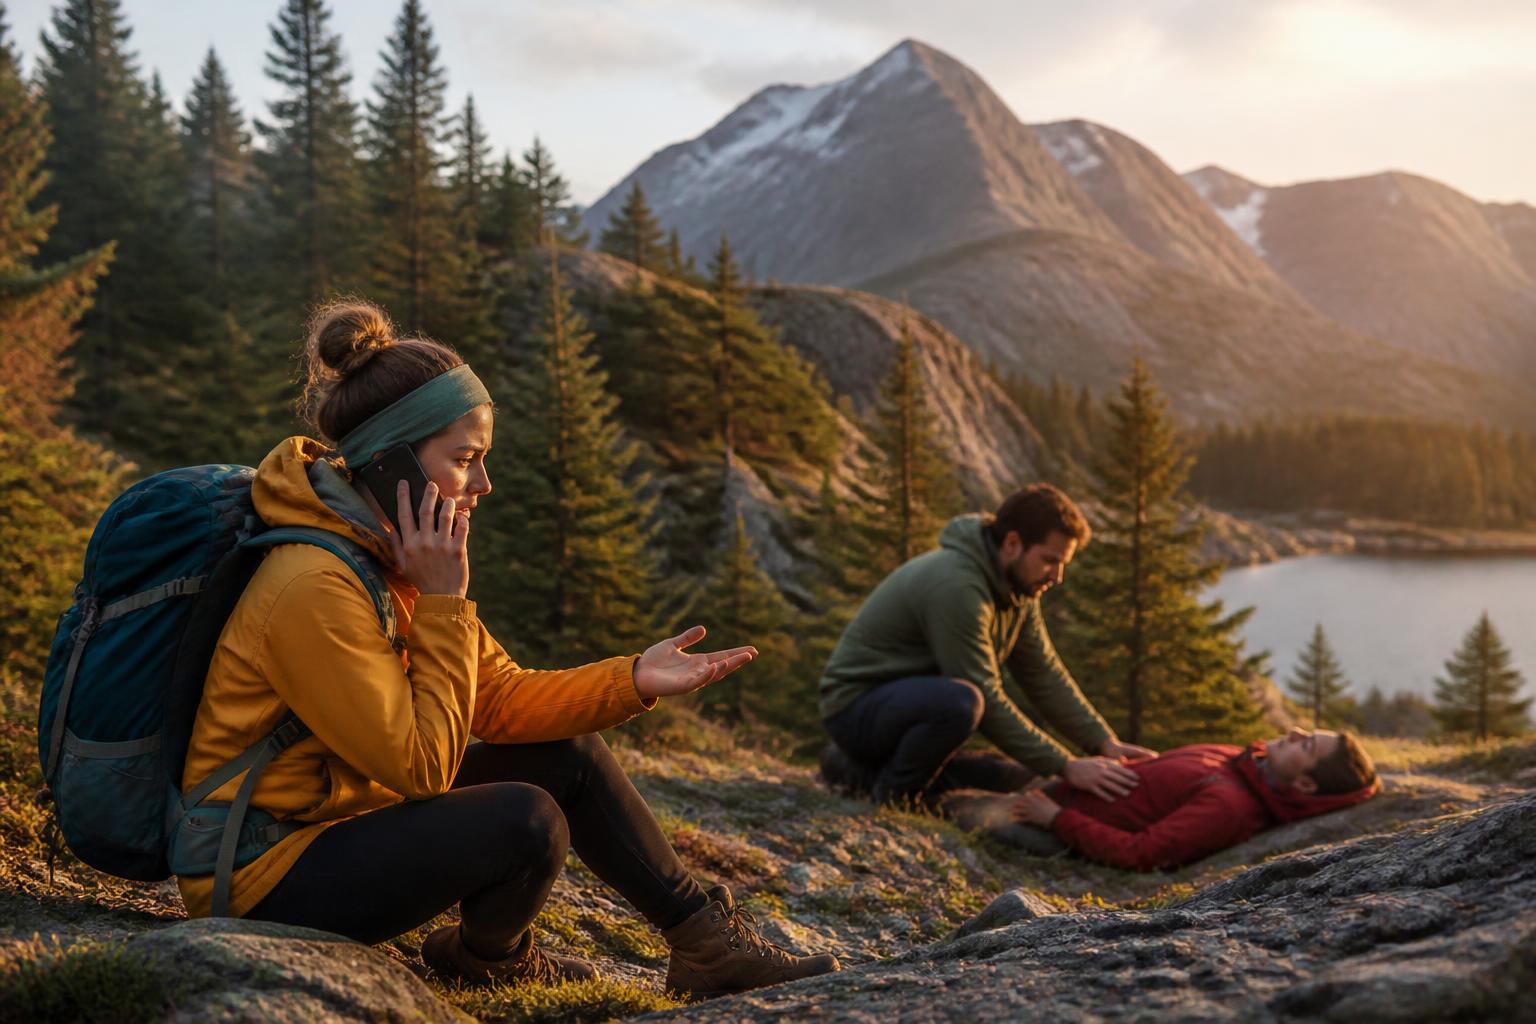
If you have cell service or a satellite communicator, call ahead to the nearest urgent care or ER so they know you are coming with a burn. Describe the burn depth and size so they can advise whether to come in immediately or manage it at camp.
Burn Care Quick-Check
Use this before you decide to treat a burn fully at camp. Every item should be a clear yes for camp treatment. A single no means you should cool the burn, cover it, and evacuate.
- Burn is smaller than the victim’s palm
- No blisters, or blisters are intact (not popped)
- Pain level is manageable with ibuprofen or acetaminophen
- Burn is not on the face, hands, feet, groin, or a joint
- You have clean water, sterile gauze, and antibiotic ointment
- You can keep the dressing dry and change it daily for the next 2–3 days
- No signs of infection at 12 hours
FAQ
How long should I run water over a burn while camping?
At least 10 minutes, and up to 20 minutes for deeper or larger burns. Cool running water at 60–70°F is ideal. If water is scarce, use a clean cloth soaked in cool water and re-wet it every 2 minutes.
Can I use a water bladder or hydration pack water to cool a burn?
Yes, in an emergency. The water should be as clean as possible. If your only option is untreated stream water, use it briefly to stop the burning, then clean the wound with boiled-and-cooled water or bottled water as soon as you can.
Should I pop a blister on a burn at camp?
No. Blisters act as a natural sterile cover. Popping them in a camp environment dramatically raises the risk of infection. If a blister pops on its own, clean the area gently with soap and water, apply antibiotic ointment, and cover with sterile gauze.
Camping Bob has spent over 20 years camping across the US — from BLM dispersed sites in the Southwest to KOA campgrounds in the Pacific Northwest. He writes practical, no-nonsense guides to help fellow campers get outdoors with confidence.