
How to Repair a Tent: Tears, Poles, Zippers & Leaks
Most tent repairs are straightforward if you have the right materials and a bit of patience. A torn mesh panel can be fixed in ten minutes with repair tape, a snapped pole usually needs a splint sleeve, a sticky zipper responds to lubricant or realignment, and a leaky floor or fly calls for seam sealer or a waterproof coating. This guide walks you through each fix with the tools you need, the steps to take, and the signs that tell you when a repair is temporary and when it’s time to replace the gear.

Tools and Prerequisites
Before starting any repair, gather these basics:
- Patch materials – Tent repair tape (for fabric), tenacious tape, or a patch kit specific to your tent’s fabric (nylon vs. polyester). For budget options, 5 Pack Duct Tape Heavy Duty Waterproof works as a temporary field fix, but it may leave residue and won’t hold long-term.
- Pole repair gear – A dedicated splint like the TRIWONDER Tent Pole Repair Splint Repair Kit (fits 8.5–10.5 mm poles) or a hollow aluminum tube and shock cord.
- Zipper tools – BTAS Zipper Lubricant (silicone grease with PTFE), pliers, and a small screwdriver.
- Waterproofing supplies – Seam sealer (e.g., Gear Aid Seam Grip), tent-specific waterproofing spray, and a damp cloth for cleaning.
- General – Scissors, rubbing alcohol, clean rags, and a well-ventilated workspace.
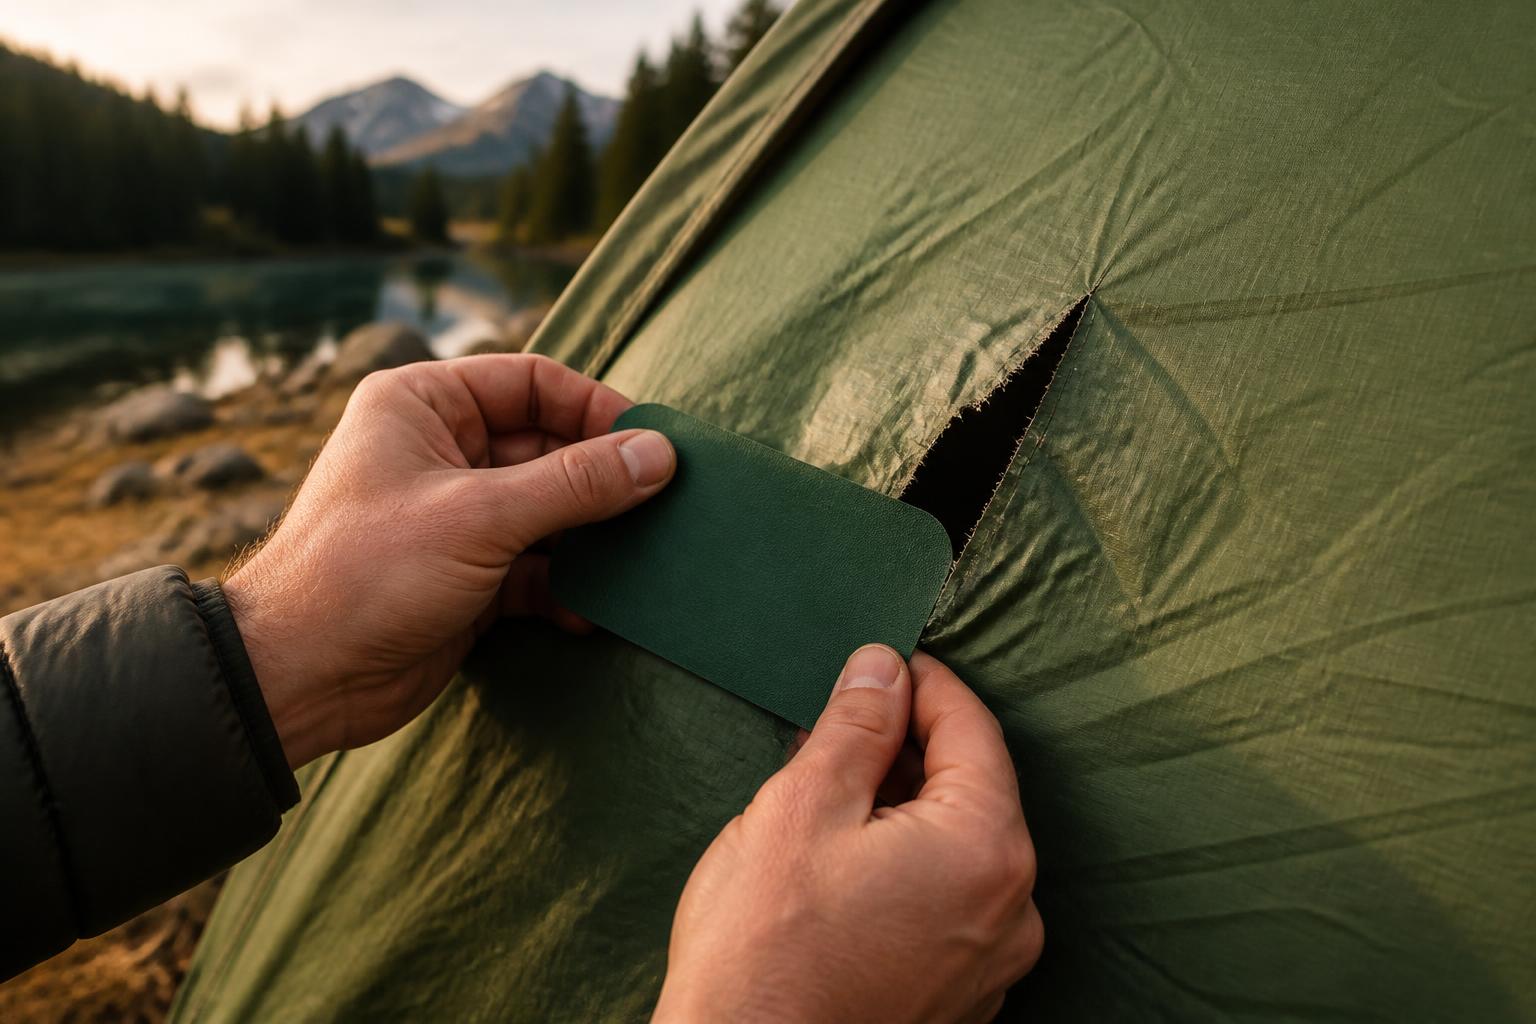
Check your tent’s fabric type and the specific damage before buying patches – some adhesives don’t bond well to silnylon or silicone-coated fabrics. Branch point: If your tent has a silicone-coated fly, standard repair tape will peel off within days. You need a silicone-compatible patch (like Gear Aid SilNet or a silicone adhesive) or you’ll have to reapply the patch after every trip.
Repairing Tears and Rips
Small Tears (Under 2 inches)
- Clean the area – Remove dirt and debris with rubbing alcohol. Let dry completely.
- Cut a patch – Round the corners of a patch (square corners peel more easily). Make the patch at least 1 inch larger than the tear on all sides.
- Apply – Press firmly from the center outward. For tape patches, hold for 30 seconds. For glue-on patches, follow the cure time on the tube (usually 24 hours).
Verification: Gently stretch the patched area in both directions. The patch should stay flush and not lift at the edges. If it bubbles or peels, the surface wasn’t clean enough or the adhesive is wrong for your fabric.
Larger Rips or Seam Separations
If the tear exceeds 4 inches or is along a stress seam, sew the edges first with a flat-felled stitch (or a simple running stitch), then reinforce with a patch on both sides. Sewing prevents the rip from spreading under load. Use a heavy-duty thread (Gutterman’s Mara 70 or similar) and a denim needle.
Temporary field fix: Use 5 Pack Duct Tape Heavy Duty Waterproof on the outside and inside of the rip. It will hold for a weekend trip but should be replaced with a proper repair when you get home.
Fixing a Broken Tent Pole
Most tent poles are shock-corded aluminum or fiberglass. A break usually happens at a joint or mid-section.
Using a Splint Sleeve (Best for Field Repairs)
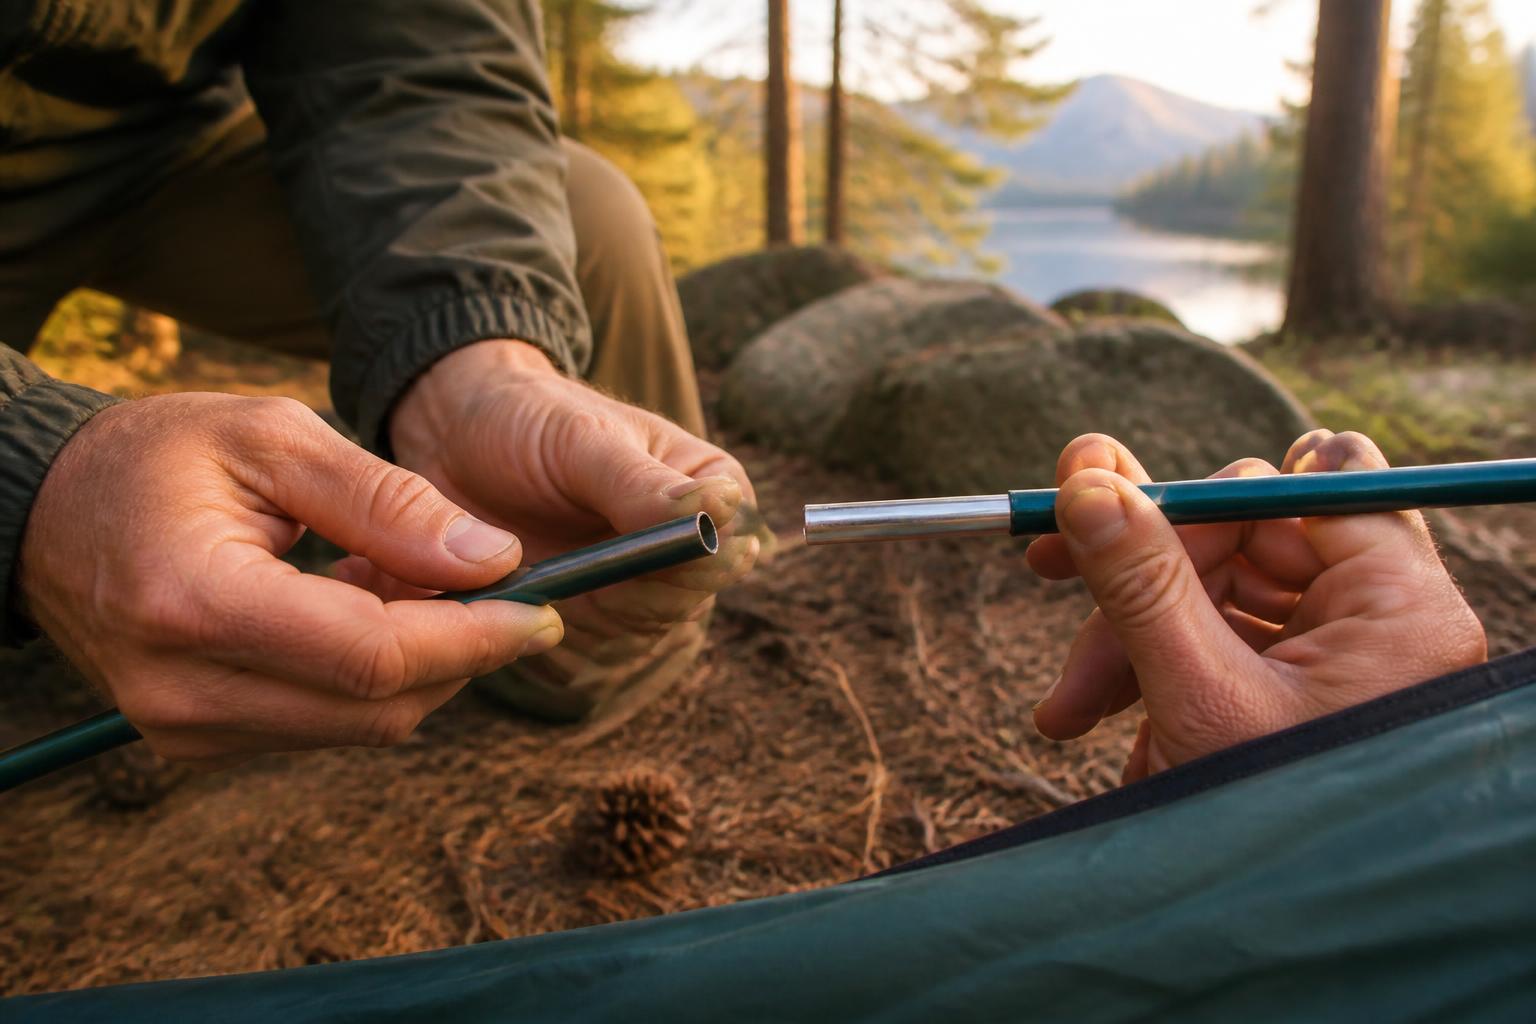
- Cut away the broken section – Trim any jagged edges with a small file or multi-tool. You want a clean, straight cut on both sides of the break.
- Insert the splint – Slide the TRIWONDER Tent Pole Repair Splint (or similar) over one side of the break, covering about 2 inches of intact pole on each side. The splint should fit snugly without forcing.
- Secure – Wrap with electrical tape or duct tape at both ends of the splint to keep it from sliding off.
- Re-thread the shock cord – If the break happened near the end cap, you may need to replace the shock cord. Untie the old cord, thread a new one through each pole segment, and tie a figure-eight knot.
Verification: After fixing, flex the pole into a gentle curve (like it would take inside the tent sleeve). It should hold its shape without kinking at the splint. If you feel a wobble or hear creaking, the splint is not long enough or the diameter is mismatched – redo with a longer sleeve.
When a Splint Won’t Work
If the pole is crushed (not snapped) or the splint doesn’t fit because the diameter is unusual, you can use a spare tent pole section from a different pole, or buy a replacement segment from the tent manufacturer. Many brands sell pole repair kits that include short aluminum sections.
Escalation threshold: If the pole has snapped in three or more places, or the shock cord is frayed beyond repair and the pole is an unusual fiberglass size no longer in production, stop repairing. The pole will keep failing under wind load, and a new pole set (or a new tent) is safer.
Fixing a Stuck or Broken Zipper
Zippers fail in three ways: stuck slider, separated teeth, or a broken pull tab.
Stuck Slider or Rough Pull
- Lubricate – Apply BTAS Zipper Lubricant along the teeth and onto the slider’s internal channel. Work the zipper back and forth a few times. The PTFE-based grease reduces friction and prevents corrosion.
- Clean debris – If the zipper still sticks, use a toothbrush or compressed air to clear dirt from the teeth.
Branch point: If the slider still jams after cleaning and lubricating, inspect the teeth with a magnifying glass. One misaligned tooth can catch the slider. Use pliers to gently straighten a bent tooth, then test again. If multiple teeth are bent, the zipper is beyond field repair.
Separated Teeth
If the slider has passed over one side of the teeth, leaving the zipper open:
- Remove the slider – Use pliers to gently pry the slider body apart just enough to slip it off the track. Be careful not to bend it too much.
- Realign the teeth – Starting from the closed end, manually mesh the teeth together for about 2 inches.
- Reinstall the slider – Slide it onto the meshed teeth and squeeze it closed with pliers. Test the movement.
Broken Pull Tab
You can still operate a tabless zipper with a paperclip or a small carabiner. For a permanent fix, order a replacement slider of the same size and brand – you’ll need the zipper’s width and tooth size (usually stamped on the back of the slider).
When to give up: If the teeth themselves are missing or bent in multiple spots, the entire zipper must be replaced, which is a professional sewing job. It’s often cheaper to replace the fly or tent than to have a zipper swapped.
Sealing Leaks
Leaks come from three sources: seam tape failure, fabric delamination, or pinholes in the floor.
Leaking Seams
- Identify the seam – Set the tent up and spray it with water from inside, or use a flashlight at night to see light through the tape.
- Remove old seam tape – Peel it off gently; heat with a hair dryer if it’s stubborn.
- Apply seam sealer – Brush a thin layer of seam sealer (e.g., Gear Aid Seam Grip) along the seam line. Let it dry for 24 hours.
Verification: After the sealer cures, set the tent up again and hose the seam from outside. Check inside for any moisture. If a drop appears, reapply a second thin coat.
Leaking Floor or Fly Fabric
If water soaks through the fabric itself (not the seams), the tent’s waterproof coating has worn off.
- Clean the fabric – Wash with a mild soap (no detergents) and rinse well.
- Apply a waterproofing spray – Use a product designed for your fabric (e.g., Nikwax Tent & Gear Solarproof for polyurethane-coated tents). Spray evenly and let dry.
- Check for pinholes – Small holes in the floor can be patched on both sides with tent repair tape. For larger holes, use a patch kit with adhesive that matches the fabric.
Verification: After repairing, test the tent under a hose or in a heavy rain. If the leak returns, the issue may be deeper – for instance, the floor laminate may be delaminating from the fabric, which no amount of spray or patches can fix.
Troubleshooting Common Repair Failures
| Problem | Likely Cause | Fix |
|---|---|---|
| Patch won’t stick | Dirty surface or wrong adhesive | Clean thoroughly; use silicone-compatible patch for silicone-coated fabric |
| Splint slips off pole | Too short or loose fit | Add tape wrap on both ends; use a longer splint |
| Zipper still jams after lubrication | Debris inside slider channel | Flush with warm water, dry, re-lube |
| Seam sealer cracks | Applied too thick or on wet fabric | Remove old sealer, apply thin coat in dry conditions |
| Duct tape leaves sticky residue | Old tape or heat exposure | Remove with rubbing alcohol or Goo Gone |
When to Stop Repairing and Buy a New Tent
- The floor is delaminated in large sections – patching doesn’t restore waterproofing. If you can separate layers of the floor fabric with your fingernail over an area larger than a dinner plate, the tent is done.
- The pole has snapped in three or more places, or the shock cord is frayed beyond repair.
- The zipper teeth are missing along more than 6 inches of the track.
- The tent fabric is brittle, cracking, or rotten (polyester and nylon degrade from UV exposure and age).
In these cases, the cost of replacement parts and your time won’t match a new tent’s reliability.
Related Questions
How long does a tent patch last?
A properly applied patch using the correct adhesive can last several seasons. Duct tape patches typically last one or two trips before peeling.
Can I use Super Glue on a tent tear?
No – super glue hardens and cracks under flex. Use a flexible adhesive like Gear Aid Seam Grip or a dedicated tent patch.
What’s the best way to store a repaired tent?
Dry the tent completely, then store it loosely in a breathable bag (not compressed). Avoid folding patches sharply – roll the tent instead.
Do I need to seal a new tent before first use?
Most new tents have factory-sealed seams. Check the seams in a light rain or hose test. If you see water seepage, apply seam sealer – it’s easier to do before dirt builds up.

Camping Bob has spent over 20 years camping across the US — from BLM dispersed sites in the Southwest to KOA campgrounds in the Pacific Northwest. He writes practical, no-nonsense guides to help fellow campers get outdoors with confidence.