How to Pitch a Tent in the Rain (Without Getting Everything Wet)
You can keep the inside of your tent dry even when it’s pouring. The trick is to set up a waterproof layer above or below your tent before you open it, and then work inside that shelter. If you don’t have a dedicated rain fly or tarp, use a groundsheet or footprint that’s slightly smaller than your tent floor to keep water from wicking up through the bottom. The goal: the tent’s inner surfaces never touch rain, and the floor stays above puddles.

Pitch Under a Tarp or Use a Footprint
The single most effective move is to string a lightweight tarp overhead before you unpack your tent. This gives you a dry work zone. If that’s not possible, lay out a footprint (or a properly sized tarp) on the ground first, then pitch your tent directly on top of it.
Tarp overhead
Look for a tree or two that can support a ridgeline. Tie a Xpose Safety Super Heavy-Duty 8′ x 10′ Brown Poly Tarp between them, angling the tarp so rain runs off the sides. Pitch your tent entirely under that covered area. The 16‑mil thickness sheds heavy rain and the reinforced grommets hold tight in wind.
Footprint on the ground
If you can’t get a tarp up, use a groundsheet that’s 2–3 inches smaller than your tent floor on each side. This prevents water from pooling between the footprint and the tent floor, which would soak through the bathtub floor seam.
The Right Order of Operations
- Find high ground – Avoid depressions, roots, and slopes where water will channel. A flat spot with good drainage is worth an extra two minutes of searching.
- Lay down the footprint or ground tarp – Stake just the footprint corners to keep it from blowing away. Don’t pull it drum‑tight; leave a little slack for water to run off the edges.
- Open the tent body inside the footprint – Unfold the tent on top of the footprint. Do not unzip the inner door yet if rain is heavy. Keep the rain fly bundled or under your body to stay dry.
- Insert poles and raise the tent – Work quickly, keeping the tent body low to the ground until the poles are in place. If you have a free‑standing tent, you can lift and straighten it without kneeling in mud.
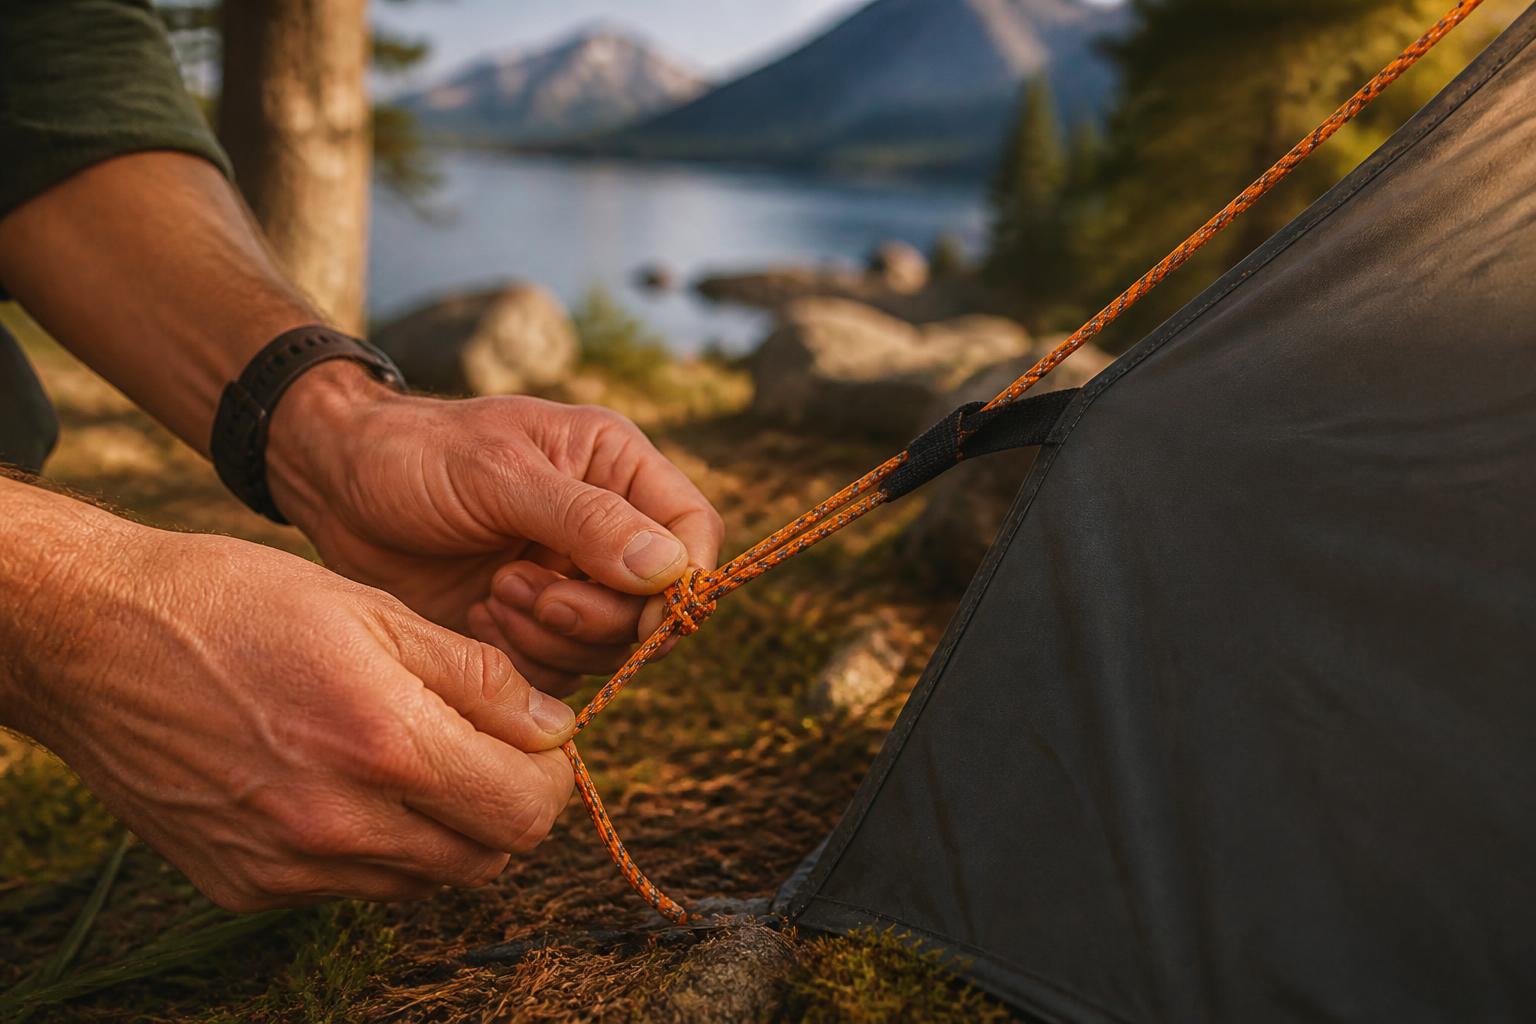
- Immediately drape the rain fly – This is the most critical step. Get the fly over the tent frame before you do anything else. Snap or clip it at all points, then stake the fly’s corners.
- Adjust tension – Tighten the fly’s straps or guy lines so it doesn’t sag onto the mesh. A sagging fly wicks water into the tent.
Early checkpoint: What to do if the inner walls feel damp after step 5
After you drape the rain fly and stake the corners, run your hand along the inner tent walls. If they feel completely dry, proceed to adjust tension and finish the setup. If any part feels damp or wet, stop. The fly is too close to the tent body, or a guy‑out point is missing. Look for spots where the fly touches the mesh. Fix it by adding a pole extender, tying out a side pull‑out, or repositioning the fly so it lifts away. Only continue when the inner walls are dry. This two‑minute correction prevents a wet sleeping bag.
Verification after step 6
After you’ve adjusted tension, do a final interior check. Press your palm flat against the floor and walls. They should feel dry to the touch with no condensation beading. If you find any dampness, identify the source—often a loose fly corner or a misaligned guy line—and correct it before you bring gear inside.
One Failure Mode to Watch For

Water wicking up through the tent floor seam – Even with a waterproof floor, if the ground is saturated, water can creep up through the stitch holes where the floor meets the walls. You’ll notice a thin wet line along the bathtub seam a few hours after setup. To catch it early, before you put down sleeping pads, press a dry paper towel against the seam. If it comes away damp, you need to seal that seam with a seam sealer or reposition the tent so that side faces uphill.
Another common failure: pitching on a slope that funnels water under the tent floor – After 15 minutes, check the footprint edges. If water has pooled on top of your groundsheet, the site is channeling runoff toward your tent. Your next action depends on severity: if the pool is small, dig a shallow drainage trench on the uphill side to divert water. If the pool is large or the ground is soggy, move the entire setup to a higher, flatter spot. Don’t wait—puddles only grow.
Pre-Pitch Checklist
Before you start, run through these five checks. Each is a pass/fail decision.
- Site slope – Is the spot level enough that you won’t slide downhill overnight? Pass if less than 5° tilt.
- Drainage path – Are there any visible channels or puddled areas within 3 feet? Pass if dry and free of standing water.
- Overhead clearance – Will rain drip directly onto the tent from branches or a nearby ledge? Pass only if you can string a tarp or the site is open.
- Footprint size – Is your groundsheet 2–3 inches smaller than the tent floor on all sides? Pass if yes, fail if larger.
- Rain fly condition – Are the seams factory-sealed or have you seam‑sealed them in the last season? Pass if sealed, fail if you see bare stitches.
If any item fails, fix it before unpacking the tent. For example, if the footprint is too large, fold it under. If the site fails drainage, search for a better spot within 50 feet. Re‑check the item to confirm it now passes. A 60‑second correction here saves a soaked sleeping bag later.
After the Tent Is Up: Keeping Things Dry Inside
Once the tent is standing and the fly is tight and verified dry, unzip the inner door just far enough to reach inside. Wipe down the floor with a dry microfiber cloth if any droplets made it in. Then:
- Set up a gear vestibule – If your rain fly has a vestibule, unzip it slightly and use a pack or rock to hold it open until you’ve moved your gear inside. This creates a dry transition zone.
- Don’t bring wet clothes into the sleeping area – Strip off rain gear in the vestibule or under the overhead tarp. Hang wet items on a clothesline under the tarp, not inside the tent.
- Treat the rain fly with a DWR restorer – Over time, factory water repellency wears off. A spray like Nikwax Tent & Gear Solarproof renews the beading action and adds UV protection, so rain sheets off instead of soaking into the fabric.
Success signal – One hour after setup, check the interior again. Run your hand across the floor, walls, and sleeping pad. They should feel completely dry with no cold spots or condensation. If you see any dampness, air the tent out as soon as the rain stops and re‑inspect the fly tension and seam sealing before your next trip.
Frequently Asked Questions
Can I pitch a tent in the rain without a tarp or footprint?
Yes, but you’ll need to work fast and accept that the tent floor will get some moisture. Lay the tent on the driest spot you can find, keep the rain fly ready, and wipe down the floor immediately after pitching. A footprint is still strongly recommended to keep water from wicking through the floor.
How do I dry the inside of a tent after pitching in the rain?
Open all vents and doors when the rain stops. Use a camp towel to absorb any standing water on the floor. If you have a camp chair or rock, drape the tent over it to air out before packing.
Should I stake the tent as soon as the poles are in?
Yes – stake the tent body first, then stake the fly. Skipping stakes invites wind to lift the tent and fling water inside.
What if my rain fly is missing or torn?
Do not pitch the tent without a fly in the rain. Use a large tarp (like the Xpose Safety 8×10) as a substitute, draped over the poles and staked at all corners. Secure the tarp with extra guy lines to keep it from flapping against the mesh.
Camping Bob has spent over 20 years camping across the US — from BLM dispersed sites in the Southwest to KOA campgrounds in the Pacific Northwest. He writes practical, no-nonsense guides to help fellow campers get outdoors with confidence.