How to Use a Compass and Map: Navigation Basics for Campers
To navigate with a compass and map, you need three moves: align the map to north, take a bearing from map to ground, and follow that bearing while pacing your steps. A baseplate compass with a declination adjustment and a waterproof topographic map (7.5-minute quad is standard) are all you need for most campground and day-hike navigation. The single biggest mistake campers make is ignoring magnetic declination—a 10° error can put you 900 feet off after a mile. If you can’t confirm your location after two bearing checks, stop moving and use a whistle or signal mirror to call for help.

Why Most Campers Get Lost: The Declination Trap
Magnetic north and true north are not the same point. The difference—called declination—varies by location and changes slightly every year. If you shoot a bearing from your map (which uses true north) and follow it on your compass (which points to magnetic north) without adjusting, you’ll walk in a curved arc away from your intended line.
How to catch it early: Before your trip, check the declination for your camping area (NOAA’s magnetic declination calculator is free online). Set it on your compass if it has a declination adjustment screw or scale. On a compass without adjustment, add or subtract the declination manually: for east declination, add the value to the map bearing; for west declination, subtract it.
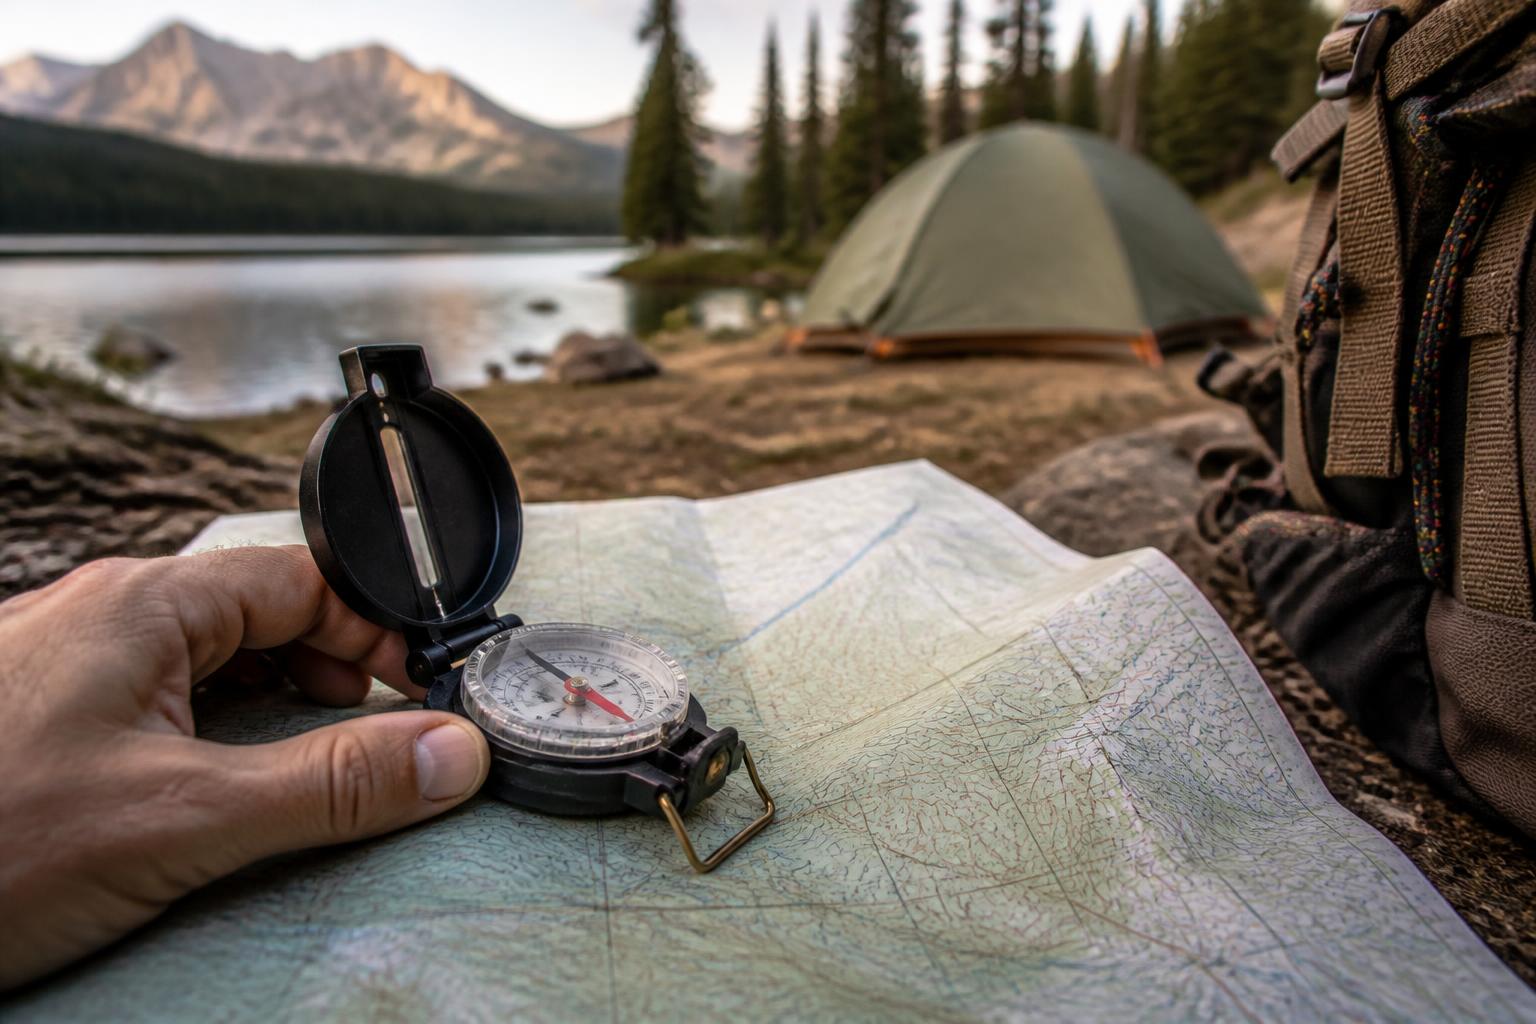
What You Need: A Compass and Map That Work Together
Not all compasses are equal for land navigation. Look for these features:
- Baseplate with magnifying lens – lets you read map details without taking your eyes off the route.
- Declination adjustment – a small screw or rotating dial that locks in the local correction. Compasses like the Proster IP65 Hiking Compass Waterproof Compass or Anbte Compass Hiking Survival have this built in, plus a sighting clinometer for slope measurement.
- Sighting mirror or notch – helps you aim at distant landmarks (peaks, towers, trail junctions) with less wobble.
Your map should be current (check the year in the corner of a USGS quad) and have clear contour lines, trails, and prominent features. Plastic-sealed or laminated maps survive rain and sweat better than paper.
Navigate with Map and Compass: A Practical Sequence
Set the Declination Before You Leave Camp
Turn the compass’s adjustment screw or rotate the bezel so the declination arrow or scale matches the local value. If your compass lacks adjustment, write the correction on a sticky note and stick it to the back of the compass.
Checkpoint: Hold the compass level and rotate the whole body until the magnetic needle aligns with the orienting arrow. The direction-of-travel arrow should now point to true north. If it doesn’t, re-check your declination setting.
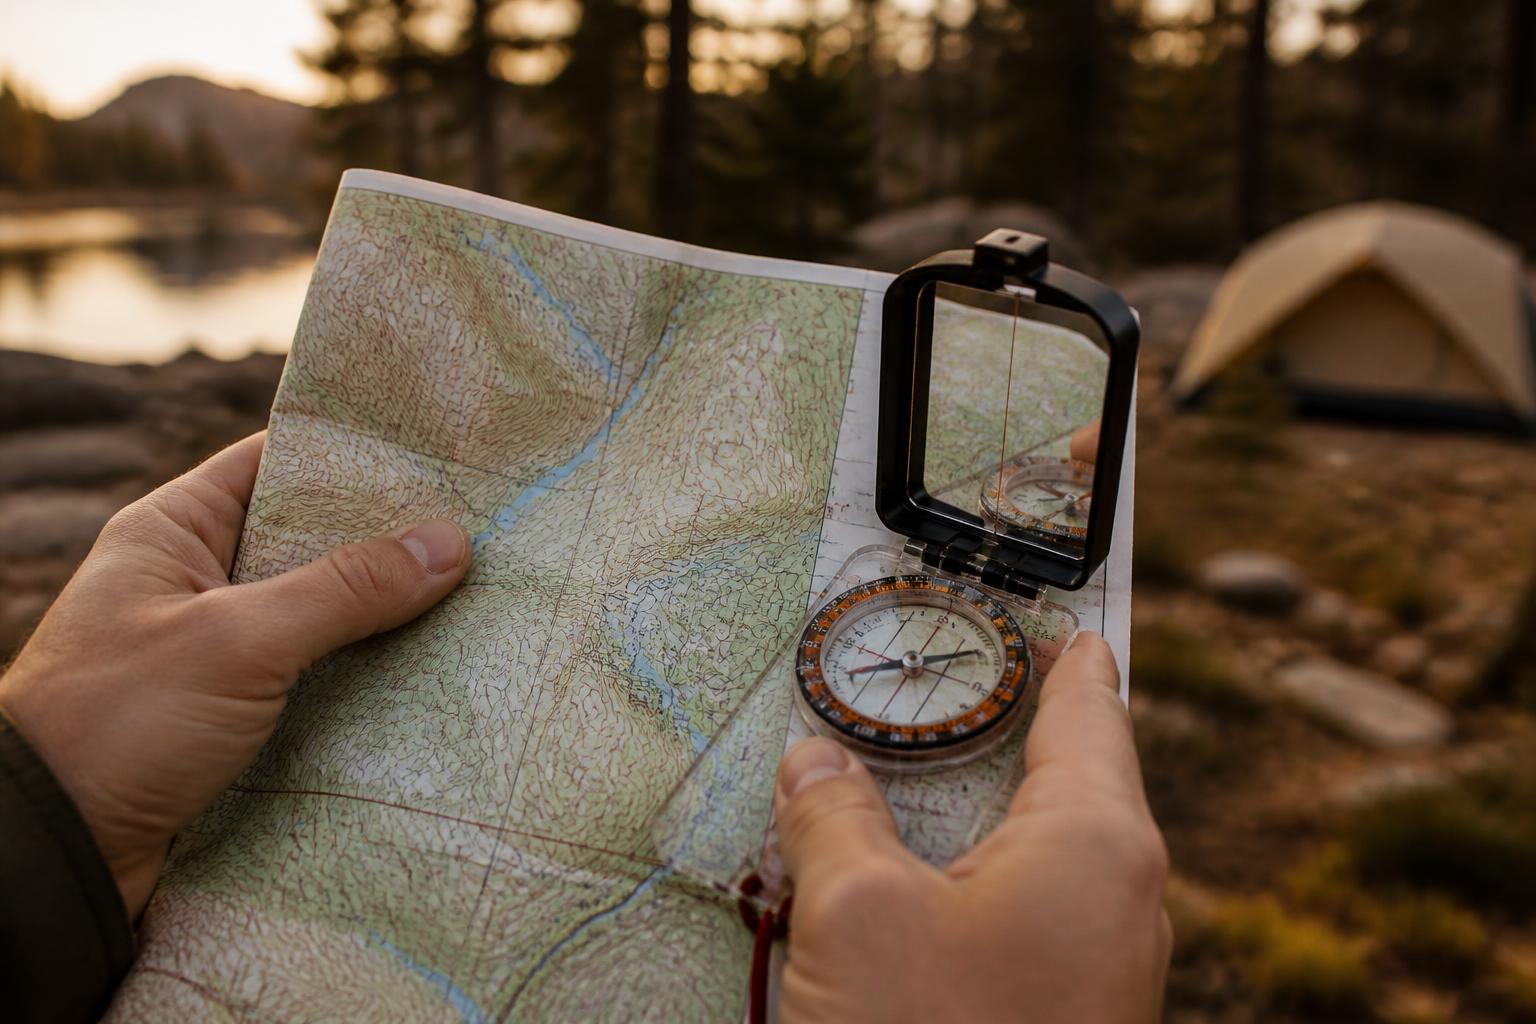
Orient the Map to North
Place the map on a flat surface. Set the compass alongside it, then turn the map until its grid lines (or top edge) line up with the compass’s direction-of-travel arrow. Once the map is “set” to north, the landmarks on the ground should roughly match the map symbols in front of you.
Take a Bearing from the Map
Identify where you are and where you want to go. Lay the long edge of the compass baseplate along a line connecting those two points. Rotate the bezel until the orienting lines inside the compass housing are parallel to the map’s north–south grid lines. Read the number at the index line—that’s your true bearing.
Convert to a magnetic bearing (if your compass doesn’t have automatic declination correction): add east declination, subtract west declination. Write it down.
Walk the Bearing
Hold the compass level in front of you, with the direction-of-travel arrow pointing straight ahead. Turn your whole body until the red end of the magnetic needle sits inside the orienting arrow (the “shed”). Now look up, sight a distinct landmark (a tree, rock, or ridge line) along the arrow, and walk toward it. Once you reach that landmark, repeat the sighting process.
Friction point: Stepping over logs or hiking through thick brush can twist your hand and move the needle out of the shed. Pause every 50–100 yards to re-check the alignment.
Check Your Progress
After 15–20 minutes, re-orient the map and take a second bearing on a visible feature you can confirm on the map. If your position doesn’t match, you may have strayed off line. Don’t guess—backtrack to the last confirmed point and re-shoot the bearing.
Success check: You should be able to point to a landmark on the map and see it on the ground, and vice versa, within a few degrees of your bearings.
Escalation signal: If you cannot identify any landmark within 15 minutes of walking, stop and retrace your steps to the last known point. Do not continue forward until you can confirm your location on the map.
How to Detect You’re Off Course Early
Three red flags that mean you need to stop and re-navigate:
- The compass needle keeps locking or swinging wildly – you’re near metal (belt buckle, knife, phone). Move the compass away from anything metallic and try again.
- The bearing you’re walking doesn’t match the map after 200 yards – you may have misread the declination or taken the wrong starting point. Confirm your starting location on the map using a recognizable feature (stream crossing, trail junction).
- You hit a feature that isn’t on the map – that pond, rock formation, or power line should not be there. Stop, re-orient, and cross-check with a second landmark.
A quick self-check: sight a distant object (a mountain or water tower) you can identify on the map. The bearing you read on the compass should agree with the map bearing within the local declination window. If it’s off by more than 5°, recalibrate.
Hard stop threshold: If you’ve tried two bearing checks and still cannot find a matching landmark on the map, stop moving. Sit down, stay warm, and use a whistle or signal mirror to attract attention if necessary. Do not push deeper into unfamiliar terrain—the risk of getting farther off course outweighs any time gained.
Compass Navigation Pre-Trip Checklist
Before you head out, run through these checks. If any item fails, fix it before leaving the trailhead.
- [ ] Declination set – Compass adjusted or correction noted for your exact camping area and this year’s value.
- [ ] Map current – Check the map’s publication date; trails and roads can change.
- [ ] Compass bubble-free – No air bubbles in the liquid capsule (they cause false readings). If bubbles are present, the compass is damaged—replace it.
- [ ] Batteries not a factor – A compass works without power, but if you rely on a GPS backup, ensure it’s charged. Never trust a dead battery for navigation.
- [ ] Landmark mental notes – Identify three features on the map (peak, bend in creek, power line) that you’ll pass along your route. Write down their bearings and approximate distances.
- [ ] Pacing baseline – Know your pace count per 100 yards on level ground (average is 60–70 double-paces for most adults). Adjust for uphill/downhill and rough terrain.
FAQ
How often should I reset my declination?
Each time you camp in a new area or at least once a year for the same region. Declination changes a few degrees per decade depending on location; check NOAA’s calculator for the most recent value.
Do I need a sighting mirror?
It helps when landmarks are far away (over half a mile) or in open terrain. For dense woods where you can only see 50–100 feet, a baseplate compass without a mirror works fine—just hold it steady at chest height.
What if my compass has no declination adjustment?
Use the “magnetic bearing” method: take a map bearing, then add or subtract the local declination value. Write the corrected bearing on your map edge so you don’t forget mid-hike.
Can I use a compass with my phone’s GPS?
Yes, but only as a backup. Phones lose signal in deep canyons or heavy forest, and batteries die in cold weather. A compass and map never need a signal.
What should I do if I’m completely turned around and can’t reorient?
Stay put. Use your whistle in three short bursts (the universal signal for help). If you have a signal mirror, flash it toward any distant ridge or road. Do not walk aimlessly—wait for searchers to find you at your last known point.
Camping Bob has spent over 20 years camping across the US — from BLM dispersed sites in the Southwest to KOA campgrounds in the Pacific Northwest. He writes practical, no-nonsense guides to help fellow campers get outdoors with confidence.