How to Make Your Camping Bed More Comfortable: 10 Easy Upgrades
You can go from a restless night to solid sleep by addressing three core problems: ground cold, surface firmness, and pillow support. Most fixes cost under $30 or use gear you already own. Here’s how to diagnose your weak point and fix it step by step.

What You’ll Need Before You Start
Gather these items — you probably have most already:
- A closed‑cell foam pad (Z‑fold, accordion, or roll) — the single most useful upgrade
- Your current sleeping pad or air mattress
- A fitted sheet (twin works) or camping pad sheet
- An extra pillow or a dry bag you can stuff with clothes
- A reflective emergency blanket (optional, pennies)
- A memory foam topper if you car‑camp
Find Your Failure Mode – Quick Comfort Check
Most people hit one of three problems. Lie on your current setup at home for 10 minutes and check each point:
- Cold back or hips after 5 minutes? Your R‑value is too low.
- Hip or shoulder touching the ground? Your pad is too thin — less than 2 inches inflated.
- Neck pain in the morning? Your pillow height is wrong.
If none of those apply, your tent site might be on a slope or your sleeping bag might be too tight. Fix the most obvious issue first.
Sleep Setup Checklist – Pass/Fail Decision Aid
Run through these five checks before you head out. Each is a clear yes/no decision.
- Pad holds air overnight – Inflate fully at home and let it sit for 8 hours. If it loses more than 20% firmness, patch or replace it.
- R‑value matches the low temperature – For temps below 40°F, your combined pad system must have an R‑value of 4.0 or higher. Check the label; stack foam underneath if needed.
- Pad width fits your body – Lie on your side. Your shoulders and hips should stay fully on the pad when you roll. A 20‑inch pad is too narrow for most side sleepers; 25 inches or wider is better.
- Pillow loft matches your sleep position – Side sleepers need 4–6 inches of loft; back sleepers need 3–4 inches. Stack two pillows or use an adjustable one to get the height right.
- Tent site is level and clear – After pitching, lie on the ground cloth and feel for slopes, rocks, or roots. Spend 10 minutes digging out anything that pokes up.
If you fail any item, address it before you pack. The upgrade you need will be in the steps below.
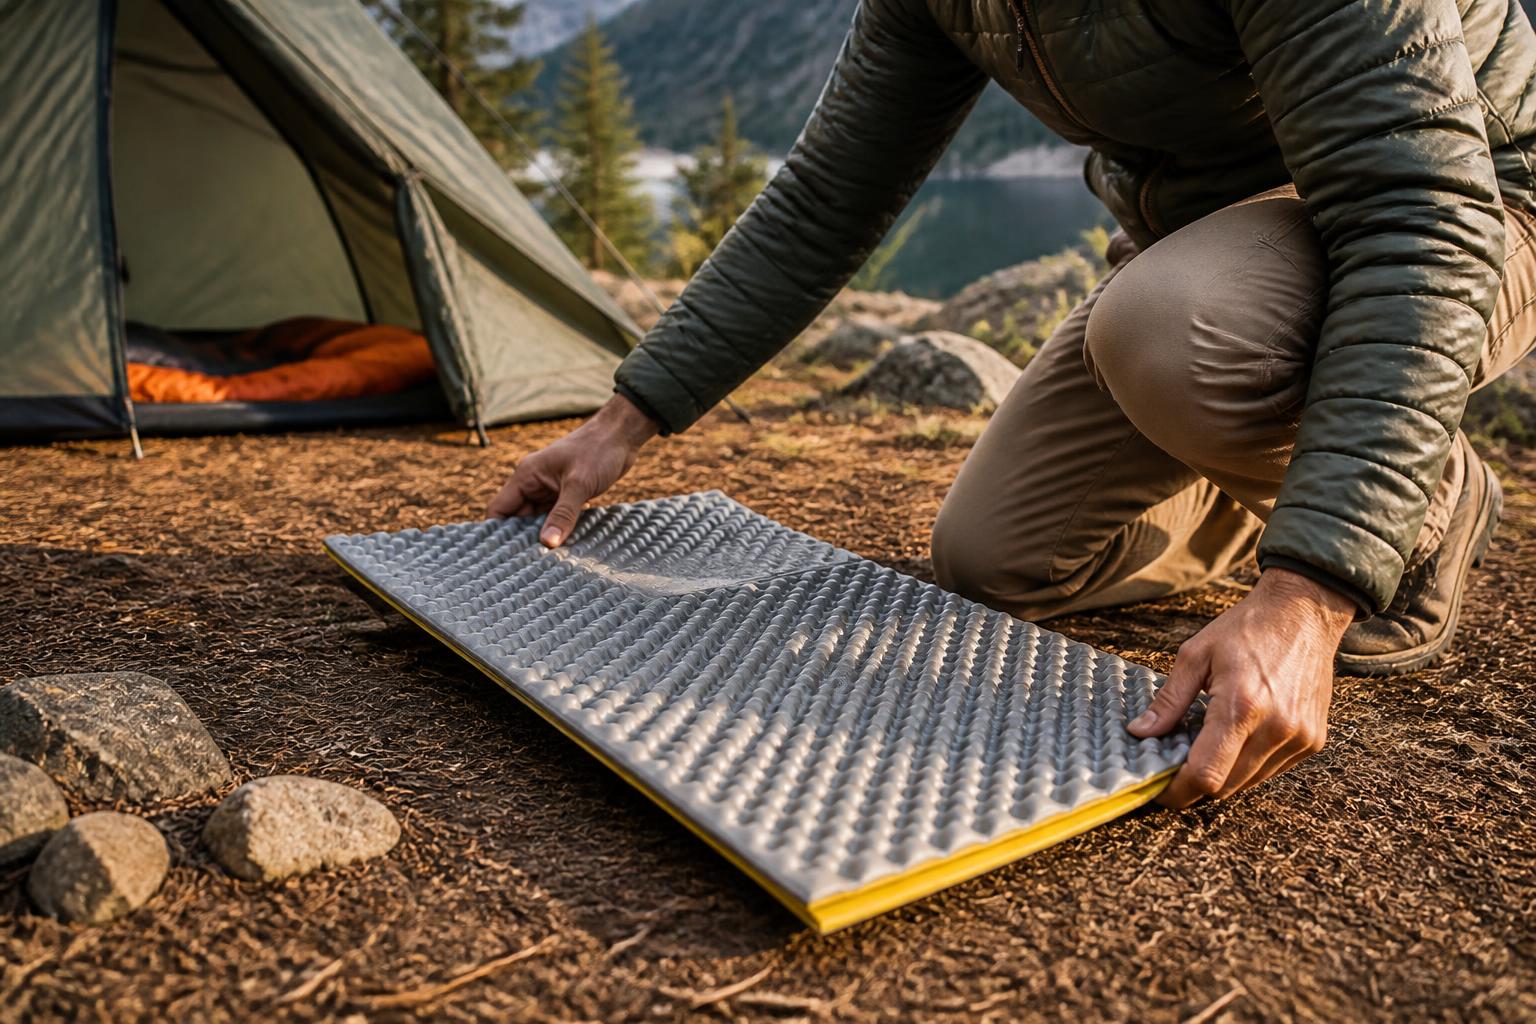
Step 1: Stop the Cold and Cushion the Ground
These upgrades target the bottom layer — insulation and puncture protection.
Put a Foam Pad Under Your Air Pad
A closed‑cell foam pad blocks ground cold and stops punctures. Place it reflective side up directly under your air mattress. This raises the effective R‑value by 1.5 to 2.0. You’ll also feel less of those hidden roots.
How to test it worked: After an hour, press your hand into the ground beside your pad. If the soil feels cold, your insulation isn’t enough. Add a second foam layer or a reflective blanket.
Switch to a Self‑Inflating Pad
Self‑inflating pads (foam core inside an air chamber) are less bouncy than pure air pads. Open the valve, let it expand for 5 minutes, then blow two extra puffs for firmness. The foam core dampens side‑to‑side movement and provides solid insulation.
Cost comparison: A basic self‑inflating pad runs $40 to $70. A foam pad costs about $25. Both together still cost less than one high‑end air pad.
Double Up with Foam Pad Plus Air Pad
If you already carry both, tape them together with a strip of duct tape so they don’t slide apart. For couples, two foam pads taped side by side eliminate the gap between separate air pads.
Step 2: Even Out the Surface and Stop Slipping
Once the bottom is warm and thick, fix the top layer.
Add a Memory Foam Topper
A 1‑inch memory foam topper cut to your pad size adds pressure relief without much bulk. For car camping, a 2‑inch version feels like a real bed. It also absorbs uneven ground and stops you from sliding off slick nylon.
Watch out: A topper thicker than 2 inches can make a hammock sag badly. Stick to 1 inch for hammocks.
Use a Fitted Sheet
Sleeping bags let you slide off the pad. A stretchy fitted sheet (twin size with elastic corners) wraps the pad and topper into one stable surface. It also keeps the pad clean and speeds up pack‑out.
Level Your Tent Site
No pad fixes a slope. Before pitching, lie on the bare ground (use a ground cloth) and feel for dips and side‑tilt. Position your head slightly uphill if you’re a back sleeper; side sleepers should lie perpendicular to the slope. Spend 10 minutes scraping rocks and pine cones — your hips will thank you.
Step 3: Dial in Pillow Height and Temperature
Get an Adjustable‑Loft Pillow
One‑thickness pillows force your neck into a bad angle. Look for a pillow you can add or remove filling from (shredded foam or down). Side sleepers need about 4 to 6 inches of loft; back sleepers need 3 to 4 inches. If you don’t want to buy one, stuff a dry bag with a fleece jacket and a few socks — you can adjust the volume by adding or removing clothes.
Quick test: Lie on your side with the pillow. Your chin should be parallel to the ground, not tilted up or down.
Use a Sleeping Bag Liner
A silk or fleece liner adds a soft layer inside your bag and boosts warmth by 5 to 10°F without extra weight. On warm nights, unzip the liner and use it as a blanket. It also keeps your bag cleaner, reducing how often you need to wash it.
Put a Reflective Blanket Under Your Pad
A space blanket shiny side up under your pad reflects body heat back upward. Tape it to your ground sheet so it doesn’t crinkle. This can add 1.0 to 1.5 R‑value at almost zero cost.
How to Confirm It’s Working
After you implement one or more upgrades, run this three‑point test on your next campout:
- Wake‑up position — you’re still roughly where you started, not curled up or hanging off the pad.
- Morning soreness — no lower‑back or hip pain. Mild shoulder stiffness is normal for side sleepers.
- Temperature check — when you first get in the bag, your back and legs feel the same warmth as your torso. No cold spots.
If you pass all three, your setup is dialed. If you still have a sore hip or cold back, add a thicker foam pad or swap to a higher‑R air pad — aim for R‑value 4.5 or higher for cold nights.
Frequently Asked Questions
How can I make my camping bed softer without buying new gear?
Double your existing pad by stacking it on a closed‑cell foam pad. Use a folded fleece jacket under your hips or shoulders as spot cushioning. Stuff a dry bag with clothes for a custom pillow.
What’s the cheapest single upgrade?
A closed‑cell foam pad — about $25 — placed under your air pad. It stops ground cold, cushions rocks, and protects against punctures, all for one price.
Will a memory foam topper work in a hammock?
Only a thin 1‑inch topper trimmed to fit the hammock width will work. A thicker topper rolls you into a banana shape and won’t stay flat.
Can I use an electric air pump inside the tent?
Only with a power station or a long extension cord. A battery‑powered inflator, like the Electric Air Pump for Inflatables, is safer and works inside the tent quietly. Many air mattresses now include a rechargeable pump that’s fine for tent use.
Camping Bob has spent over 20 years camping across the US — from BLM dispersed sites in the Southwest to KOA campgrounds in the Pacific Northwest. He writes practical, no-nonsense guides to help fellow campers get outdoors with confidence.