Sleeping and Comfort: How to Sleep Well in the Great Outdoors
A great camping trip starts with a good night’s sleep. Without it, the next day’s hike, paddle, or campsite hangout feels like a chore. The short answer: your sleep system has three critical pieces—ground insulation, a bag or quilt, and head support. Start by checking your sleeping pad’s R‑value against the lowest nighttime temperature you expect. If the pad is too thin or the bag too light, no tent or pillow will fix it.

What You Need Before You Set Up
Before you pitch anything, gather the three layers that separate you from the cold ground and the night air. Each solves a different problem, and skipping any one will cost you sleep.
- Sleeping pad – Provides ground insulation (measured by R‑value) and cushioning. Types: closed‑cell foam (cheap, durable, low R), self‑inflating (foam core plus air), and air pads (lightest, most comfortable, risk of puncture). For car camping, a thick memory foam pad like the CYMULA CertiPUR‑US Memory Foam Camping Mattress Pad gives plush support and solid insulation. Backpackers usually prefer an air pad that packs small.
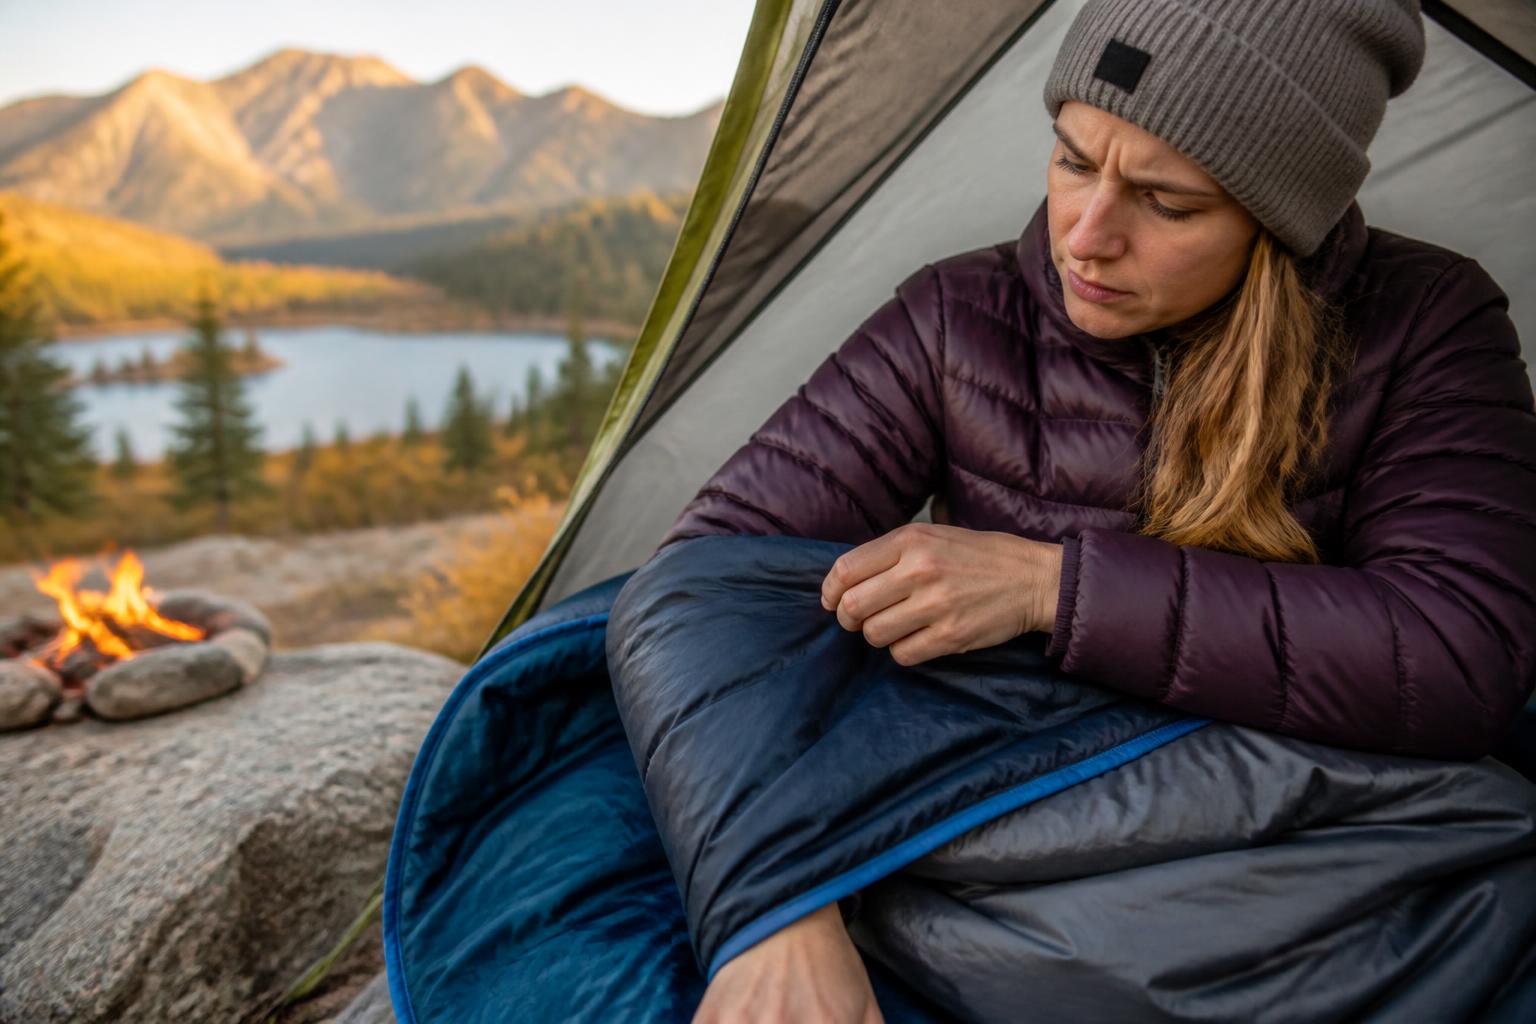
- Sleeping bag or quilt – Traps body heat in loft. Down is light and compressible but useless when wet; synthetic still insulates when damp but is heavier and bulkier. Temperature ratings are conservative—if the forecast low is 30°F, a 30°F bag will keep you alive but not necessarily comfortable.
- Pillow or head support – Keeps your neck aligned. Inflatable camping pillows are tiny and adjustable; a stuff sack filled with fleece works in a pinch. Side sleepers need 4–6 inches of loft.
Early checkpoint: Lay all three items out on the ground. If your pad’s R‑value doesn’t match the season (summer R 2–3, three‑season R 4–5, winter R 6+), or your bag’s rating is within 10°F of the expected low, your system already has a weak link. Fix it before you pack the car.
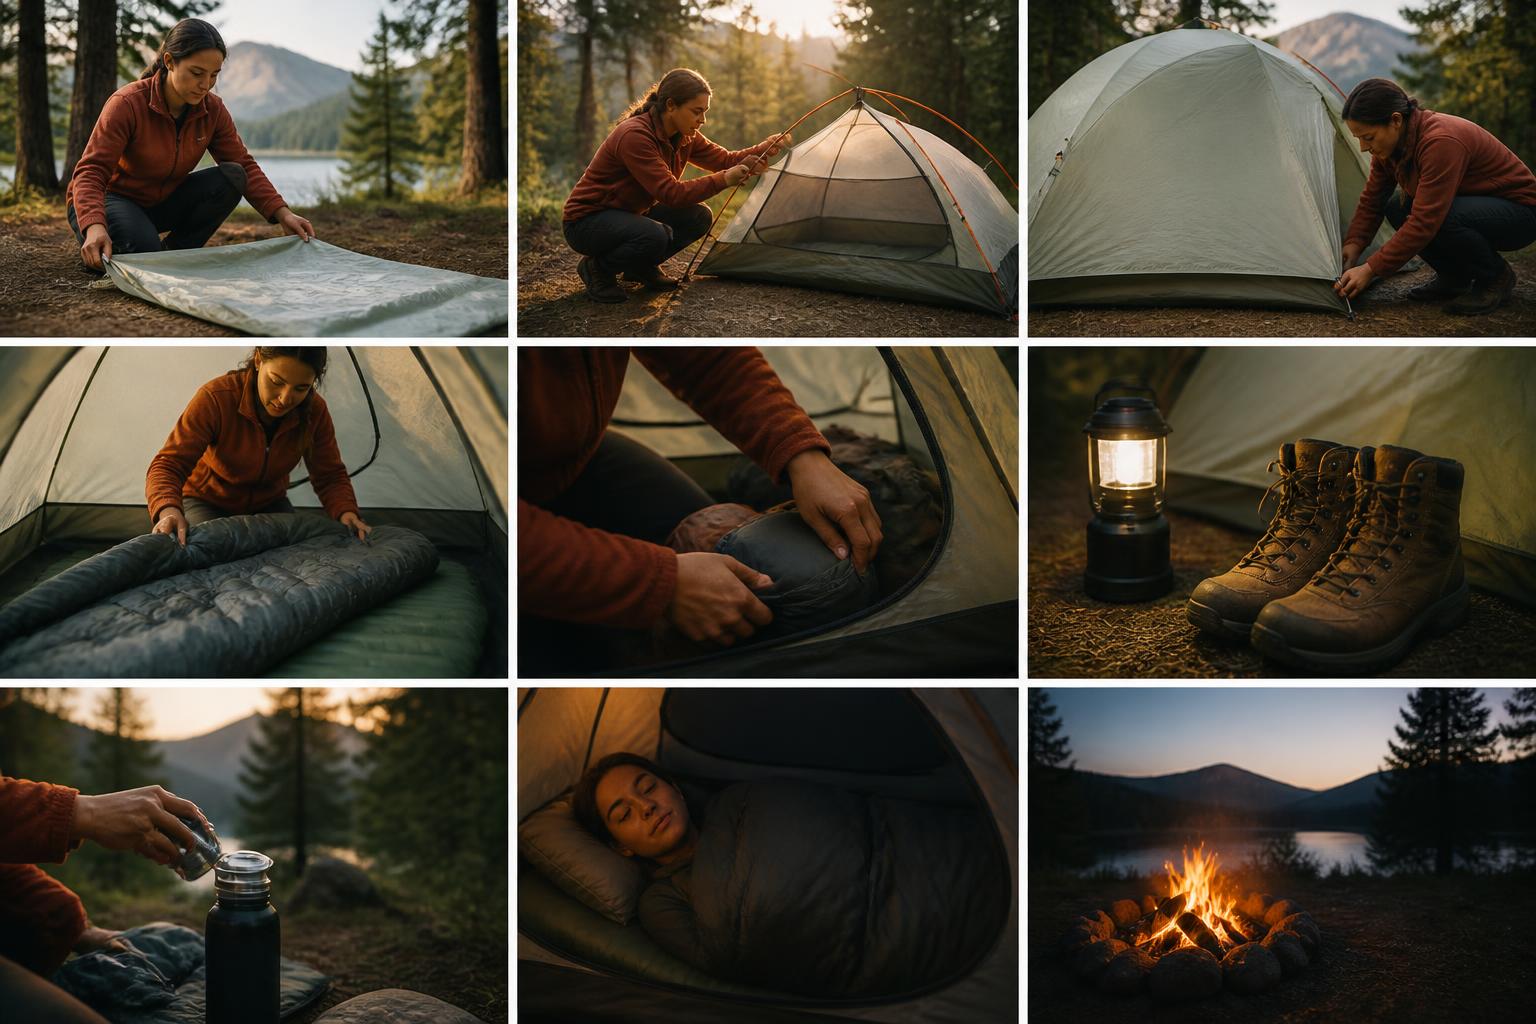
Step by Step: Setting Up for a Good Night’s Sleep
Follow these steps in order. The whole process takes about 20 minutes, but it prevents hours of tossing and turning.
- Pick your tent site – Level ground, ideally with a slight slope so your head is uphill. Avoid depressions where water pools after rain. Clear every rock, stick, and pinecone from the footprint.
- Lay a ground cloth – A footprint or a piece of polycro protects the tent floor and blocks some ground dampness.
- Pitch the tent – Stake it out taut. For a two‑person tent like the Night Cat Backpacking Tent 2 Person Lightweight Camping Tent, guy out the rain fly so it doesn’t sag onto the inner mesh. Keep the fly’s vent flap accessible.
- Inflate your sleeping pad – Air pads take 8–12 breaths. Inflate inside the tent so the air is warmer and the pad stays fuller when temperatures drop overnight. Expect some deflation as the tent chills; a quick top‑off before bed helps.
- Fluff your sleeping bag – Shake it vigorously to restore loft. Zip it up about 30 minutes before you climb in so body heat builds quickly inside.
- Set up your pillow – Inflate to your preferred firmness. Place it so your head is slightly elevated and your spine stays straight (not craned up or sideways).
Early checkpoint after step 4: Lie down on the pad for one minute. If you can feel the ground through it, your R‑value is too low or the pad is under‑inflated. Add a closed‑cell foam pad underneath if you have one, or swap to a thicker model.
Friction point – condensation: If you wake up with a damp bag, you didn’t vent enough. Open the fly’s vent flap or unzip the top foot of the tent door mesh before bed. In rain, keep the fly sealed but crack a small gap on the leeward side.
Quick Fit Checklist
Run through these five checks before every trip. If you fail two or more, your system needs an upgrade or a workaround.
| Check | Pass / Fail |
|---|---|
| Pad R‑value matches season – Summer R 2–3, three‑season R 4–5, winter R 6+ | Pass / Fail |
| Bag rating at least 10°F below forecast low | Pass / Fail |
| Pillow height keeps neck neutral (side sleepers need 4–6 in. of loft) | Pass / Fail |
| Tent vents can be opened to dump condensation | Pass / Fail |
| Campsite is level, dry, and free of rocks/roots | Pass / Fail |
Troubleshooting Common Nighttime Discomforts
| Problem | Likely Cause | Fix |
|---|---|---|
| Cold back in the morning | Pad R‑value too low for the temp | Add a closed‑cell foam pad below your air pad, or double up pads |
| Shoulder pain | Bag cut too narrow or pillow too flat | Switch to a wider bag or add a clothing layer under your pillow |
| Damp sleeping bag | Condensation from breath or sweating | Vent the tent more aggressively; use a fleece liner to wick moisture |
| Waking up in a puddle | Tent pitched in a low spot | Move the tent or dig a small drainage trench around the footprint |
Escalation signal: If you wake up shivering despite a properly rated bag and pad, your insulation is wet. Get out immediately, change into dry base layers, and dry the bag with body heat in the morning (lay it in the sun or stuff it under your sleeping pad while you pack). Persistent hip or shoulder pressure means your pad is too thin for your sleeping style—consider a thicker or memory foam model.
Success check: After your first night, you should wake up feeling rested, not stiff or cold. If you do, your system is dialed in. If not, revisit the fit checklist and swap the weakest layer before your next trip.
FAQ
What is the best sleeping pad for side sleepers?
Side sleepers need at least 3–4 inches of pad thickness to keep the hip and shoulder from bottoming out. Air pads with high baffle design or thick memory foam pads (like the CYMULA) work well.
Can I use a camping mattress instead of a sleeping pad?
Yes, if you are car camping and have the space. Thick foam mattresses offer excellent comfort but are too bulky for backpacking.
How do I keep my sleeping bag from getting wet from condensation?
Keep tent vents open all night, avoid breathing directly into the bag, and use a fleece liner that wicks moisture away from your skin.
Which is warmer: an air pad or a foam pad?
It depends on the R‑value, not the type. A high‑R air pad can be warmer than a thin foam pad. For winter camping, combine a closed‑cell foam pad (R~2) with an air pad (R~4–5) for a total R‑value over 6.
Camping Bob has spent over 20 years camping across the US — from BLM dispersed sites in the Southwest to KOA campgrounds in the Pacific Northwest. He writes practical, no-nonsense guides to help fellow campers get outdoors with confidence.