How to Purify Water While Camping: Boiling, Filters, Tablets & UV
Boiling for one minute, running it through a 0.2-micron filter, dropping in chlorine dioxide tablets, or zapping it with UV light will each turn questionable water into safe drinking water. The method that works best for you depends on your water source, trip length, pack weight, and group size. For most weekend trips, a squeeze filter or boiling covers the basics. For ultralight travel, tablets or UV save weight. For remote backcountry with virus risk, combine a filter with chlorine dioxide or switch to a purifier.

Quick Decision Aid
Run through these checks before you pack. Each box that fits narrows your choice.
- Clear mountain stream, low sediment, no livestock upstream: Filter, UV, or tablets all work fine.
- Muddy river or lake with visible silt: Pre-filter through a bandana or coffee filter, then boil, use chlorine dioxide, or run through a filter with a pre-screen.
- Trip is 1–2 nights, cooking dinner on a stove anyway: Boiling is free fuel-wise and requires no extra gear.
- Ultralight solo trip under 10 pounds total pack weight: Tablets or a UV wand save 6–10 ounces over a pump filter.
- Group of 4 or more needing bulk water at camp: Gravity filter with a 2-liter dirty bag or boiling in a large pot covers everyone at once.
- Above 6,500 feet or water near grazing land or latrines: Boil for 3 minutes, use a 0.01-micron purifier, or add chlorine dioxide tablets. Iodine alone will not kill Cryptosporidium.
- Freezing temps overnight: Tablets or boiling are more reliable than filters or UV, which can crack or fail in the cold.
If two methods fit, bring a primary and a backup. A filter as primary with chlorine dioxide tablets in the pack weighs almost nothing and covers every failure mode.
Quick Comparison of the Four Methods
| Method | Kills Bacteria | Kills Protozoa | Kills Viruses | Time per Liter | Main Limitation |
|---|---|---|---|---|---|
| Boiling | Yes | Yes | Yes | 1–3 min boil + cool-down | Uses stove fuel; does not clear sediment or taste |
| Chlorine Dioxide Tablets | Yes | Yes | Yes | 30–60 min | Slow in cold or cloudy water |
| Iodine Tablets | Yes | Partial (not Crypto) | Yes | 30 min | Does not kill Cryptosporidium; leaves metallic taste |
| Squeeze/Gravity Filter (0.2 micron) | Yes | Yes | No | 1–3 min | Does not stop viruses; clogs in silty water; can freeze |
| UV Light | Yes | Yes | Yes | 60–90 sec | Requires clear water and charged battery; delicate |
For virus protection with a 0.2-micron filter, pair it with chlorine dioxide tablets or upgrade to a 0.01-micron purifier.
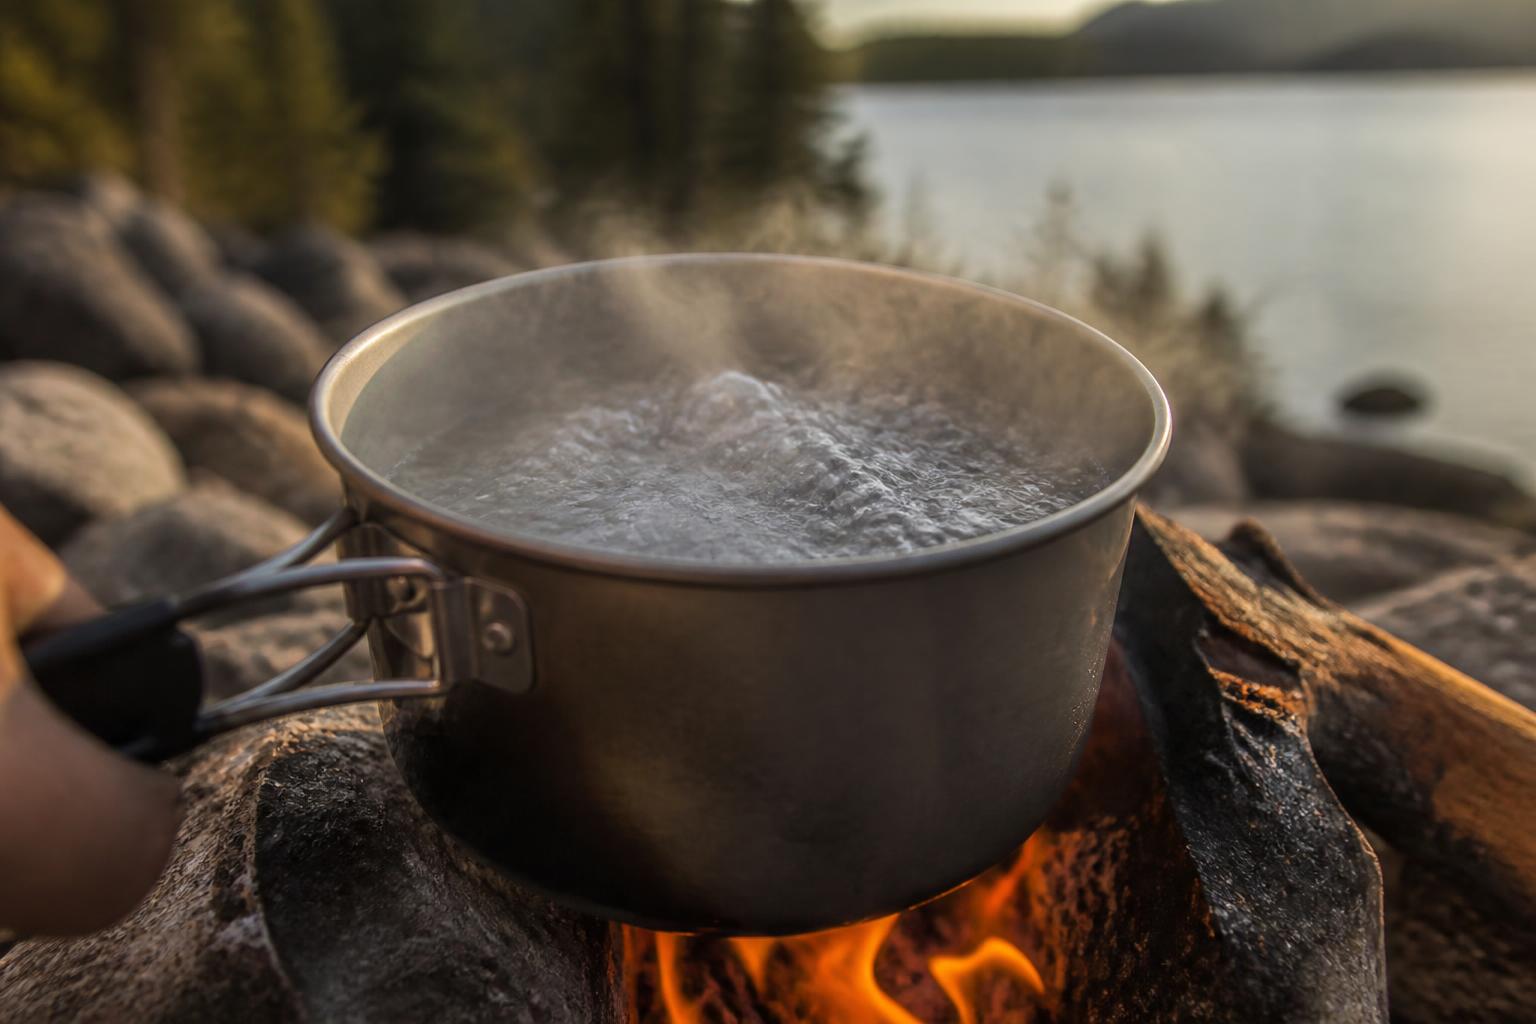
Boiling
Boiling is the most reliable method because heat kills everything given enough contact time. No chemicals, no batteries, no replacement cartridges.
Steps
- Fill a pot or kettle with the cleanest water you can find. If the water is murky, pour it through a bandana, coffee filter, or tightly woven cloth first so sediment does not waste fuel.
- Bring the water to a full rolling boil — large bubbles across the entire surface, not just small ones around the edges.
- Keep it boiling for 1 minute at sea level. Above 6,500 feet, boil for 3 full minutes. Water boils at a lower temperature at altitude, so the longer time ensures everything dies.
- Let the water cool naturally in the pot, or pour it between two clean cups to speed it up. Store in a clean bottle.
Success Check
After cooling, the water should look clear (if you pre-filtered) and have no off odors. If you are unsure whether you maintained a full boil, re-boil for the full time. Once cooled, the water is safe to drink with no further treatment.
Likely Causes of Failure
- You stopped heating as soon as the first bubbles appeared.
- You boiled for 1 minute at 7,000 feet thinking sea-level rules applied.
- The pot had a lid that held steam but did not actually boil the full volume.
Escalation Signal
If you run out of fuel before the water reaches a full boil, do not drink it. Wait until you can re-light the stove or switch to your backup method. Do not try to “half-boil” water — partial heat does not kill all pathogens. If you consistently cannot sustain a boil due to altitude or wind, use a different method entirely.
When to Skip Boiling
- You are trying to save stove fuel for cooking meals, especially on a multi-day trip.
- You are in a dry area where you cannot replenish fuel.
- You want to remove sediment or improve taste, which boiling does not do.
Chemical Tablets: Iodine and Chlorine Dioxide
Tablets are the lightest option. A 50-count bottle weighs under an ounce and treats 25–50 liters with no pump, no battery, and no moving parts.
Steps for Chlorine Dioxide Tablets (Recommended Over Iodine)
- Fill a clear water bottle with the cleanest water available. If it is silty, pre-filter through a bandana or let the sediment settle for 10 minutes and pour the clearer water off the top.
- Add one tablet per liter, or follow the label dosage for drops. Close the bottle and shake gently to dissolve.
- Wait the full contact time: 30 minutes at 50°F or warmer with clear water. If the water is cold (40–50°F) or cloudy, wait 60 minutes.
- After the waiting period, unscrew the cap slightly, tilt the bottle upside down, and let a few drops run out to treat the threads.
Success Check
After the full contact time, the water should have a faint chlorine smell and taste. If the water is still cloudy, the dose may be too low — add another half-tablet and wait another 15 minutes. If the water has no chemical taste at all and is cold, the tablet may not have activated properly; warm the bottle in your jacket for 20 minutes before re-dosing.
Likely Causes of Failure
- You opened the tablet and held it in sweaty fingers before dropping it in, which can degrade the chemical.
- You used iodine in an area with beavers or cattle and did not kill Cryptosporidium.
- You drank from the bottle threads without treating them.
Escalation Signal
If the tablet does not dissolve completely or the water remains cloudy after a double dose, stop using that batch of tablets. Expired or improperly stored tablets lose effectiveness. Switch to boiling or a filter. Do not attempt to treat heavily sedimented water with tablets alone — sediment shields pathogens from the chemical.
Trade-Offs
- Iodine leaves a metallic taste that some people find hard to drink. Chlorine dioxide has a milder taste that most tolerate.
- Iodine does not kill Cryptosporidium. If you are in a watershed with heavy animal traffic, use chlorine dioxide, boil, or filter.
- Tablets leave a residual that continues protecting the bottle from recontamination until you empty it.
When to Skip Tablets
- You need water immediately after a long, thirsty hike.
- Your water source is heavily sedimented and you cannot get clear water.
- The temperature is below 40°F and you have no way to warm the water.
Water Filters: Pump, Squeeze, and Gravity
A filter physically removes organisms by size. Most backpacking filters use a 0.2-micron hollow-fiber cartridge that catches bacteria and protozoa, including Giardia and Cryptosporidium. Viruses are smaller than 0.2 microns, so they pass through unless the filter is rated as a purifier (0.01 micron or finer).
Steps for a Squeeze Filter (Most Common for Solo to Small Groups)
- Collect water in the dirty bag included with the filter. Avoid picking up debris from the bottom of the stream or lake.
- Screw the filter onto the dirty bag and attach the clean bottle or drinking spout to the outlet side.
- Squeeze the dirty bag firmly to push water through the filter into the clean container. Do not over-squeeze to the point of cracking the bag.
- If you are in a region with virus risk — near trailhead pit toilets, grazing land, or dense camping areas — add chlorine dioxide tablets to the filtered water or replace the filter with a virus-rated purifier.
- Backflush the filter with clean water after each trip or when the flow slows noticeably. Use the syringe that came with the kit; flush until the water coming out runs clear.
Success Check
After filtering, the output water should be clear and free of visible particles. The flow rate should be steady — about 1.5 liters per minute for a squeeze filter. If the flow is sluggish from the start, backflush immediately. If flow improves after backflushing, the filter is working. If not, there may be a clog deeper in the cartridge.
Likely Causes of Failure
- You pumped murky water without pre-filtering, clogging the cartridge in minutes.
- The filter froze overnight in your pack and the fibers cracked.
- The dirty bag had a pinhole leak from being packed against a sharp object.
Escalation Signal
If the filter flow does not improve after two backflushes, the cartridge is likely clogged or damaged. Stop using it — a damaged cartridge can let pathogens through. Switch to your backup method (boiling or tablets). Do not attempt field repairs on cracked hollow-fiber cartridges; they are not serviceable and must be replaced. If you suspect the filter froze, discard it and use another method for the rest of the trip.
Trade-Offs
- Weight: 3 to 10 ounces for a squeeze or gravity system, plus a spare bag.
- Speed: Squeeze filters process about 1.5 liters per minute. Gravity kits handle 1 liter per 3 to 5 minutes.
- Clogging: Murky water is the main enemy. Always pre-filter through a bandana or use a settlement container.
When to Skip a Filter
- You are hiking above the snow line with overnight freezing temperatures.
- Your only water sources are heavily sedimented and you cannot pre-filter effectively.
- You need virus protection and do not want to carry tablets as a supplement.
UV Light Purifiers
UV light destroys the DNA of bacteria, viruses, and protozoa in 60 to 90 seconds. No pumping, no chemical taste, and no waiting for a boil to cool.
Steps
- Fill a clear plastic or glass bottle with water. The water must be visibly clear — UV light cannot penetrate silt or dark-colored water.
- Pre-filter through a bandana or coffee filter if the water has any visible particles.
- Turn on the UV device and insert the lamp into the water. Most models have a flotation collar that keeps the lamp suspended in the center of the bottle.
- Stir gently or swirl the bottle so the UV reaches all areas. The device typically runs for 60 to 90 seconds per liter and shuts off automatically.
- Remove the device and drink immediately. No additional waiting is needed.
Success Check
The device should indicate completion with a green light or beep. If it shuts off before the full cycle (e.g., after 20 seconds), the battery is too low — do not trust that partial treatment. If the water is still visibly cloudy after treatment, UV may not have reached all pathogens; either re-filter the water or switch to boiling.
Likely Causes of Failure
- You used cloudy water and the UV did not penetrate fully.
- The battery died mid-trip and you had no backup.
- The glass bulb cracked when you dropped it on a rock.
Escalation Signal
If the UV device fails to complete a full cycle or the bulb is cracked, stop using it immediately. A damaged UV unit cannot be reliably repaired in the field. Switch to boiling, tablets, or a filter. Do not attempt to treat water with a UV device that has a visible crack or a flashing error light — it will not work.
Trade-Offs
- Battery life: Most UV devices treat about 20 liters per full charge. Recharge via a solar panel or power bank if you are out longer.
- Water clarity: Turbid, dark, or colored water blocks UV rays. Pre-filtering is mandatory.
- Durability: UV lamps are fragile. Handle with care and store in a padded pouch.
- No residual: Unlike tablets, UV leaves
Camping Bob has spent over 20 years camping across the US — from BLM dispersed sites in the Southwest to KOA campgrounds in the Pacific Northwest. He writes practical, no-nonsense guides to help fellow campers get outdoors with confidence.