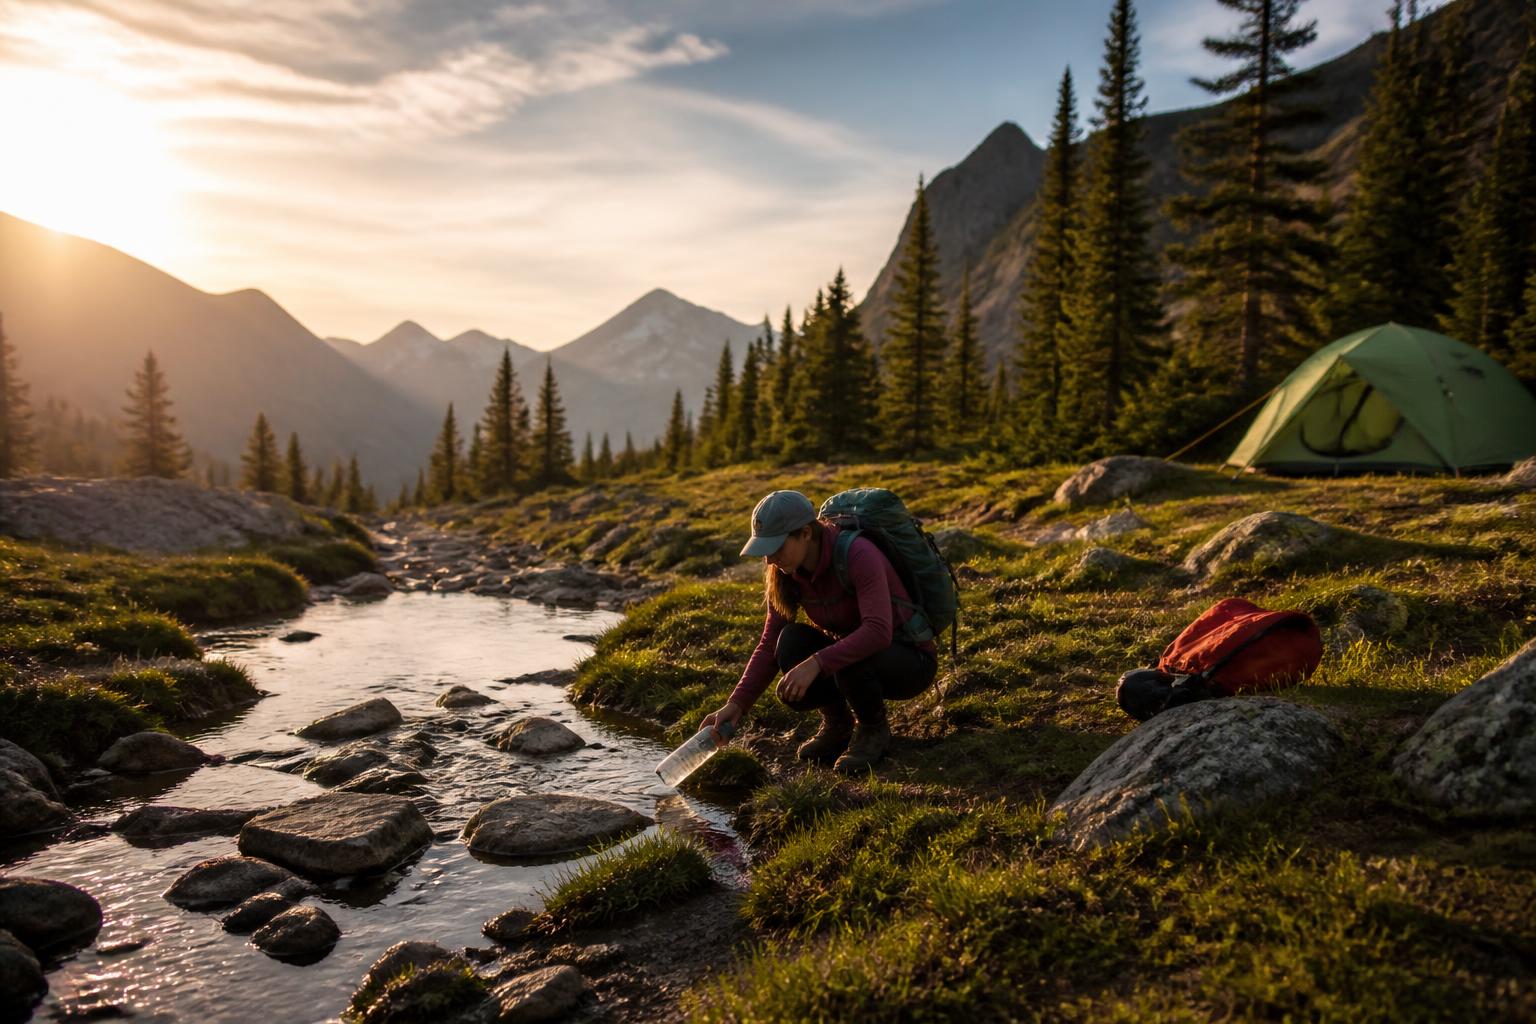
How to Find and Collect Water in the Backcountry
The fastest-moving, clearest stream you see is not your best bet for collecting water in the backcountry. It carries the same pathogens as murky water—giardia and cryptosporidium thrive in cold mountain streams—yet it’s harder to fill from and gives you a false sense of safety. Your real target is a slow, accessible source you can safely extract from, then treat.
Where to Look for Water (and Where to Look Twice)
Slow-Moving or Still Water Is Actually Easier to Collect From
Ponds, slow bends in creeks, and beaver ponds often look brown or have visible sediment. That sediment has already settled out larger particles, which means your filter’s intake will clog less quickly. You can kneel at the edge, submerge a container steadily, and fill up without fighting current.
Fast-Moving Streams: Overrated for Collection
A tumbling stream looks pristine but offers no safety advantage. The real problem is collection: you have to find a stable spot, avoid slipping, and keep your gear from being swept away. The effort-to-yield ratio is poor.
Dry Creek Beds: Dig Before You Give Up
On the outside bend of a dry streambed, dig down six to twelve inches. If the soil feels damp, keep digging until water seeps in. Let it settle a minute before collecting. This is slow but reliable in arid terrain.
Rock Features and Vegetation Clues
- Granite domes or cliff bands: Check solution pockets (weather-worn depressions) that hold rainwater.
- Pine or fir groves in a valley: Shade and deeper soil often mean subsurface moisture. Look for seeps at the base of slopes.
- Animal trails: Converging game trails almost always lead to water. Follow them cautiously, especially in low light.
How to Collect Water Safely
Once you’ve found a source, follow these steps to fill up efficiently without contaminating your gear.
Step 1: Assess the Access Point
Choose a spot where you can kneel or crouch without slipping. Avoid muddy banks that collapse. Branch: If the bank is steep or unstable, do not attempt to reach the water—look for a downstream gravel bar, a flat rock, or a log that gives you a solid perch. If you cannot find a stable access point within 50 yards, move to a different source rather than risk a fall or gear loss.
Step 2: Let It Settle
If your approach stirred up sediment, wait two to three minutes. Collect from the top six inches of the water column—most debris and heavy particles stay below.
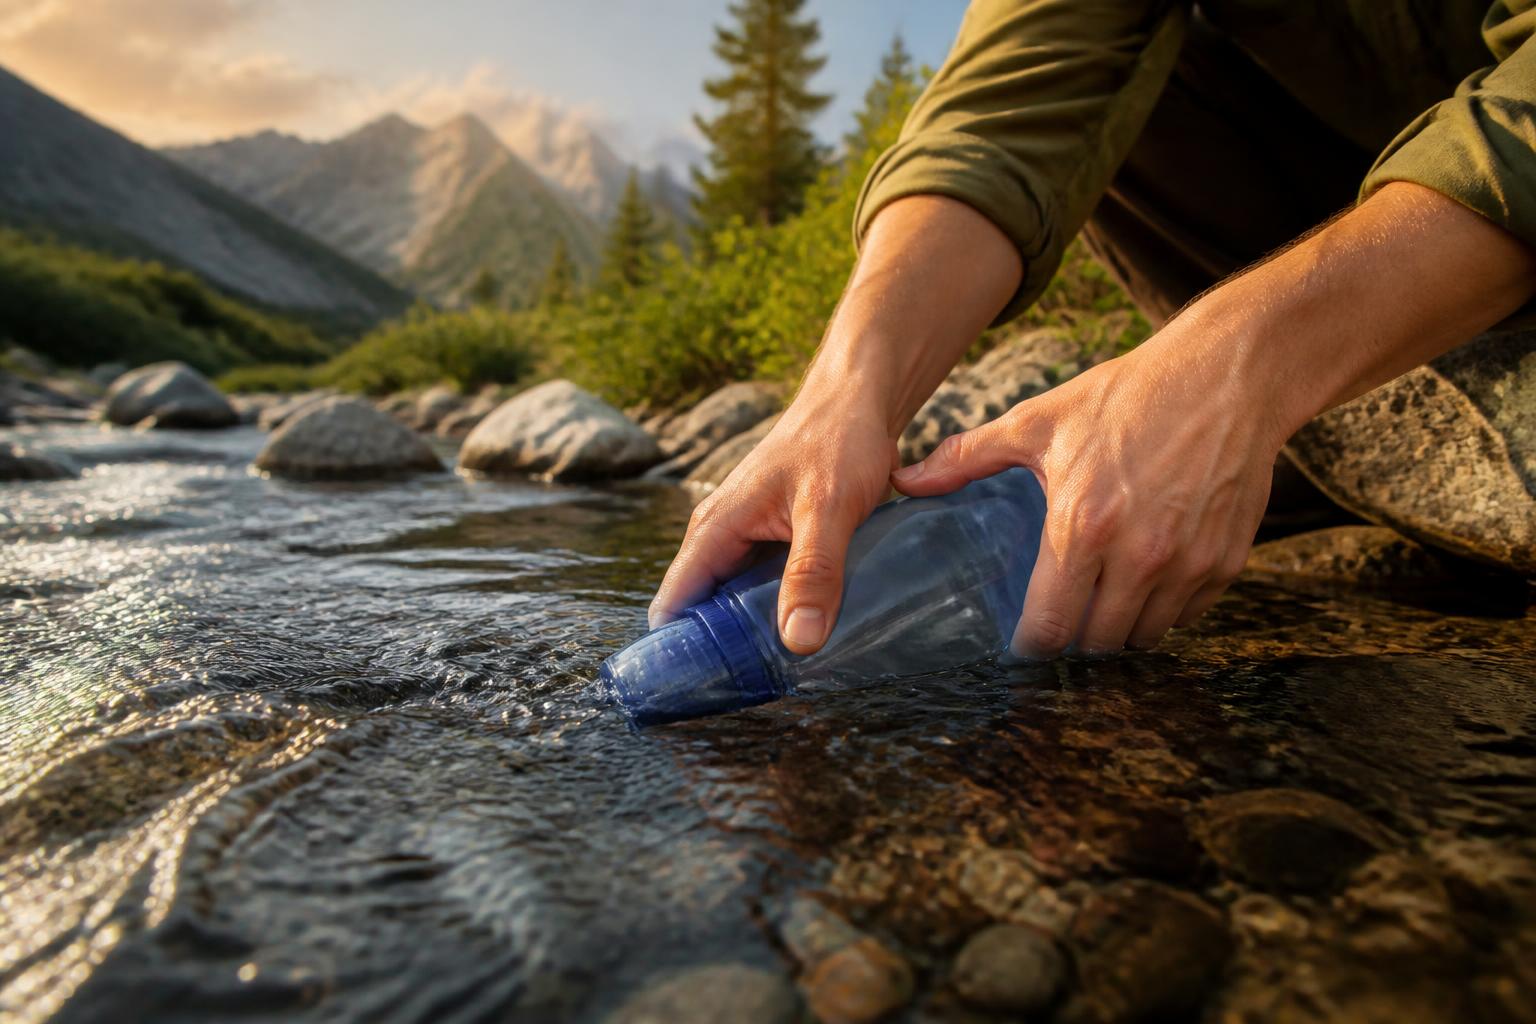
Step 3: Use the Right Container
A wide-mouth bottle or collapsible bucket is easier to fill than a narrow-neck bottle. The ITRAZ Collapsible Water Container with Spigot, 2×5.3 Gallon BPA Free Camping Water Storage Jug Carrier gives you a stable reservoir and a spigot for transferring clean water. If you’re using a filter with a hose, skip the intermediate container and pump or gravity-feed directly from the source.
Step 4: Keep the Intake Off the Bottom
If using a filter hose, float the intake or suspend it a few inches below the surface with a small rock as a weight. Sucking mud into the intake will clog the pre-filter fast. Branch: If the water is shallow (less than 6 inches deep), dig a small hole next to the bank to create a deeper pocket, or use a cup to scoop gently without disturbing the bottom.
Step 5: Pre-Filter if Needed
Pour water through a bandana or coffee filter to remove leaves and twigs before running it through your main filter. This prevents clogs and extends the life of the filter element.
Trouble‑Shooting Common Collection Issues
- Filter flow drops sharply: Your intake may be buried in mud or debris. Lift the intake, clear the pre‑screen, and backflush the filter per the manufacturer’s instructions. If flow does not recover after a backflush, the filter element may be compromised—switch to chemical treatment or boiling.
- Water is still muddy after settling: Collect from a different spot at the same source (upstream edge or deeper channel) or pre‑filter through a tightly woven cloth twice before running it through your filter. Muddy water can clog a filter in minutes.
Field Decision Checks
Use these pass/fail checks before you commit time to any source. If you fail one, move to a different spot or adjust your approach.
| Check | Pass | Fail |
|---|---|---|
| Accessible edge you can kneel or stand on safely | Bank is stable, no steep drop-off | Bank collapsing, water too deep to reach |
| Water not obviously contaminated (dead animal, chemical smell, algae bloom) | Clear odor, no carcass within sight | Visible carcass, strong chemical or sulfur smell |
| Flow or depth sufficient to fill a container in under 10 minutes | Can submerge container or intake easily | Only a few ounces at a time |
| No heavy sediment churn from your approach | Water clears within 2 minutes of standing still | Water stays muddy for 5+ minutes |
| Right treatment method ready (filter, tablets, or boil capability) | Filter or tablets accessible and functional | Treatment broken, missing, or depleted |
If you pass all five, proceed with collection. If you fail any, adjust or move on.
What to Do Immediately After Collection
Water straight from a backcountry source needs treatment before drinking—no exceptions.
Filtration (Fastest for Clear to Slightly Murky Water)
A field filter rated at 0.1 micron or smaller removes bacteria, protozoa, and cysts. The Sawyer Products SP128 Mini Water Filtration System, Single, Blue weighs two ounces and handles thousands of gallons if backflushed regularly. Let sediment settle and pre-filter through a cloth to keep flow rate high.
Chemical Treatment (Best Backup for Clear or Cold Water)
Aquatabs 49mg Water Purification Tablets are EPA-registered and kill bacteria, viruses, and cysts per label. They work best in non-turbid water—pre-filter if it looks murky. Cold water (below 50°F) requires longer contact time; follow package instructions.
Boiling (Bulletproof but Fuel-Intensive)
Bring water to a rolling boil for one minute (three minutes above 6,500 feet). This kills everything but leaves sediment and taste. Use as a backup when your filter is damaged or tablets are gone.
Verification: Confirm Your Treatment Worked
After applying treatment, take these steps to confirm the water is safe before drinking:
- Filter: Check that the output water is clear (no visible particles). If the flow rate has slowed significantly (more than 30 seconds per liter slower than normal), backflush the filter and re‑filter. If flow remains slow after backflush, the filter may be compromised—switch to tablets or boil.
- Tablets: Verify the tablet fully dissolved (no residue floating). Wait the full contact time listed on the package. If the water is very cold (below 40°F), double the contact time. After the wait, the water should have a slight chlorine taste—if it tastes flat or off, the dose may have been insufficient; add a second tablet and wait again.
- Boil: Confirm the water reached a rolling boil for the required time. If you are unsure, boil for an additional minute. Let it cool naturally—do not add ice or untreated water to speed cooling.
When to Escalate: Stop DIY and Get Help
Stop collecting and treating on your own if any of these conditions occur:
- You have searched for 30 minutes in a known water‑bearing area (valley, drainage, or near vegetation) and found no source at all.
- Your only treatment method is damaged beyond field repair (filter cracked, tablets wet and crumbled, no fuel for boiling) and you have no backup.
- You have consumed untreated water because you had no other option—plan to exit the backcountry and monitor for symptoms of waterborne illness (nausea, cramps, diarrhea) over the next 5–10 days.
In any of these situations, your priority shifts from routine collection to emergency signaling, rationing remaining water, or rerouting to a trailhead. Do not gamble with untreated water even if you are thirsty.
Success Check
You have successfully found and collected backcountry water when: you have a full container from a source that passed all five field checks, you have applied your chosen treatment method (filter, tablets, or boil), and the treated water is in a clean bottle ready to drink. If any of those three criteria are missing, go back to the collection step or double‑check your treatment gear.
Camping Bob has spent over 20 years camping across the US — from BLM dispersed sites in the Southwest to KOA campgrounds in the Pacific Northwest. He writes practical, no-nonsense guides to help fellow campers get outdoors with confidence.