How to Remove a Tick Safely: Tools, Technique & What NOT to Do
Grasp the tick as close to your skin as possible with fine-tipped tweezers and pull straight upward with steady, even pressure. Do not twist, jerk, or crush the tick’s body. That one motion — clean, slow, straight — is the single most effective way to reduce your risk of infection. The wrong method (heat, smothering, or jerking) can force infected saliva into your bloodstream, so knowing exactly what to do before you start matters more than speed. Here’s the full breakdown: what you need, how to do it step by step, and the mistakes that can turn a low-risk bite into a problem.
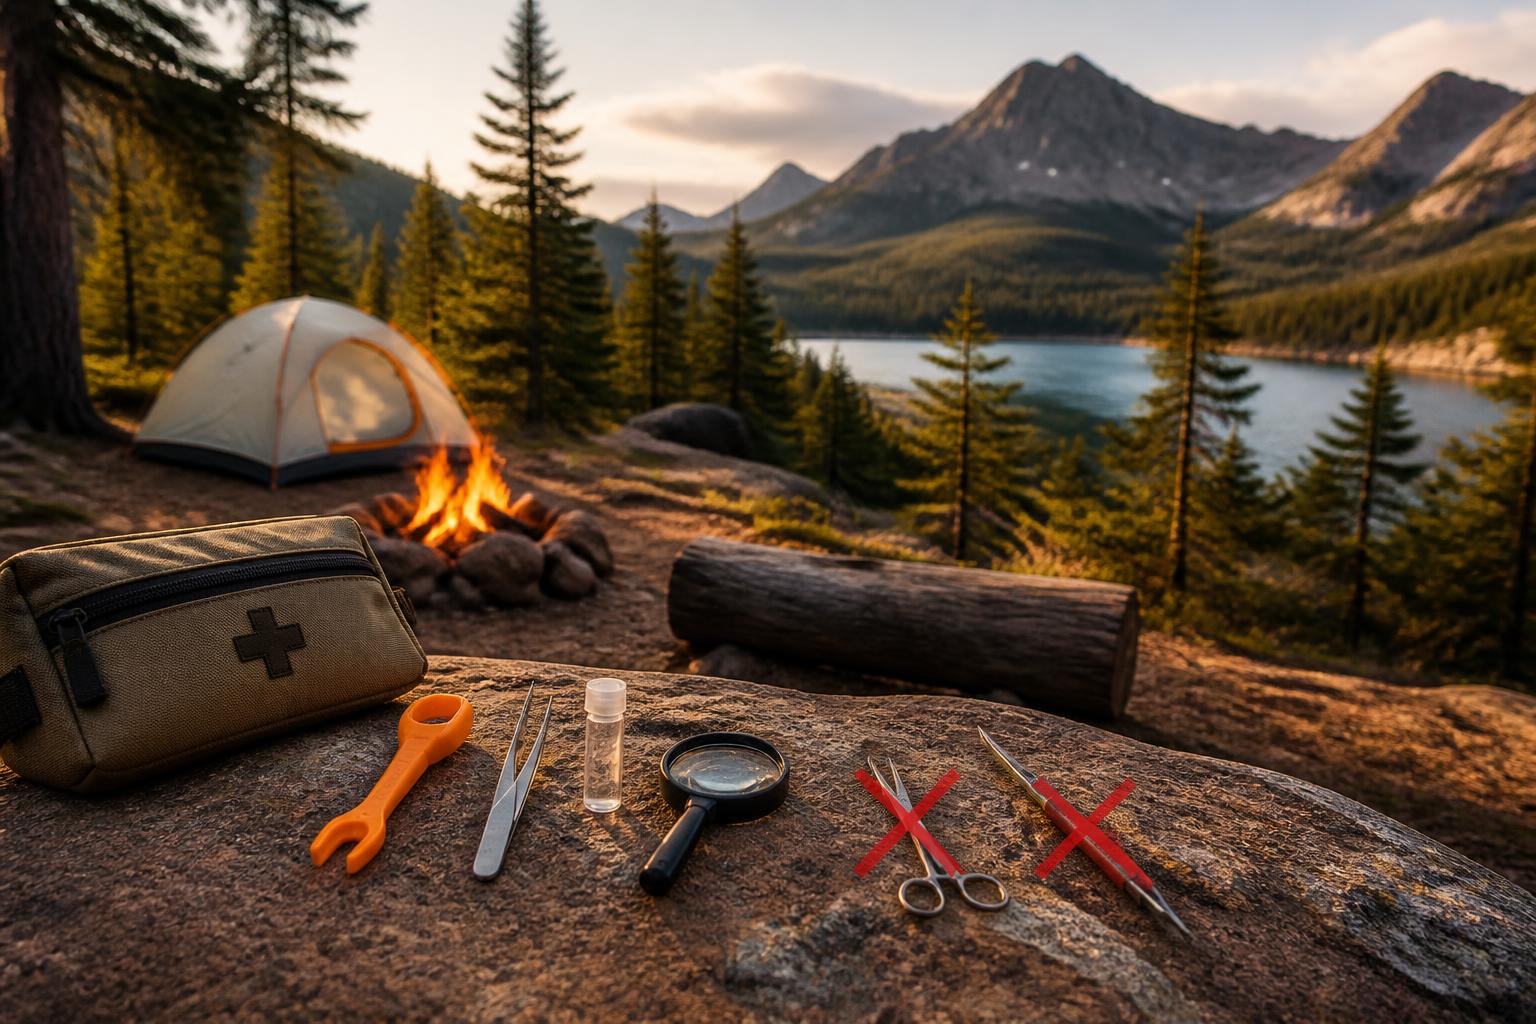
Tools You’ll Need (and What Not to Use)
Must-have: Fine-tipped tweezers (pointed, not blunt). Household tweezers with broad tips are too wide — they squeeze the tick’s body and can force saliva into your bite. If you don’t have fine-tipped tweezers, buy a dedicated tick removal tool (like a tick key or hook) before you attempt removal. A tick card or scoop is especially helpful for nymphs (poppy-seed-sized ticks) that tweezers struggle to grip cleanly.
Nice-to-have:
– Rubbing alcohol or antiseptic wipes (to clean the bite area and dispose of the tick)
– Latex or nitrile gloves (if available — they provide a barrier, but not required)
– A zip‑seal bag, small jar, or piece of tape to save the tick for identification
– A magnifying glass or bright flashlight to see small ticks clearly, especially on dark skin or areas with hair
Do NOT use: matches, cigarette butts, nail polish, petroleum jelly, alcohol (on the tick itself), freezing spray, or any method that smothers, burns, or irritates the tick. All of these increase the chance the tick will vomit infection‑causing bacteria into your bloodstream. Even if they seem like “home remedies,” they reliably make things worse.
Before You Start – Quick Safety Checklist
- [ ] Fine‑tipped tweezers or a tick‑removal tool is within arm’s reach.
- [ ] No oily substances, heat sources, or smothering products are nearby.
- [ ] You have a clean container to store the tick after removal.
- [ ] You are in good light and can see the bite area clearly (a headlamp or pocket light helps on hard‑to‑see spots like the scalp or back).
- [ ] You have a plan to disinfect the bite site immediately after removal.
- [ ] (Optional but smart) A second person is available to help if the tick is on your back, neck, or behind a knee — removing a tick you can’t see often leads to a twisted or broken grip.
Step‑by‑Step Removal Plan
-
Clean the area (optional but recommended). Wash the skin around the tick with soap and water or an antiseptic wipe. This reduces surface bacteria but doesn’t affect the removal — avoid scrubbing directly on the tick.
-
Grip the tick at the skin line. Using the tweezers, grab the tick as close to your skin as possible. For ticks in hair, part the hair to get a clear view.
Branch point — tick size matters: - Nymphs (smaller than a poppy seed): Even fine‑tipped tweezers may struggle. Use a dedicated tick removal card or scoop — slide it under the mouthparts gently and lift. If you only have tweezers, try opening the tips slightly wider than the tick’s body and pinch at the skin line, not the body.
- Engorged adult ticks (size of a small grape): Standard fine‑tipped tweezers work, but be careful not to squeeze the swollen abdomen. Grip only the head parts (the darker, narrower front end). Squeezing the body bursts fluid into the bite.
-
Unengorged adult ticks (size of a sesame seed or apple seed): Standard fine‑tipped tweezers work well. Grip at the skin line and pull.
-
Pull straight up with steady pressure. Do not jerk, twist, or rock the tweezers. A slow, even pull (not yanking) lets the mouthparts release naturally. The pull may take 10–30 seconds — patience matters. If the tick doesn’t budge after 30 seconds of steady pull, gently increase pressure, still without twisting.
-
Check the bite site. The tick should come out intact. If a tiny black dot remains, the mouthparts may have broken off. Clean the area and leave them alone; your body will usually expel them over a few days.
Verification that removal succeeded: After pulling, look for the tick’s intact head and mouthparts (the front end). The bite area should appear as a small puncture, not a ragged wound. No active bleeding suggests a clean removal. If you see a dark spot that looks like a splinter, that’s likely retained mouthparts — do not dig.
-
Disinfect. Apply rubbing alcohol or an antiseptic to the bite. Wash your hands thoroughly.
-
Save the tick. Place it in a sealed bag or jar with a damp cotton ball (to keep it identifiable). Label it with the date and the location on your body. If you develop symptoms in the next month, a lab can test it for Lyme disease or other pathogens. You can also freeze the tick to kill it before storage.
What NOT to Do (and Why)
- Don’t twist or jerk. Twisting can break off the mouthparts. Jerking can inject tick saliva.
- Don’t squeeze the body. Pressure on the tick’s abdomen can force infected fluid into your skin.
- Don’t apply heat, alcohol, or Vaseline. These irritate the tick, causing it to regurgitate or hold on tighter.
- Don’t use your fingers. Fingertips are too wide to grip at the skin line — you’ll squeeze the body. If you have no tweezers, use a tissue or cloth to shield your fingers, but still try to grip as close to the skin as possible.
- Don’t wait. Remove the tick as soon as you find it — the risk of Lyme disease transmission increases significantly after 24–48 hours. Check your whole body after outdoor activities in wooded or grassy areas.
Troubleshooting: When Things Go Wrong
Half the tick remains (mouthparts broken off). The biggest risk is infection from the wound, not from retained mouthparts. Clean the area thoroughly and treat with antibiotic ointment. Do not dig around with a needle — that often causes more harm. Watch for redness, swelling, or pus. If you see those, see a doctor.
Tick is deeply embedded. Rarely, the entire tick may be buried under skin. Do not cut it out yourself. Seek medical care for removal under sterile conditions.
Failure mode — you used a wrong tool and squeezed the body. Symptom: the tick’s abdomen deflates or bursts, leaving a wet spot on the skin. Likely cause: using blunt tweezers or pinching the body instead of the head. Safer next move: clean the area immediately with alcohol, then try again with fine‑tipped tweezers to remove the head. If you cannot get a grip on the head after two gentle attempts, stop — see a doctor. Do not keep digging.
Tick on a hard-to-reach spot (scalp, back, behind knee). If you can’t see the tick clearly, ask someone else to do the removal. The risk of twisting or missing the skin line increases when you’re working blind. Use a mirror with a bright light only as a last resort — it’s easy to misjudge the grip.
When to See a Doctor (Explicit Stop/Escalate Threshold)
Stop DIY steps and seek medical care if any of these apply:
– You cannot remove the tick after two careful attempts and the head is still deeply embedded.
– The tick’s body ruptured during removal and you cannot confirm the mouthparts came out.
– A rash (especially a bull’s‑eye pattern) or fever develops within 30 days of the bite.
– The bite area becomes red, swollen, or painful days later.
– You live in or visited an area with high Lyme disease prevalence (Northeast, Mid‑Atlantic, Upper Midwest) — consider asking your doctor about a prophylactic dose of doxycycline within 72 hours.
Not every tick carries disease, but taking the wrong removal step can turn a low‑risk bite into a risky one. Stick to the steady‑pull method, skip the folk remedies, and you’ll have done everything you can on your own. If symptoms appear, let your healthcare provider know the date of the bite and whether you saved the tick.
Camping Bob has spent over 20 years camping across the US — from BLM dispersed sites in the Southwest to KOA campgrounds in the Pacific Northwest. He writes practical, no-nonsense guides to help fellow campers get outdoors with confidence.