Hammock Tarp Setup: Staying Dry in Your Hammock
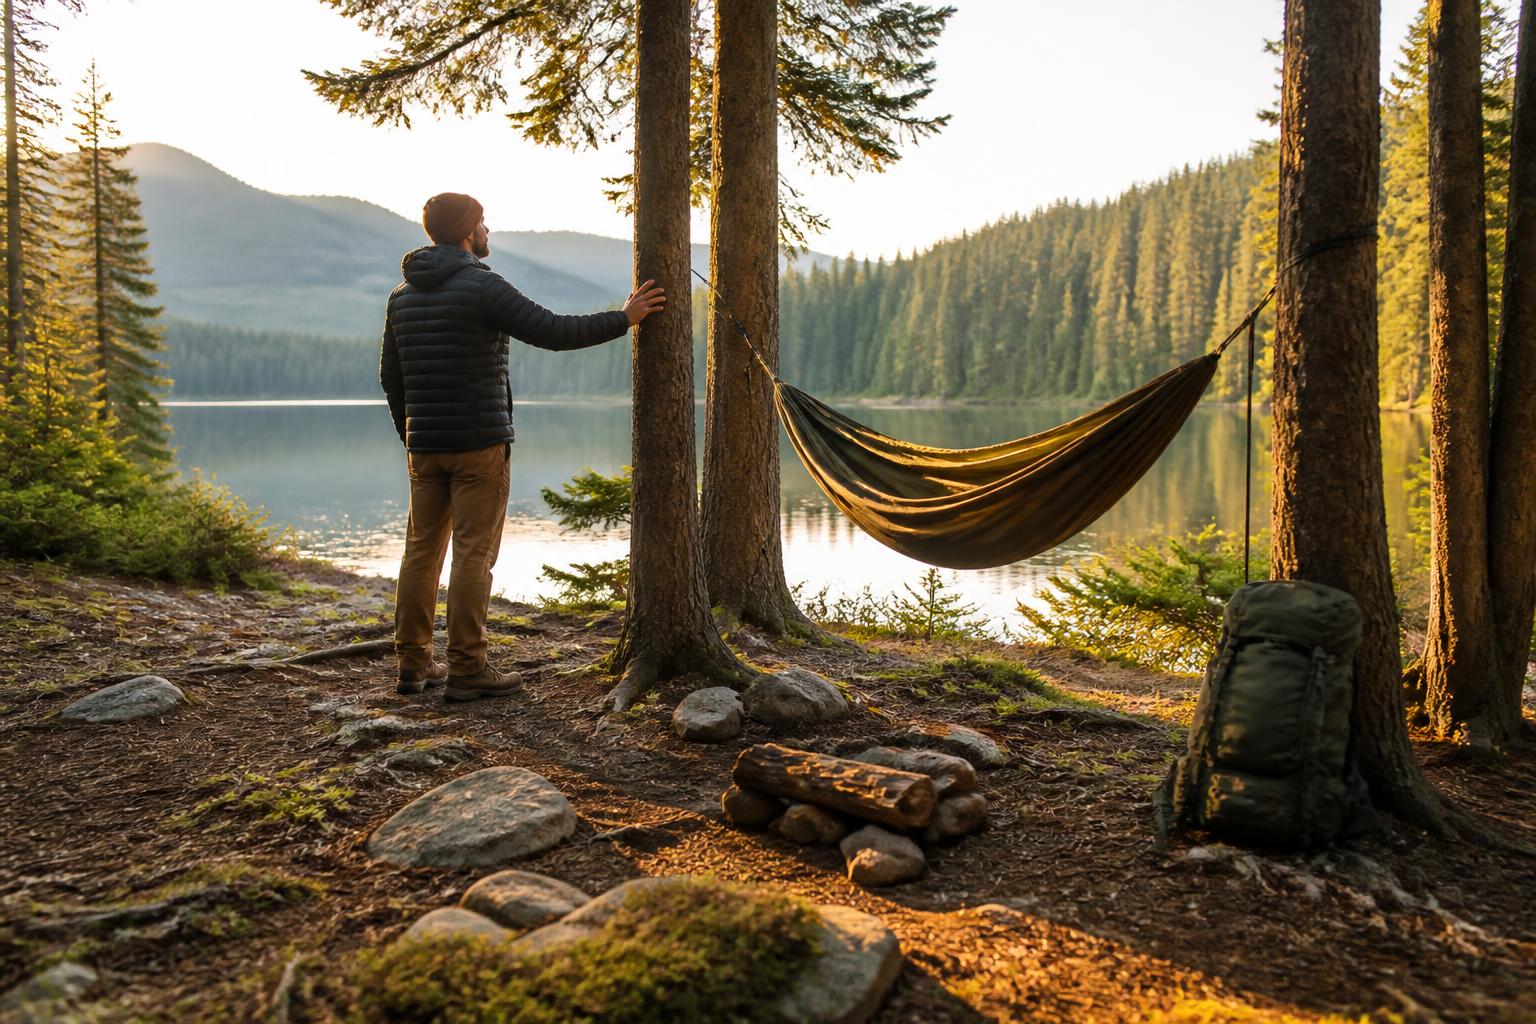
A dry hammock camp doesn’t come from cranking every line tight and sealing the tarp to the ground. That approach traps humid air against your hammock, and the condensation that forms will soak your sleeping bag faster than a light rain. The real trick is to pitch for airflow first and coverage second.
Here’s the sequence that works: pick your trees, hang your hammock first, then place the tarp over the ridge line, stake out the corners, and adjust the height and angle to match the weather. But the order matters less than the three things most people get wrong—tightness, height, and asymmetry.
Site Checks Before Rigging
Check these items before you commit to a pitch location:
- Tree spacing: 12–15 feet apart is ideal. Closer than 10 feet and your tarp won’t clear the hammock ends. Wider than 18 feet and you’ll waste cordage fighting a saggy ridge line.
- Hammock height: The hammock sits at sitting height (about 18 inches off the ground). The tarp ridge line should run 6–8 inches above the hammock ridge line or suspension—not touching it.
- Wind direction: Walk around the site and feel which way the breeze is coming from. That determines which side of the tarp stays low and which side vents.
- Ground slope: If the site isn’t level, pitch the foot end of the hammock slightly higher than the head end to keep your sleeping pad in place. The tarp follows the same orientation.
- Tarp condition: Inspect seam sealing, guy line attachments, and stake loops before you rig anything. A pinhole at a stress point will tear out under load in a gust.
Stop Sealing the Tarp to the Ground
The urge to stake the tarp edges flush with the ground feels intuitive—block every angle of rain. But in practice, a fully sealed pitch creates a microclimate inside. Your body heat warms the space under the tarp, and when that warm, humid air meets the cold tarp fabric, condensation forms. Within a few hours, the underside of the tarp is dripping onto your hammock.
Leave a 4–6 inch gap between the tarp edge and the ground on at least one side (the leeward side) to let air circulate. In all but horizontal rain, that gap won’t let water in—it’ll let moisture out. If wind-driven rain is a real risk, drop the windward side to the ground and keep a gap only on the protected side.
Failure mode to watch for: If you seal all sides and wake up to a wet sleeping bag, condensation is the likely cause. The fix isn’t more waterproofing—it’s creating ventilation. Open the leeward side by at least 4 inches. Within 20 minutes you should feel the air move through. If you still see dripping, you may have pitched too low: raise the tarp ridge line an extra 2 inches and re-check the gap.
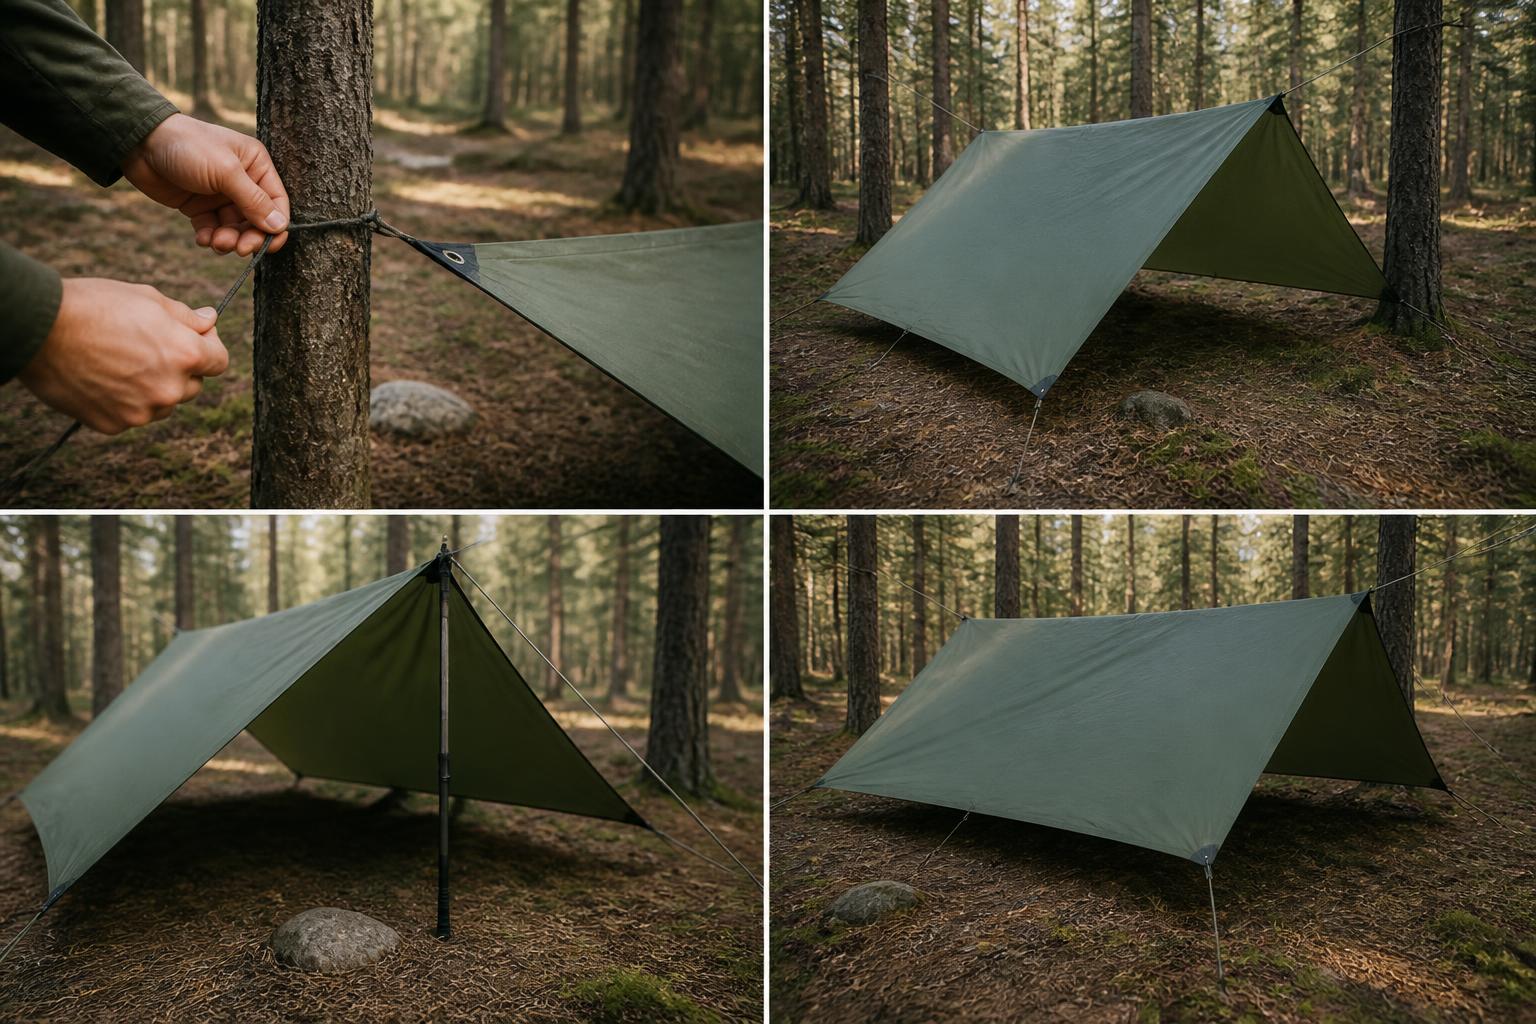
How to Pitch the Tarp in Four Steps
Step 1: Run the ridge line first.
Attach the tarp ridge line between the same two trees you’ll use for the hammock, or between two trees offset by a few feet if you want the tarp set back from the hammock. Tension the ridge line so it has a slight sag—enough to hold the tarp up but not so tight that it pulls the tree straps. A taught-line hitch on one end makes adjustment easy.
Step 2: Clip the tarp to the ridge line.
Most camping tarps have continuous loops or snap clips that run along the ridge. Center the tarp over your hammock and secure the loops. The ridgeline should run straight down the center seam of the tarp. If the tarp is rectangular, the long side should align with the ridge line.
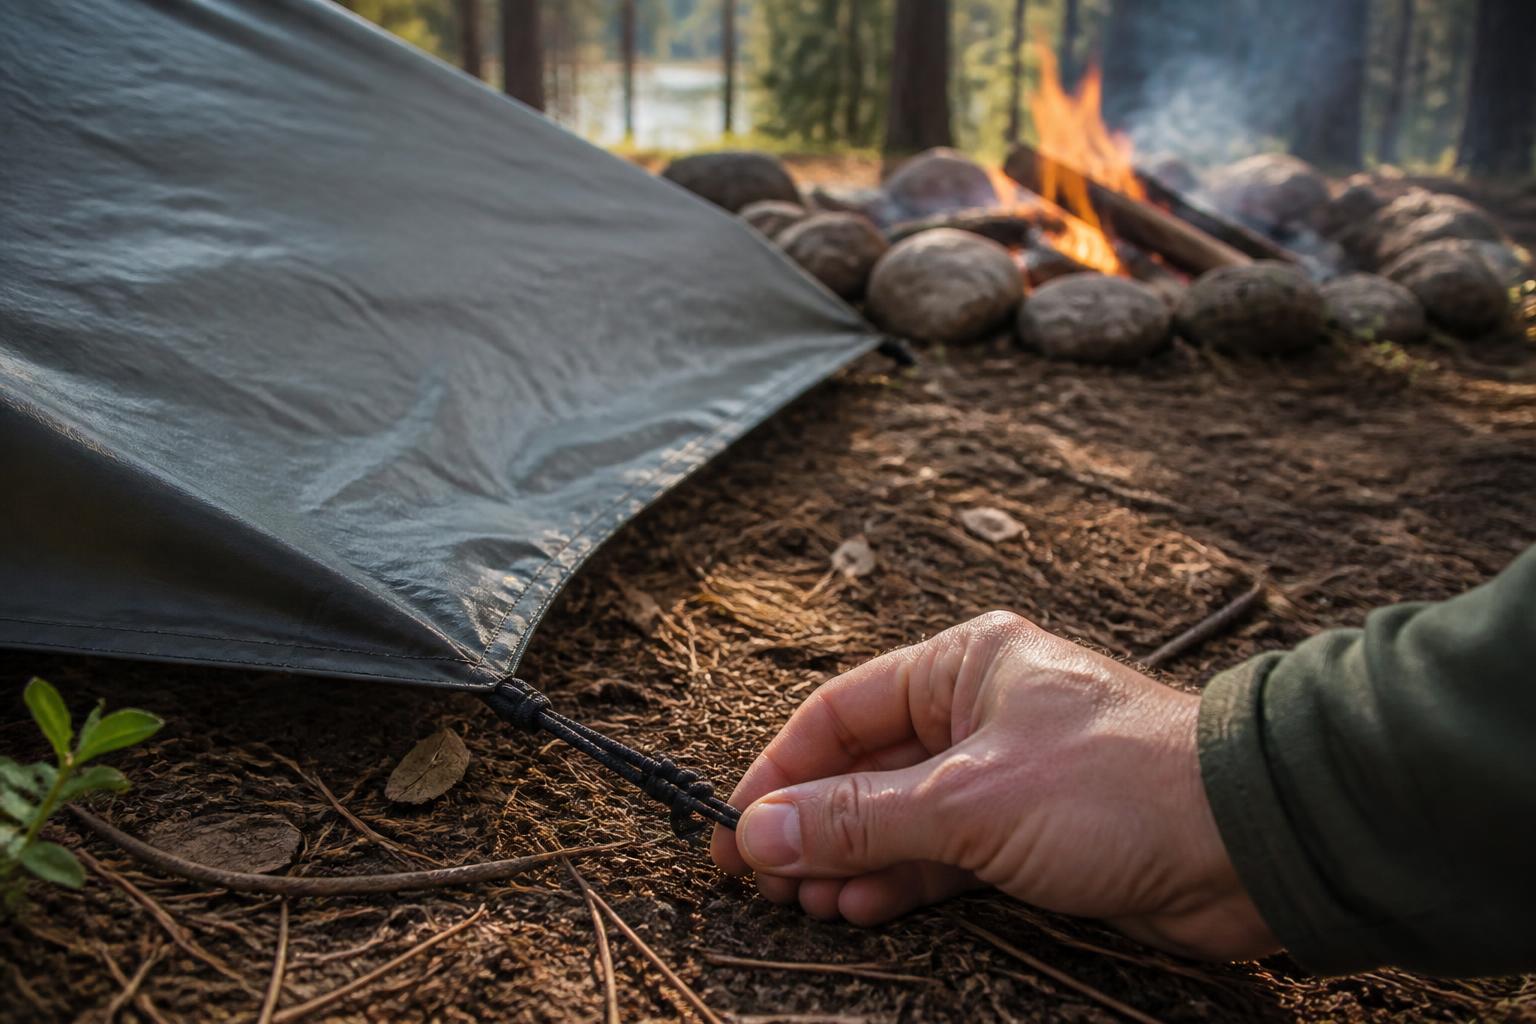
Step 3: Stake the corners at 45 degrees.
Pull each corner out at roughly a 45-degree angle from the ridge line and stake it down. The stake should go in at a 45-degree angle to the ground, not straight down—this gives the most holding power. Use a rock or log over the stake if the ground is loose.
Step 4: Add side pull-outs (if your tarp has them).
Side pull-out loops turn a closed tarp into a covered patio. Stake them out at a wider angle than the corners to lift the sides and create headroom. If the weather turns nasty, release the pull-outs and drop the sides back down.
Branch point: After you stake a corner, check that the tarp fabric doesn’t touch the hammock anywhere. If it does, the tarp is too low—raise the ridge line by adjusting your taught-line hitch. If you can’t raise it enough, your tree straps may be too high. Lower the hammock by moving the straps down a few inches, then re-center the tarp.
How to Confirm Your Pitch Works
Before you call it done, run through this quick check:
- No contact test: Gently shake the hammock. If the fabric touches the tarp, adjust height until there’s a clear gap.
- Drip test: Sprinkle a handful of water on the top center of the tarp. Watch where it runs off. It should fall well away from the hammock and your gear. If it drips onto the hammock, the angle is too flat—lower one end of the ridge line by 2–3 inches.
- Airflow feel: Place your hand 2 inches above the ground on the leeward side. You should feel a light breeze. If the air is still, open the gap by another 2 inches.
- Wind shake: Give the tarp a firm push from the windward side. It should not flap violently. If it does, tighten the ridge line slightly or add an extra stake on the panel that’s catching the wind.
When to Change Your Approach
If conditions change after sunset, don’t ignore them. Here are the thresholds that should trigger a re-pitch:
- Wind picks up above 20 mph: Drop the windward side to the ground and stake the corners more aggressively. Remove side pull-outs to reduce sail area.
- Rain shifts direction: The prevailing breeze may change during a storm. Walk out from under the tarp and check which side is getting wet. Rotate the tarp or re-stake the elevated side to match.
- You feel condensation forming (dampness on the inner tarp surface): This can happen even with a gap. If you feel it, open the leeward gap by another 2 inches. If that doesn’t dry it in 30 minutes, you may be pitched too low—raise the entire ridge line by 3 inches and re-stake.
Stop and escalate: If you spot a tear in the fabric, a broken grommet, or a guy line that has snapped, do not attempt a field repair that involves duct tape over a stress point. Pack up and move to a sheltered spot (a dense tree cluster or a pre-existing shelter). If you have a backup tarp, swap it. If neither option is available, sleep in the hammock without the tarp and use a waterproof bivvy or emergency blanket draped over the ridge line—this is a temporary measure only. Once home, replace the damaged tarp or send it to a repair shop for stitched patches.
Quick Pitch Reference Table
| Pitch Style | Best For | Trade-off |
|---|---|---|
| A-frame (standard) | Light to moderate rain, calm to light wind | Good airflow, moderate coverage; needs trees spaced 12–15 ft |
| Hexagonal (modified A-frame) | All-round three-season use | Better wind protection than flat A-frame; heavier and more stakes needed |
| Diamond | Clear skies, buggy nights, minimal weight | Almost no rain coverage; only works in dry forecast |
| Porch (asymmetrical) | Fair weather, needing covered cooking area | Exposes one side fully; must watch for shifting wind |
A dry night comes from balancing coverage with airflow. Use these checks to adapt your pitch to the conditions you actually have, not the ones you fear. Once the tarp is set, climb into the hammock, do a final visual check from inside, and you’re ready to sleep dry.
Camping Bob has spent over 20 years camping across the US — from BLM dispersed sites in the Southwest to KOA campgrounds in the Pacific Northwest. He writes practical, no-nonsense guides to help fellow campers get outdoors with confidence.