Campfire Cooking Temperature Control: Coals, Grates and Timing
Controlling campfire cooking temperature comes down to three factors: the depth of the coal bed, the distance between the coals and the grate, and when you start cooking relative to the coal’s heat output over time. Manage all three and you can sear, roast, bake, or simmer over an open fire without burning the outside or leaving the center raw.
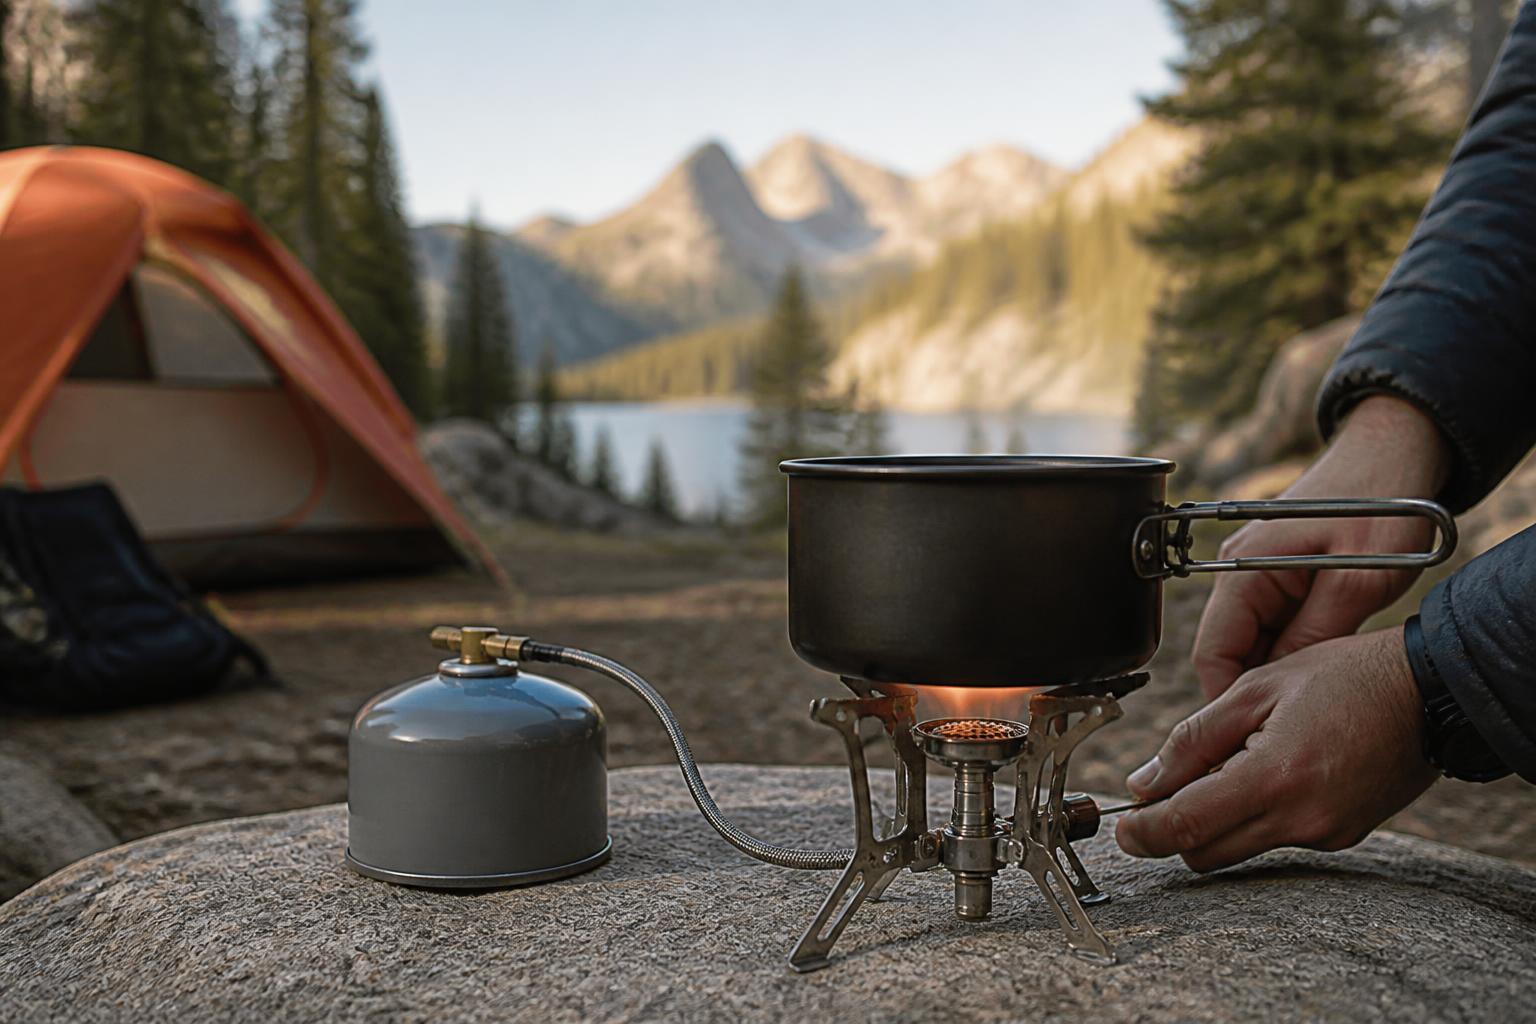
This article covers open campfires or fire pits with an adjustable or proppable grate and fuel that produces lasting coals (hardwood logs or hardwood lump charcoal). It does not apply to gas fire pits, gel-fuel tabletop fire bowls, or tiny backpacking stoves – those burn clean with no coal bed to manage. If you are cooking over a permanent stone fireplace with a fixed grate roughly 8 inches above the hearth, your only control is coal bed thickness and fuel choice, so skip the grate-height adjustments and focus entirely on spreading or banking coals.

What Your Setup Determines
- Adjustable grate: widest control. Searing at 4 inches and braising at 12 inches without rebuilding the fire.
- Fixed grate: manage heat by pushing coals together for hotter zones or spreading them thin for cooler zones.
- Group size: more than four people, plan on a coal bed at least 4 inches deep and a grate at least 18 inches wide to allow rotating food across temperature zones. For one or two people, a 2-inch coal bed and a 12-inch grate are sufficient, and you can cook everything within the first 30 minutes of the coals’ heat window.
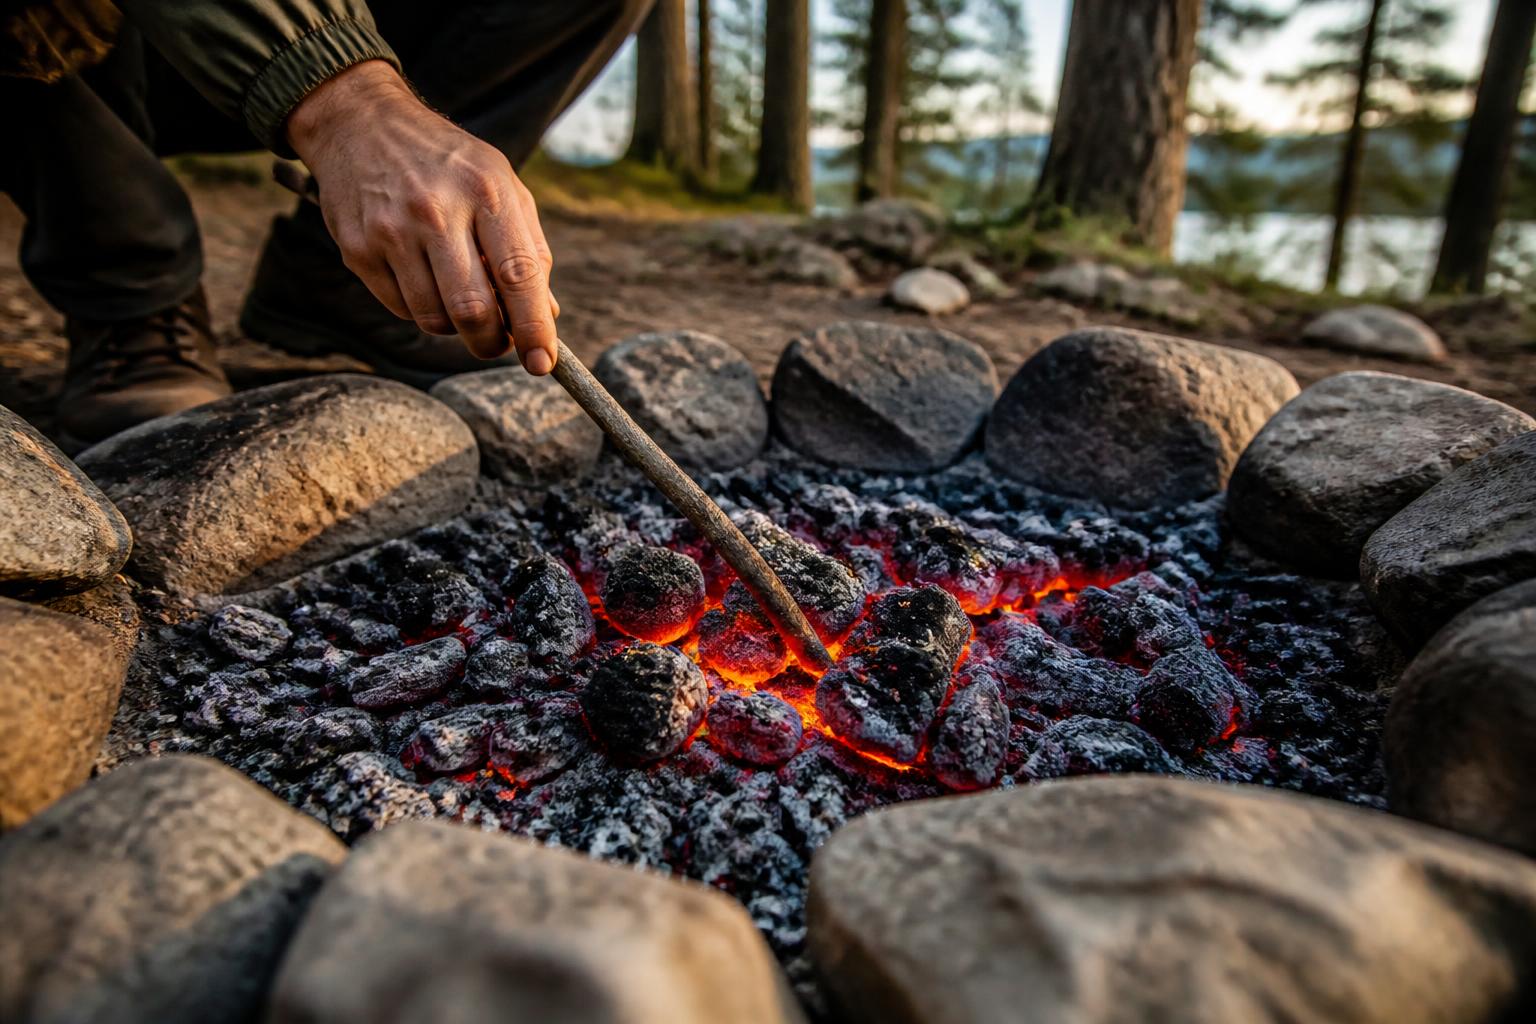
Start with a Deep Coal Bed, Not Flames
Cooking directly over flames produces charred outsides and raw centers. The rule is simple: let the fire burn down to glowing coals before any food touches the grate.
For most campfire cooking, aim for a coal bed that is 2–3 inches deep and evenly spread. For high-heat searing (steaks, burgers), want thicker coals (3+ inches) that are still bright orange-white. For slower cooking (vegetables, fish, bread), a thinner bed (1.5–2 inches) with coals that have started to ash over works better.
A good hardwood fire (oak, hickory, or maple) takes about 30–40 minutes from lighting to produce a usable bed of coals. Softwoods like pine burn faster and leave less coal – avoid them for cooking unless you are willing to add wood continuously.
Verify Your Setup Before You Cook
Use a dry stick or a long metal skewer to measure coal depth. Push it straight down through the coal bed until it hits ash or dirt. Mark the depth with your fingers, then pull it out and measure against a known reference (your phone or a tape measure). If the depth is under 1.5 inches, the bed is too thin for even cooking – add more fuel and wait 10–15 minutes.
For grate height, measure from the top of the coal bed to the bottom of the grate rods. Do not guess – use a stick or a folded measuring tape. A difference of 2 inches changes cooking time by roughly 40%. If you cannot measure, use the hand test described later, but measure at least once so you have a mental baseline for future fires.
Adjust Grate Height to Fine-Tune Heat
Distance from the coal bed to your cooking surface gives you precise, real-time control. Every inch closer roughly doubles the heat intensity.
| Target Heat | Grate Height Above Coals | Best Uses |
|---|---|---|
| High (400°F+) | 4–6 inches | Searing meat, thin cuts, burgers |
| Medium (350°F) | 8–10 inches | Chicken, fish fillets, vegetables |
| Low (300°F or less) | 12+ inches | Stews, thick roasts, keeping food warm |
If your grate does not adjust, prop it up on one side with dry rocks or green (non-soaked) bricks to create a temperature gradient. Move food from the hot side to the cooler side as needed.
Wind can pull heat away from the grate. On breezy days, raise the grate an extra 2 inches to compensate.
Time Your Cook to the Coal’s Heat Window
Coals do not stay at the same heat. They peak within the first 15–20 minutes after the flames die, then gradually cool over the next 30–40 minutes. Plan your cooking sequence to match this heat window.
- First 15–20 minutes – hottest: sear steaks, cook thin burgers, toast bread.
- Next 20–30 minutes – medium heat: cook chicken pieces, fish, grilled vegetables.
- After 45 minutes – cooling: finish root vegetables packed in foil, simmer beans, or keep food warm.
To extend the high-heat window, add a few small sticks or split logs at the edge of the coal bed every 20 minutes. This refreshes the coals without creating tall flames.
Operator Flow: From Fire to Finished Meal
Early Checkpoint Before You Start
- Coal bed at least 2 inches deep with no active flames over the cooking area. If you still see flames, wait or scrape them away.
- Grate height measured with a stick. If you are aiming for medium heat (8–10 inches) but measured only 5 inches, raise the grate before lighting any food.
- If the bed is too shallow (less than 1.5 inches), add more fuel and let it burn down 15 more minutes.
Likely Friction Points
Wind gusts cool the grate faster than you expect. On breezy days, raise the grate two inches above your normal target height. If the breeze is strong enough to blow ash onto the food, build a windbreak with rocks or a tarp (keep the tarp well away from the fire – at least 6 feet).
Uneven coal distribution creates hot spots that burn one side of the food. After spreading coals, run the back of your rake or a stick across the bed to level it. If you see any bare spots (no glowing coal), push coals from thicker areas to cover them.
Grate instability spills food. Before placing any food, push down on the grate at two corners. If it tips or rocks, reposition the support rocks or bricks. A grate that wobbles under a loaded Dutch oven can tip the pot and cause burns.
Ordered Action Steps
- Build the fire. Use a teepee or log-cabin stack. Let it burn until you have a bed of glowing coals with no active flames across the cooking area.
- Measure coal depth. Use a stick or skewer to confirm at least 2 inches of glowing coals. Spread into an even layer.
- Set the grate height. Measure from coal top to grate rods. Use the table above for your target heat. If not sure, start at 8 inches and adjust after the hand test.
- Hand test for heat. Hold your palm facing down at grate level. Count seconds:
- 2–3 seconds → high heat (searing)
- 4–5 seconds → medium heat (grilling)
- 6–7 seconds → low heat (slow-cook)
- Cook in stages. Place food on the grate. Rotate or reposition if hot spots develop. Use a thermometer for thicker cuts.
- Maintain the bed. Tuck a few small sticks under the coal bed edges every 20–30 minutes.
Escalation Signal
If food is charring on the outside but raw inside after 10 minutes, your coal bed is too hot or the grate is too low. Raise the grate by 2 inches or thin the coal layer by spreading coals wider. If food is not browning after 15 minutes over bright coals, lower the grate by 2 inches or add a few fresh coals from the edge of the fire.
If you have adjusted the grate twice and food is still burning or undercooking, the problem is likely coal quality – the wood may be too resinous (pine) or too wet. Switch to dry hardwood or hardwood lump charcoal for the next meal.
Success Check
Food comes off the grate evenly cooked, with a good sear or golden crust, and an internal temperature (for meat) at least 5°F above your target for carryover cooking. You should have enough coal left to start a second course or to keep a pot warm.
Quick Fire-Coal Readiness Check
Before you put food on the grate, confirm each item below.
- No flames over the cooking area? If flames are still present, wait until they die down.
- Coal bed at least 2 inches deep? Less than that will lose heat too fast.
- Coals are orange-to-white, not black? Black coals are either too fresh or smothered.
- Hand test at grate: can you hold for 4–5 seconds without pulling away? That is your medium baseline.
- Grate is stable and level? A wobbling grate can spill food or cause burns.
When the Open Grate Approach Hits Its Limits – and What to Do Instead
The open grate method works well for meals under 45 minutes but has real trade-offs. The biggest limitation: you cannot hold steady low heat for long. If you try to simmer a stew or bake bread on an open grate, you will spend the entire time moving coals and adjusting height, and the result will still be uneven.
The mismatch grows worse in windy or cold conditions. Below 50°F ambient temperature, an open grate at 12 inches loses heat fast enough that your stew may never reach a simmer. In that scenario, the smarter tool is a camp Dutch oven. The Dutch oven traps heat and lets you control temperature by the number of coals on the lid versus underneath. For most simmering or baking, place two-thirds of the total coals on the lid and one-third underneath. That gives an internal temperature around 325°–350°F.
Another trade-off: the open grate cannot retain moisture. Foods that need steaming or braising (tough cuts of meat, dried beans, dense breads) will dry out on an open grate even if the heat is right. For those, either use a covered pot on the grate or switch entirely to a Dutch oven.
Decision rule: If your recipe needs steady heat for longer than 45 minutes or requires a covered cooking environment, use a Dutch oven. If it is a quick-grill meal under 30 minutes, the open grate is faster and easier.
FAQ
How long should I let the fire burn before cooking?
Plan on 30–40 minutes for a hardwood fire to produce a usable coal bed. Test with the hand test before starting.
What if I do not have an adjustable grate?
Use dry rocks or green bricks to raise one side of the grate, creating a hot side and a cooler side. Move food between zones to control temperature. Do not use wet or river rocks – they can crack and explode from trapped moisture.
Can I reuse leftover coals for the next meal?
Yes. Rake the remaining coals into a pile, add a few fresh sticks, and let them catch. This works well for multi-course campfire cooking.
What is the biggest mistake people make with campfire temperature control?
Cooking over flames instead of coals. That single error causes most burnt-outside-raw-inside meals. Wait until the flames die and the coals are glowing before putting food on the grate.
Camping Bob has spent over 20 years camping across the US — from BLM dispersed sites in the Southwest to KOA campgrounds in the Pacific Northwest. He writes practical, no-nonsense guides to help fellow campers get outdoors with confidence.