
Propane Safety for Campers: Leaks, Transport & Emergency Procedures
Propane is safe when handled correctly, but a small leak can turn into a serious hazard in minutes. The most common failure you’ll face is a loose or damaged connection between the tank and the regulator. The fix is simple: a soapy-water check before every trip. If you smell gas at any point, close the tank valve immediately, get everyone away, and do not re-enter until the area has aired out.
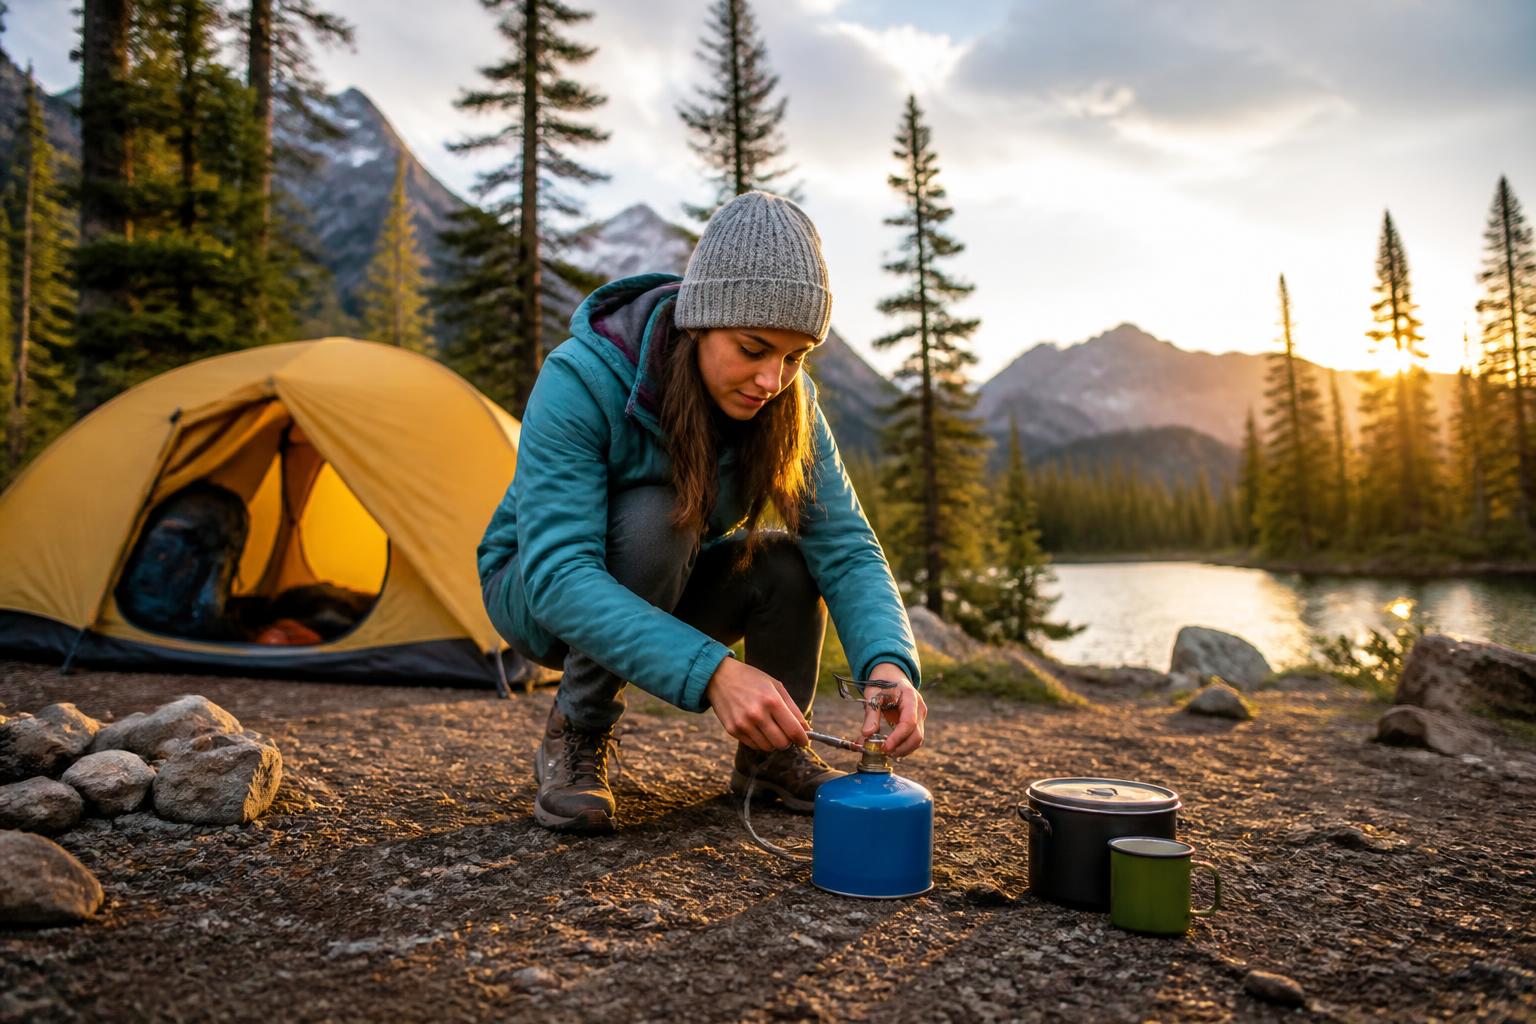
Check Your Connections Before Every Trip
The biggest risk with camping propane isn’t the tank itself—it’s the point where the hose, regulator, or appliance attaches. An O-ring that’s dried out, a handwheel that wasn’t fully tightened, or a worn gasket can let a slow stream of gas escape. Since propane is heavier than air, it collects in low spots (tent floors, cooler wells, the bottom of your RV) and becomes a fire or explosion risk.
How to catch a leak early: Before you light any burner, do a leak test. You don’t need a special tool. Mix a 50/50 solution of dish soap and water, apply it to every connection with a small brush or spray bottle, and watch for bubbles.
What happens next depends on what you see:
- No bubbles – The system is sealed. Proceed.
- Tiny bubbles that stay and grow – Shut off the tank, tighten the connection slightly, and retest. If bubbles persist, the O-ring or gasket is damaged; do not use that connection. Replace the part or the entire hose assembly. Do not apply tape or extra sealant to propane threads—flare fittings seal on the cone, not the threads.
- A common failure that slips through – The valve itself can feel normal but stay partially open if debris or corrosion blocks the internal spring. Symptom: you close the handwheel but still hear a faint hiss or smell gas. Close the valve firmly, mark the tank as defective, and take it to a propane supplier for replacement. Never try to disassemble a tank valve.

Full success check: After tightening or replacing the faulty part, run the soap test one more time. No bubbles at any connection point means the fix worked. You are safe to operate.
Pre-Trip Safety Checklist
Use this quick scan before you load the car or hook up at a campsite. Each item is pass/fail.
- [ ] Tank date check – The last requalification date (stamped on the collar) must be within the last 5 years for a refillable tank. Disposable 1-lb cylinders have no date; discard them if dented, rusted, or the valve feels sticky.

- [ ] Visual inspection – Look for dents, rust, bulges, or cracks on the tank body or valve. If any damage exists, do not use the tank.
- [ ] Connection test – Tighten the tank valve handwheel finger-tight. Then perform the soap-and-water leak test on every coupling (tank-to-regulator, regulator-to-hose, hose-to-appliance).
- [ ] Transport position – Tank must ride fully upright and secured so it cannot tip over. Never lay a 20-lb tank on its side during transport.
- [ ] Ventilation – Propane appliances must only be used outdoors or in areas that meet RVIA codes for propane appliances. Never run a propane stove or heater inside a tent, vehicle, or closed shelter.
How to Test for a Leak (Step by Step)
Do this every time you connect a new tank or appliance, and any time you suspect a problem.
- Shut off all burners – Turn each appliance control to “off.”
- Close the tank valve – Turn the star-shaped handwheel completely clockwise.
- Open the tank valve briefly – Open it just enough to pressurize the line, then close it again. This gives a working pressure without flooding the system.
- Apply soapy solution – Use a spray bottle or a sponge at every connection point: the tank outlet, the regulator inlet and outlet, each hose fitting, and the appliance connection.
- Look for bubbles – Steady or growing bubbles mean a leak. Small pin-sized bubbles that appear and stay are a clear fail. A single bubble that then stops often means a normal O-ring seating; watch it for 10 seconds.
- If you find bubbles – Tighten the connection slightly and retest. If bubbles persist, replace the hose or gasket. Do not use tape or extra sealant on propane threads.
- Final confirmation – After tightening or replacing, run the test again. No bubbles = safe to operate.
Stop and escalate when: You cannot stop the leak by tightening or replacing the damaged part. If bubbles still appear after a fresh component swap, close the tank valve completely, label the tank “LEAK – do not use,” and take it to a propane supplier or exchange kiosk. Never try to patch a tank valve or body.
How to Transport Propane Tanks Safely
Most campers carry a standard 20-lb grill-style tank or several 1-lb cylinders. The rules are the same for both.
| Do | Don’t |
|---|---|
| Keep the tank upright and secured with a strap or in a milk crate so it can’t roll or tip. | Lay a 20-lb tank on its side – the liquid propane can enter the regulator and cause a flame flare. |
| Transport 1-lb cylinders in a sealed, upright container (like a heavy-duty grocery bag or plastic bin). | Leave loose cylinders in a trunk or cargo area where they can bang against metal tools. |
| Store tanks in a well-ventilated area of the vehicle (e.g., an open truck bed or an SUV with the rear window cracked). | Put tanks in the passenger compartment or a sealed trunk – propane vapors are heavier than air and will pool. |
|
| Keep the tank valve closed and the protective cap on when not in use. | Drive with the appliance still connected to the tank – even a slow leak can fill the vehicle. |
| Check temperature limits: most propane tanks are rated to 120°F. On a hot day, keep them out of direct sun inside a reflective cover or under shade. | Leave a tank in a closed car parked in direct sun on a 90+ °F day – internal pressure can climb and the relief valve may vent. |
If You Smell Gas: Emergency Steps
If you catch a whiff of propane’s rotten-egg odorant, act immediately. Do not stop to investigate.
- Extinguish all flames and open flames – Shut down stoves, lanterns, campfires, and any pilot lights.
- Close the tank valve – Turn it clockwise to stop the source. If the valve is hard to reach, leave the area first.
- Evacuate everyone – Move at least 50 feet upwind from the tank or appliance. Avoid using anything that could create a spark: don’t flip light switches, start a vehicle, or use a cell phone near the source.
- Let the area air out – Propane dissipates quickly in open air. Wait at least 15 minutes after the smell fades before re-entering.
- If the leak is inside a tent or RV – Propane is heavier than air and will settle in low spots. Do not crouch down to look; leave immediately. Keep the structure open and ventilated for 20+ minutes.
- If you can’t stop the leak or the smell persists – Call 911 or the fire department from a safe distance. Do not try to move a leaking tank unless it is actively on fire (and only then if you have a clear path and training).
When is it safe again? After the leak source is fixed (tightened or replaced) and the area has aired out, re-apply the soapy-water test. If it passes, you can relight. If you have any doubt, leave the tank closed and get a replacement.
Quick Answers
Can I refill a disposable 1-lb propane cylinder?
No. Refilling single-use cylinders is illegal and dangerous – the thin wall can rupture under repeated pressure cycles. Use only DOT-rated refillable tanks for refilling.
How often should I replace the propane hose on my camping stove or grill?
Replace the hose if it feels stiff, cracked, or has any abrasion damage. As a general rule, replace a rubber hose every 2–3 years, or immediately after any contact with grease or oil, which degrades rubber.
Is it safe to store a propane tank in my garage or shed?
Yes, as long as the tank is stored upright, valve closed, away from heat sources and ignition sources such as a water heater pilot light or furnace burner. Do not store full tanks inside a residence or attached garage – a detached shed or outdoor locker is best.

Camping Bob has spent over 20 years camping across the US — from BLM dispersed sites in the Southwest to KOA campgrounds in the Pacific Northwest. He writes practical, no-nonsense guides to help fellow campers get outdoors with confidence.