
Camping Without Electricity: What You Need and How to Prepare
If you’re heading to a campsite with no hookups, here’s the short answer: you can camp comfortably without electricity by focusing on four areas—light, food storage, device charging, and temperature control. The next useful action is to test your gear at home before you leave. Run a one-night simulation using only your planned lanterns, cooler, and power bank. That single test will reveal weak points you can fix before you’re in the woods.
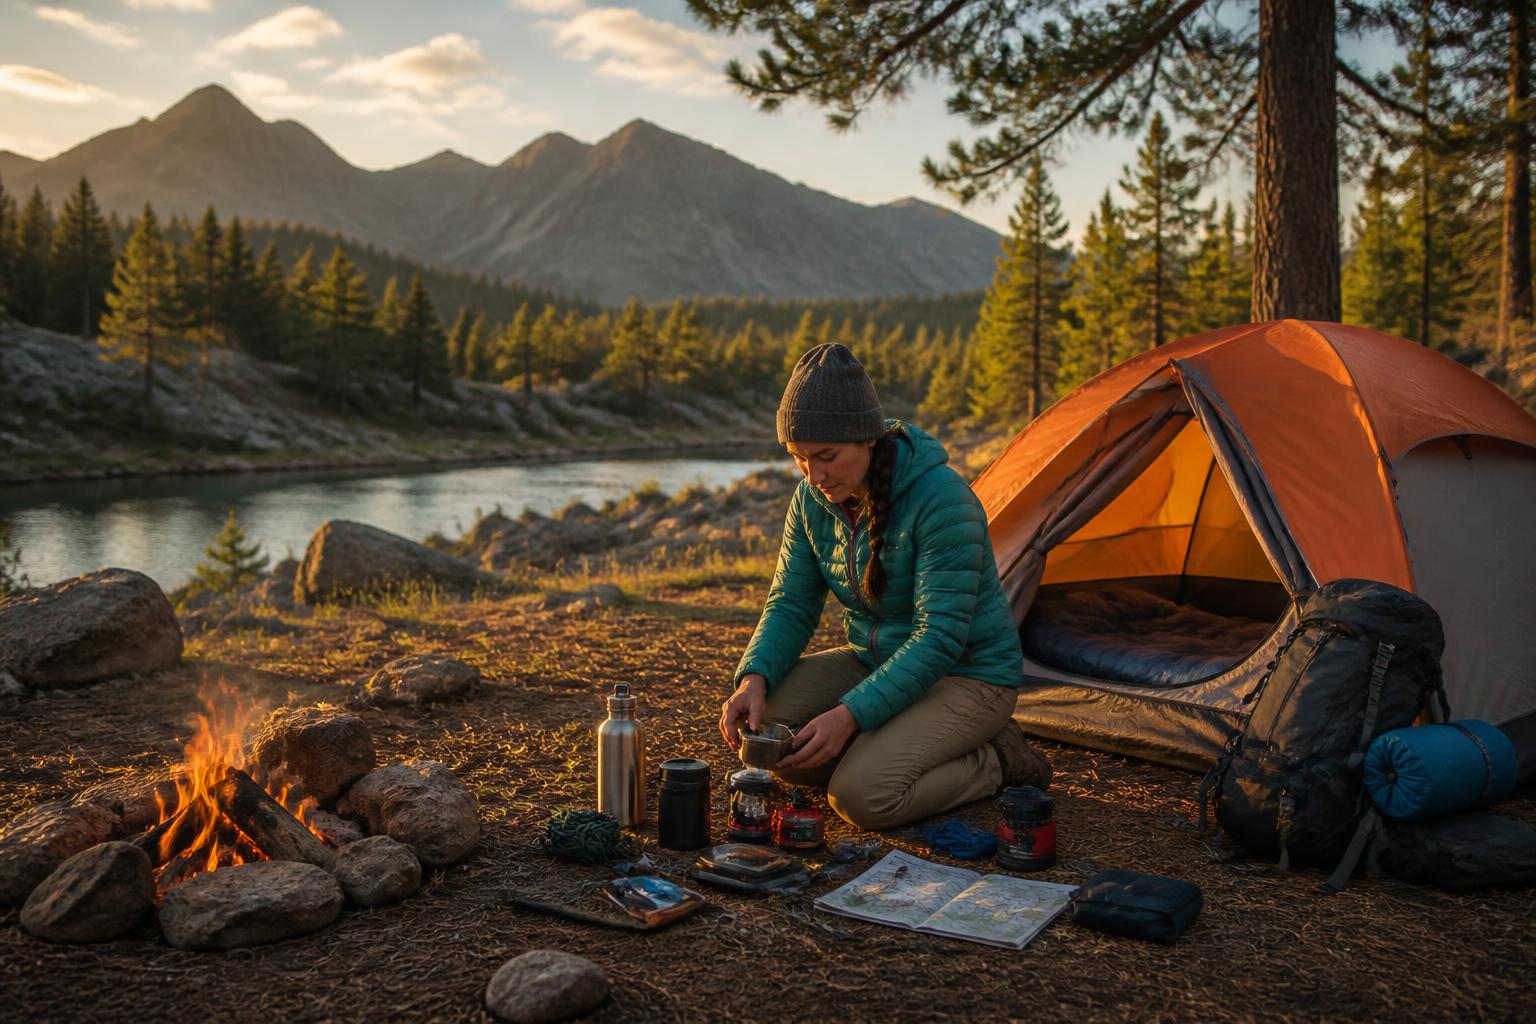
Your Pre-Trip Preparation in 3 Actionable Steps
This process moves you from planning to packing with built-in checkpoints and a branch for when your test fails.
Step 1: List Every Electrical Need and Find a Non-Electric Substitute
Write down every electrical device you use on a typical day at home. Then pick a substitute for each.
Lighting – Bring at least two independent light sources per person—for example, one headlamp and one small USB lantern. LED lanterns with dimmable red-light modes (200+ lumens) work well. Avoid relying on a single flashlight.
Food storage – A quality rotomolded cooler (like Yeti or RTIC) with block ice can hold safe temperatures for 3–4 days if managed correctly. For longer trips, plan a menu of shelf-stable items: canned beans, tortillas, peanut butter, dried fruit, and freeze-dried meals.
Charging devices – A 20,000 mAh power bank fully charges a smartphone 3–4 times—enough for a weekend. For longer trips, bring two banks or a folding solar panel (10–20 watts). Solar is slow; plan to leave it in direct sun all day.
Comfort – A sleeping bag rated 20°F below the expected overnight low plus a sleeping pad with R-value 4+ (to insulate from ground loss) eliminates the need for a heater. Layer clothing instead.
Checkpoint after Step 1: If you can’t find a substitute for a critical device (e.g., a CPAP machine), add a portable power station (like Jackery or Goal Zero) to your list. Otherwise, proceed.
Step 2: Test Your Gear at Home (The Verification Step)
At least three days before your trip, simulate one night using only your camping gear.
- Set up your tent in the backyard or living room.
- Use only your planned lanterns and headlamps after dark.
- Pack your cooler with ice as you intend to, and check the temperature 12 hours later with a cheap refrigerator thermometer.
- Charge your power bank fully, then use it to charge your phone until it stops.
Branch: If the cooler temperature reads above 40°F after 12 hours, your ice strategy isn’t working. Branch to this fix: pre-chill the cooler for 24 hours with a bag of ice before loading food, switch to block ice instead of cubes, or use a two-cooler system (one for drinks opened often, one for food opened rarely). Re-test until the cooler holds below 40°F for 24 hours. If your power bank runs out before you’ve charged your phone once, your device’s battery may be old or you need a larger capacity bank. Replace or supplement.
Step 3: Pack Using the Decision Aid Below
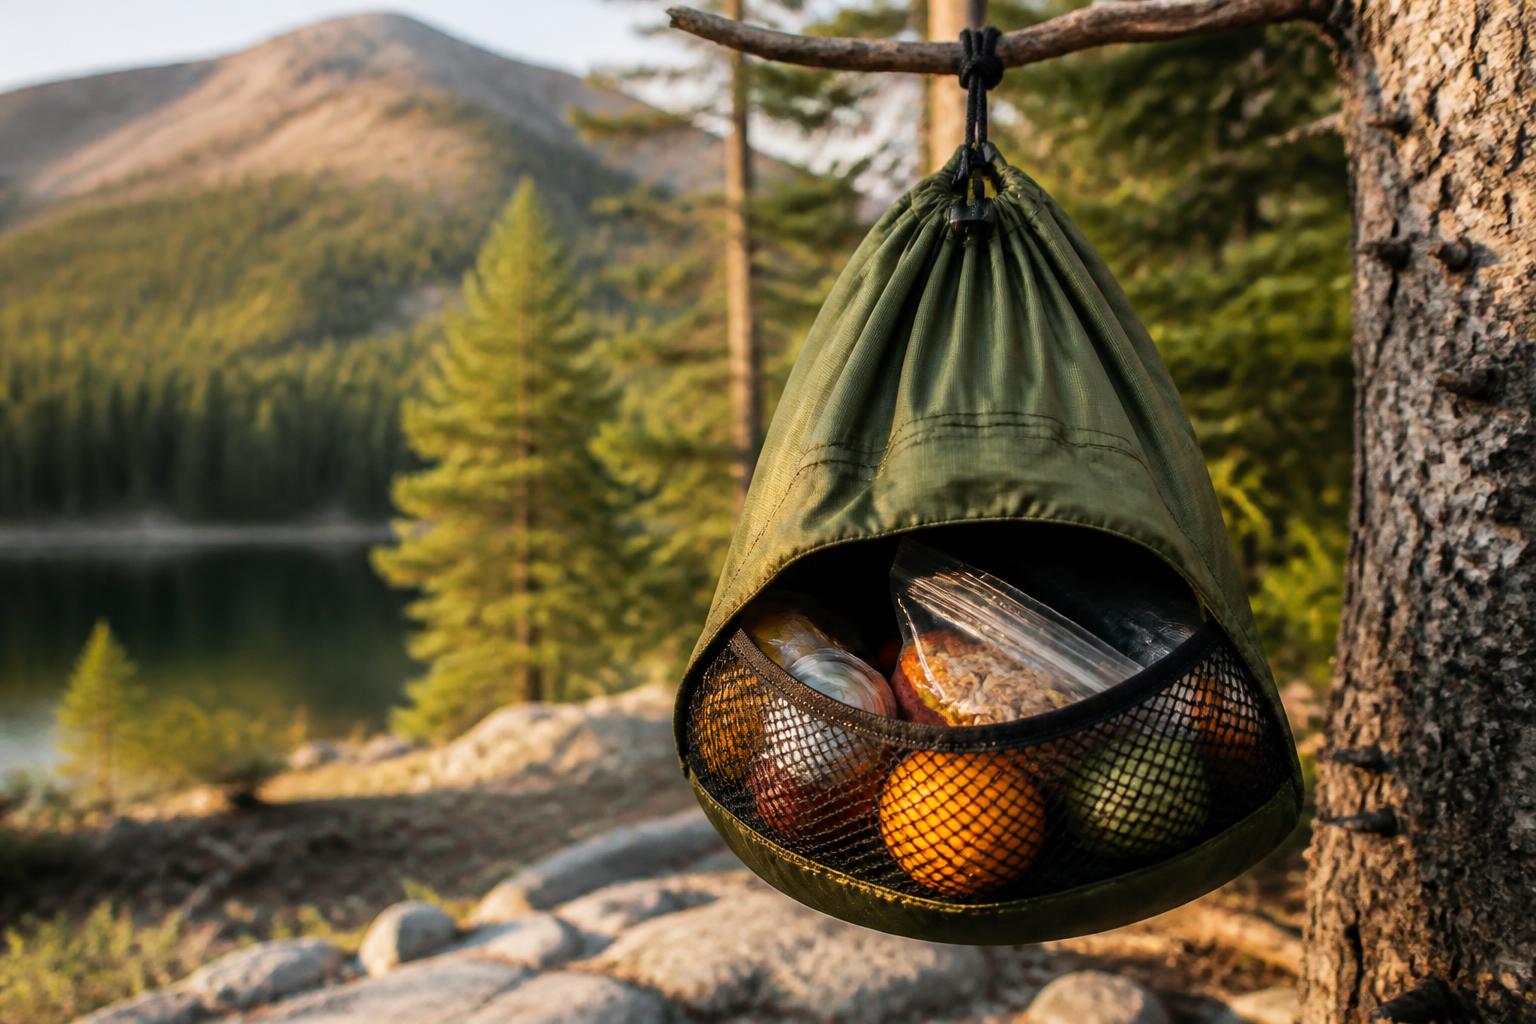
Use the checklist as your final packing confirmation. If any item is a “no,” adjust before you load the car.
Keeping Food Safe Without a Refrigerator
The most common failure is losing cold storage mid-trip. Here’s how to detect it early and what to do.
Early detection checkpoint: On day two, open the cooler and check the ice. If it has turned to slush and the water feels room temperature, your food is at risk. Insert a refrigerator thermometer. If it reads above 40°F for more than two cumulative hours, discard any perishables (meat, dairy, cooked leftovers) immediately. Do not rely on smell.
What to do instead to prevent this:
- Pre-chill your cooler for 12 hours before packing. Fill it with ice packs or a bag of ice, then remove them right before loading food.
- Use a two-cooler system: one for drinks (opened frequently) and one for food (opened rarely). Put a block of dry ice (wrapped in newspaper) under regular ice in the food cooler for trips longer than 3 days. Handle dry ice with gloves and never seal the cooler airtight.
- Freeze as much food as possible—frozen meat, water bottles, and cheese serve as extra cold packs while thawing over the first two days.
- Plan your menu so that perishables are eaten on night one. After that, rely on shelf-stable items.
Stop/escalate threshold: If the cooler has been above 40°F for more than two hours, do not try to “re-chill” the food. Discard it. The risk of foodborne illness is not worth it. For future trips, upgrade to a better cooler or bring more ice.
What to Do When Things Go Wrong: Two Common Failure Modes
Power Bank Dies Before the Trip Ends
Branch after early check: On the first evening, note your power bank’s remaining charge. If it’s below 50% before bedtime, you are on track to run out. Next actions:
– Put your phone in airplane mode and disable all background apps. A fully charged phone in airplane mode can last 2–3 days.
– Use your car’s 12V outlet to recharge the power bank (start the engine to avoid draining the car battery).
– If you have a solar panel, set it in direct sun first thing in the morning.
Primary Light Source Fails
Stop/escalate threshold: If your only headlamp or lantern dies and you have no backup, do not wander in the dark. Stop where you are. Turn on your car’s dome lights or use a campfire (if already lit) as temporary light. Use a crank charger or wind-up flashlight if you have one. After the trip, always carry a third light source, such as a cheap LED glow stick.
Lighting and Cooking: Quick Options Beyond the Campfire
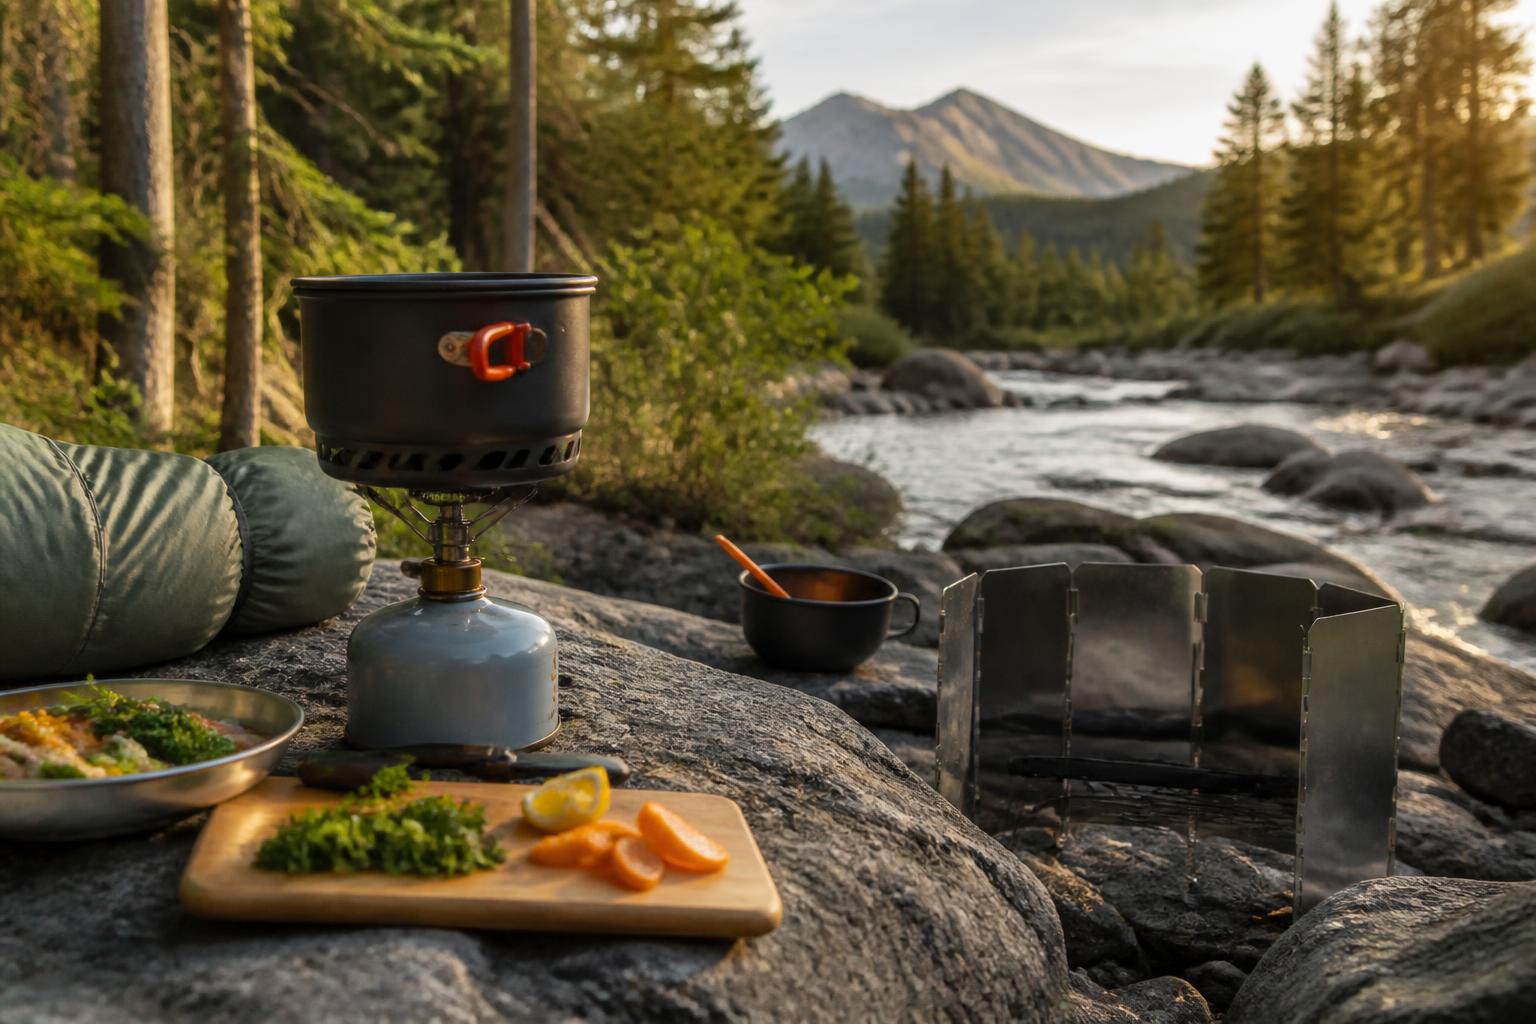
LED lanterns – Rechargeable or battery-powered. Dimmable and red-light modes save power and reduce bugs. Propane lanterns – Very bright (1000+ lumens) but produce heat and need mantles. Good for large group sites. Cooking – A portable two-burner propane stove (Coleman-type) is the most versatile. For backpacking, a canister stove (MSR PocketRocket) works. For campfire cooking, use a grill grate. To split firewood efficiently, consider a lightweight chopping axe like the INTERTOOL 24-Inch Chopping Axe and keep it sharp with a DDF IohEF Axe/Hatchet Sharpening Stone. Never cook inside a tent.
Pre-Trip Decision Aid: Are You Ready to Go Without Electricity?
Every item below must be a “yes” before you leave.
- [ ] I have at least two independent light sources per person (headlamp + lantern).
- [ ] My cooler can keep ice below 40°F for the full trip length (verified by home test).
- [ ] I have a backup power source for critical devices (power bank, car charger, or solar).
- [ ] My sleeping bag is rated for the expected low temperature and my pad has R-value 4+.
- [ ] I have a paper map and compass (or offline GPS) in case my phone dies.
- [ ] I told someone my trip plan and expected return time.
FAQ
Can I use a portable power station instead of a generator?
Yes. Portable power stations (Jackery, Goal Zero) are silent and emission-free. They can charge phones, run a CPAP, or power a small fan. They won’t run high-draw appliances like a hair dryer or electric heater. They recharge from solar panels or your car.
How can I keep my phone usable without charging?
Put it in airplane mode, lower screen brightness, close apps, and disable mobile data. A fully charged phone in airplane mode can last 2–3 days. Download offline maps and music before you go.
What’s the best way to cook without electricity?
A portable propane stove (Coleman two-burner) is the most flexible. For longer trips, a campfire with a grill grate works. For backpacking, a lightweight canister stove (MSR PocketRocket) is best. Always cook outside.
Camping without electricity is about planning ahead and testing your setup before you go. Start with a short overnight trip using only battery-powered gear, then build up to longer stays. Each trip will teach you what you actually need—and what you can confidently leave at home.

Camping Bob has spent over 20 years camping across the US — from BLM dispersed sites in the Southwest to KOA campgrounds in the Pacific Northwest. He writes practical, no-nonsense guides to help fellow campers get outdoors with confidence.