Getting Started with Camping: The Ultimate Beginner Guide
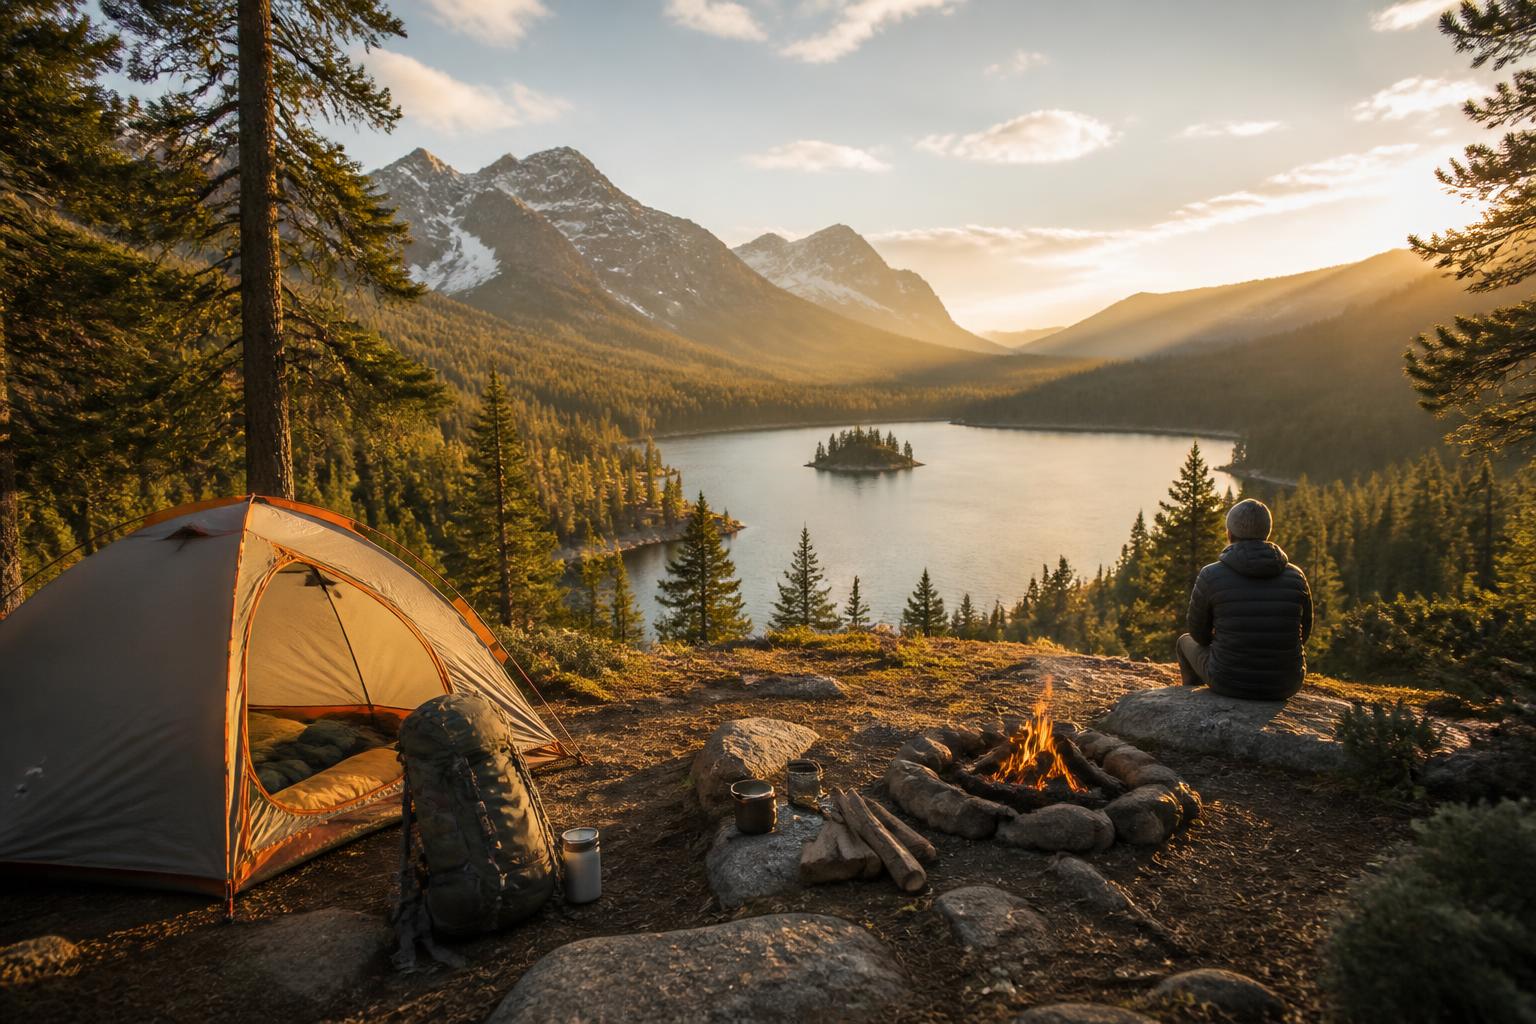
If you’re new to camping, book a car-camping site at a developed campground with a designated tent pad, fire ring, and nearby restrooms. Focus on three basics: a dry place to sleep, enough warmth for the night, and food you can heat or eat cold. Everything else is optional for your first trip.
Here’s what most guides skip: you don’t need to buy a full gear set before your first trip. Borrow a tent from a friend, rent a sleeping bag from an outdoor store, and use pillows and blankets from home. The real test is discovering what you actually miss, not what you think you need.
Pick a Shelter That Can Take a Few Seasons
Car camping lets you carry heavier, more durable gear than backpacking. For a tent, look for models with 60 denier fabric or above – that’s the standard for lasting several seasons without tearing. A three-person tent gives a comfortable two-person space with room for gear. Skip ultralight backpacking tents unless you plan to hike in; they’re more fragile and cost more for less room.

For sleeping, a closed-cell foam pad or a self-inflating pad is cheaper and more reliable than a thick air mattress. Air mattresses lose heat through the ground and can deflate mid-night. A sleeping bag rated 15–20°F below the expected overnight low will keep you warm – you can always unzip if it’s too hot.
Pre-Trip Readiness Check
Run through these five checks before you leave. Each is pass/fail – if any fails, fix it before you go.
- Reservation confirmed? Many state and national park campgrounds book weeks ahead, especially on weekends. First-come, first-served sites often fill by Friday noon.
- Weather forecast checked? Know the low temperature and chance of rain. Pack for 20°F colder than the forecast low – that accounts for wind chill and temperature drops overnight.
- Tent pitched at home once? Set it up in the backyard or living room. Verify all poles, stakes, and the rainfly are present. Test the zippers. You don’t want to discover a missing part at dusk.
- Clothing packed for layering? Bring a base layer (synthetic or wool), a fleece or mid-layer, a waterproof jacket, and a hat. Avoid cotton – it stays wet and cold. A pair of dry socks and a dry sleeping-only set of clothes make a big difference.
- Emergency kit within reach? Pack a flashlight with fresh batteries, a whistle, a backup phone charger, and a basic first-aid kit. For longer trips or remote sites, a Survival Kit, 250Pcs Survival Gear First Aid Kit covers most emergencies in one bag. Keep it in the car, not deep inside a duffel.
Plan Your First Camping Trip
Step 1: Choose a Campground
Pick a developed campground within a two-hour drive of home. Look for amenities like flush toilets, potable water spigots, and picnic tables – these eliminate most early hassles. National forest and state park campgrounds are beginner-friendly. Avoid remote dispersed camping until you’ve spent at least one night in a managed site.
Step 2: Reserve Your Site
Use Recreation.gov for federal campgrounds or your state’s park reservation system. Book at least two weeks ahead for weekend stays. If you’re flexible, check midweek – Thursday arrival often means empty sites and your pick of the best spots.
Step 3: Gather and Test Gear
- Tent: pitch it in the yard. Check the rainfly fits snugly and doesn’t touch the inner mesh (wet mesh equals condensation inside). Count stakes.
- Sleeping pad and bag: inflate the pad and let it sit for an hour to confirm no slow leak. Lay out the bag and fluff it.
- Camp stove: light it at home with the fuel canister you’ll bring. If it sputters or won’t light, you’ll know before you’re hungry.
Early verification checkpoint: After one hour, the sleeping pad should feel as firm as when you first inflated it. If it has softened noticeably, you have a slow leak. Run a damp sponge over the surface – bubbles will pinpoint the hole. Mark it with tape and patch it with the supplied repair kit. If you don’t have a patch kit and the leak is too large for tape, that gear is not trip-ready.
What to do if the pad fails: A pad that loses air in ten minutes is unusable. Your alternative is to buy a new pad, borrow one from a friend, or use a closed-cell foam pad (which never leaks). If you can’t get a working pad within 24 hours of your trip, postpone – sleeping on cold ground ruins the experience and can be unsafe below 40°F.
Stop/escalate threshold for tent damage: If a tent pole is cracked or a main seam is torn longer than 2 inches, do not take that tent camping. Patching a small tear with repair tape might work for the trip, but a cracked pole will snap under tension. Rent a tent from an outdoor store or borrow another. If you find the damage the night before departure, call the campground to see if they have rental cabins available instead.
Step 4: Pack Strategically
- Heavy items (cooler, water jug, tent) go inside the car, low and centered.
- Keep rain gear, a flashlight, and a jacket in the passenger compartment – you may need them before you unload.
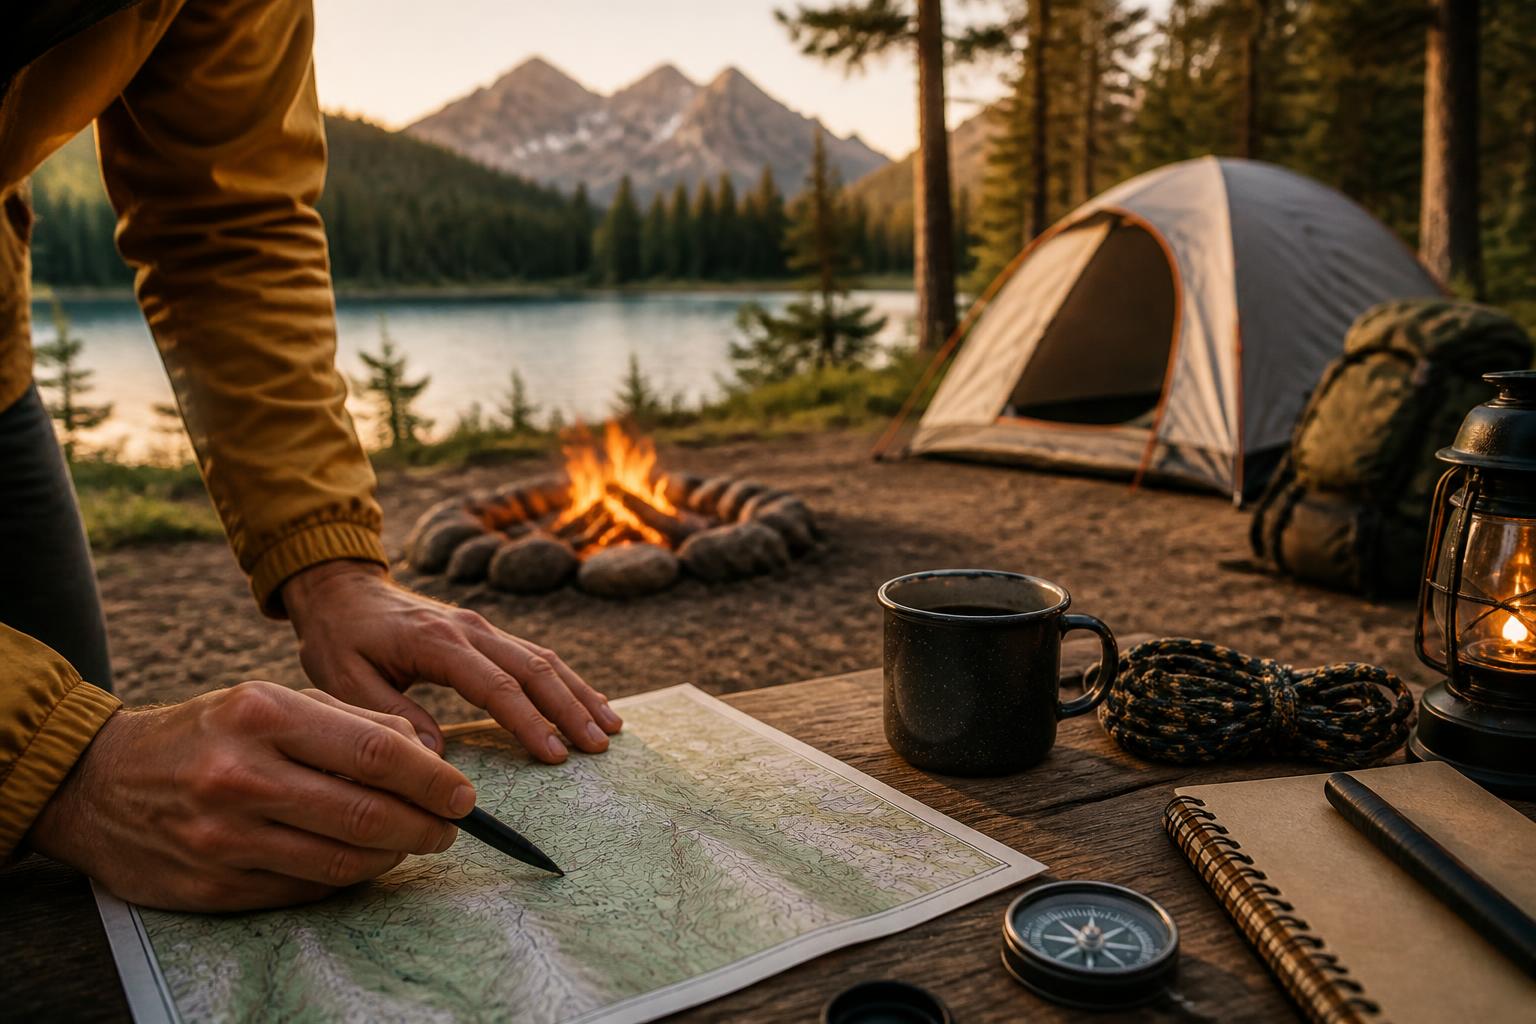
- Download offline maps of the area. Cell service fades within a mile of many campgrounds.
Step 5: Arrive Early
Aim to arrive no later than 3–4 p.m., at least two hours before sunset. That gives you daylight to pick a flat tent spot, set up camp, and cook dinner without rushing. If you arrive after dark, you’ll struggle to pitch a tent and may miss the camp office for check-in.
Step 6: Set Up Camp
- Pitch the tent first on level, clear ground. Orient the door away from prevailing wind if you can.
- Unload the rest – cooler, stove, chairs, and bags.
- Start a fire only after camp is settled. Check fire restrictions ahead of time; during dry seasons many campgrounds ban open flames. If fires aren’t allowed, a camp stove is more reliable for cooking anyway.
- Walk the perimeter and stash all food, trash, and scented items (toothpaste, soap) inside your car or a bear-proof locker. Never inside the tent.
Likely friction point: You can’t start a fire with damp wood or wet matches. Solution – carry a disposable lighter and a small fire starter block. A camp stove is safer and faster for cooking when the fire won’t cooperate.
Escalation signal: If weather turns dangerous (lightning within 5 miles, flash flood warning, sustained winds over 30 mph) or you feel seriously unsafe for any reason, pack up and drive home. No trip is worth ignoring your instincts.
Handle the Most Common First-Trip Problems
Rain: Set up the rainfly before the storm. Keep dry clothes in a plastic bag inside your tent. Cook under a tarp if you have one.
Cold nights: Eat a warm meal before bed, wear a hat to sleep, and make sure you have an insulating pad underneath you. A sleeping bag rated for colder temps than expected is your best insurance.
Forgotten gear: Check the campground host or neighboring campers – campers are famously willing to loan a spare canister of fuel, a lighter, or an extra pad.
Staying informed in remote areas: A Hand Crank Emergency Radio with NOAA Weather Alerts keeps you aware of sudden storms, even when cell service is gone.
Making camp more comfortable: The ReferenceReady Outdoor Knots Pocket Guide teaches practical knots for securing a rain tarp or tying guy lines – a small skill that solves a recurring problem.
Frequently Asked Questions
What if I don’t have a tent? Can I sleep in my car?
Yes, many developed campgrounds allow sleeping in vehicles. Crack two windows for ventilation and use a sleeping bag or blankets. A minivan or SUV with the back seats folded works well.
How do I keep food safe from animals?
Store all food, trash, and any scented items (toiletries, cooking utensils) in a hard-sided vehicle with windows closed, or in a bear-proof locker if the site provides one. Never store food inside your tent.
Can I camp if I don’t know how to start a fire?
Yes. A camp stove is more reliable for cooking and doesn’t require fire-starting skill. Many campgrounds restrict fires during dry seasons anyway. A stove runs on a small propane canister and heats water or food in minutes.
What’s the minimum gear I really need?
A tent, a sleeping pad, a sleeping bag or blankets, a way to make hot food (camp stove or no-cook meals), a flashlight, and a first-aid kit. That’s it for your first trip. Add items only after you identify a real need.
How do I know if a campground is beginner-friendly?
Look for developed or full-service campgrounds with flush toilets, drinking water, and a campground host on site. Read recent reviews on Recreation.gov or the state park website. Avoid primitive or walk-in sites until you have a few trips under your belt.
Camping Bob has spent over 20 years camping across the US — from BLM dispersed sites in the Southwest to KOA campgrounds in the Pacific Northwest. He writes practical, no-nonsense guides to help fellow campers get outdoors with confidence.