RV Hookups Explained: Electric, Water & Sewer Connections
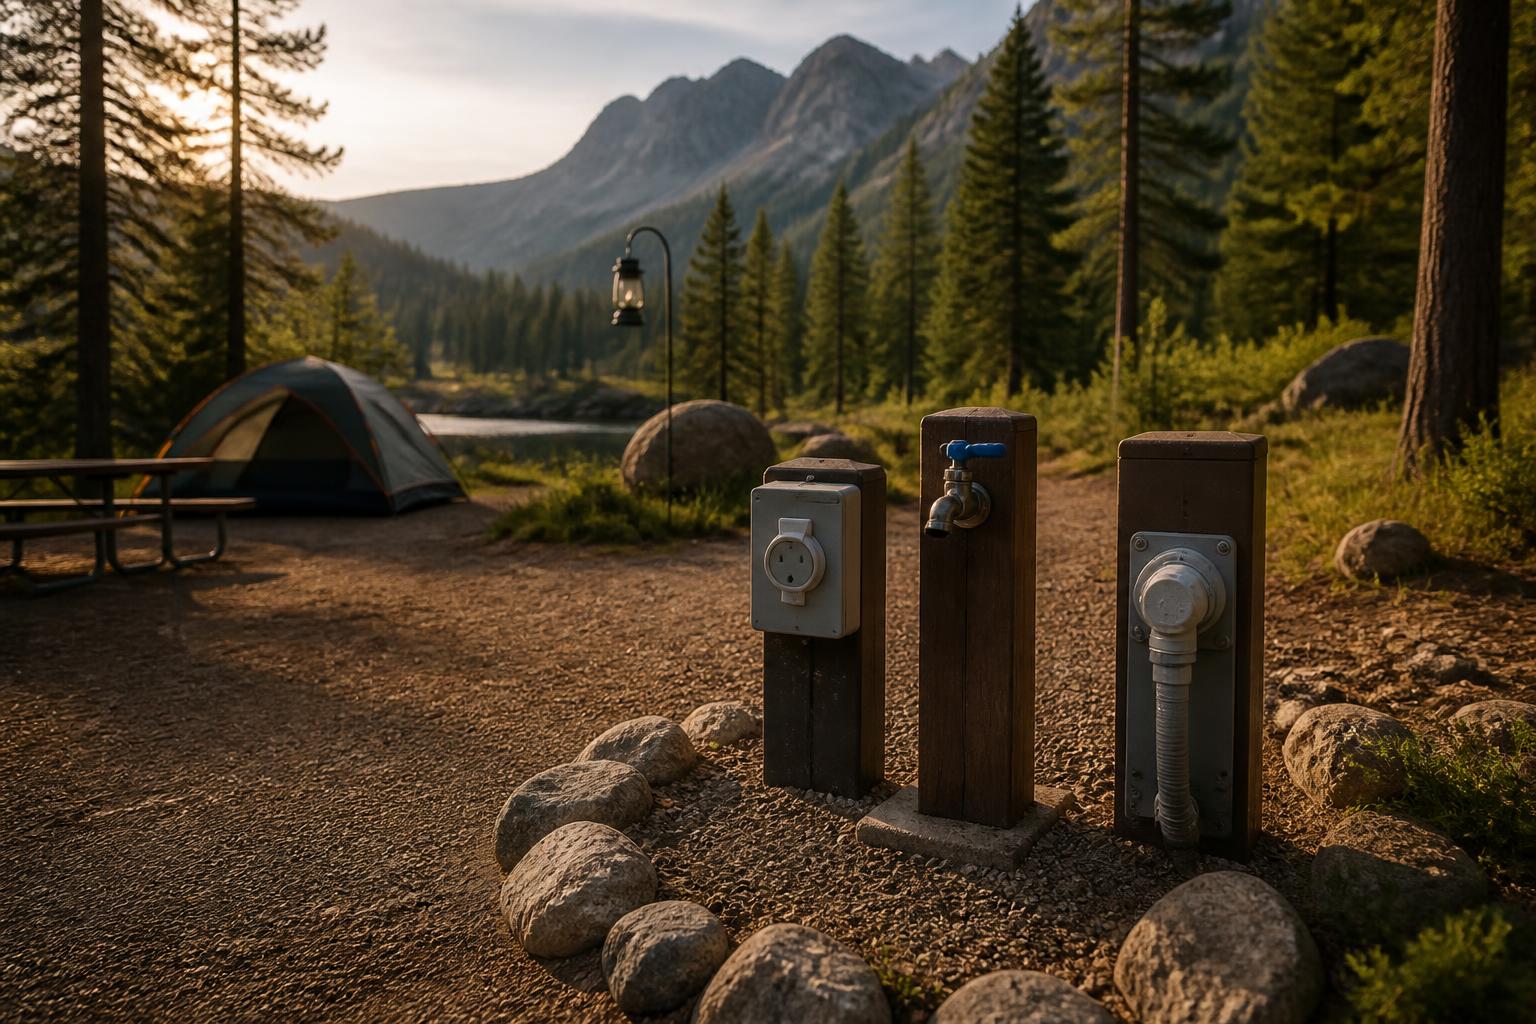
Campground hookups come in three types: 30A or 50A electric, fresh water, and sewer. Connect water first, then electric, then sewer. Reverse the order when leaving. Below we break down each connection, walk through the full procedure, and give practical tips to avoid the most common problems.
Applicability boundary: The instructions that follow assume a standard RV with manual leveling jacks and standard NEMA electric plugs. If your RV has an automatic leveling system, you must level before connecting water – otherwise the system offset can misread sensors and cause a tilt that damages the leveling mechanism. Also, if your RV uses a proprietary power inlet (e.g., some European imports or older motorhomes), verify the plug shape matches the pedestal before plugging in.
The Three Hookups You’ll Find at Campgrounds
Electric: 30A vs. 50A vs. 15A/20A
Most RV pedestals supply either 30‑amp (120V, 3,600 watts) or 50‑amp (240V split‑phase, 12,000 watts). A 30A plug has three prongs; a 50A plug has four. Some sites also offer a standard household 15A or 20A outlet, which limits you to running one major appliance at a time (e.g., A/C or microwave, not both).
- 30A is the most common for travel trailers and smaller motorhomes. It can run one A/C unit plus lights and a refrigerator on electric, but you must manage load carefully.
- 50A is standard on larger Class A and fifth‑wheel RVs. It provides two 120V legs, letting you run two A/Cs, a washer/dryer, and heavy appliances simultaneously.
- Adapter use: You can plug a 30A RV into a 50A pedestal with a simple dogbone adapter — your RV still pulls only 30A. Never plug a 50A RV into a 30A pedestal without a proper adapter and load management; you risk tripping the pedestal breaker or damaging your converter.
Practical implication for your next purchase: If you own a 30A RV but frequently camp at full‑hookup sites with 50A pedestals, you do not need to upgrade your RV. A $15 dogbone adapter lets you use the 50A pedestal safely. However, if you constantly blow the pedestal breaker when running both the A/C and microwave, your RV may actually need a 50A service – or you may need to install a load‑shedding device. Check your RV’s main breaker rating before buying any adapters.
Verification step: After plugging in, read your surge protector’s display. For a 30A pedestal, voltage should be 108–125V. For a 50A pedestal, each leg should read 108–125V. If one leg is significantly lower, the pedestal may be faulty – switch to another site or notify staff.
Critical tip: Always use a surge protector (EMS) between the pedestal and your RV. A 2023 RV Industry Association survey found that power‑related claims are among the top five insurance issues for RV owners. Portable models that display voltage and error codes (e.g., “open neutral” or “reverse polarity”) are worth the $100–$200 investment.
Water: Pressure, Regulators, and Hoses
Fresh water at an RV site typically uses a standard garden‑hose thread, but pressure can range from 40 PSI at a well‑maintained park to over 80 PSI at some municipal connections — enough to burst internal plumbing.
- Always use a pressure regulator set to 40–50 PSI. Inline brass regulators are reliable and cheap.
- Use a dedicated RV drinking‑water hose (white, non‑toxic). Regular garden hoses leach chemicals and impart a plasticky taste.
- If the spigot looks dirty, flush it for 10–15 seconds before attaching your hose.
Verification step for regulator: Attach a pressure gauge to the RV inlet after the regulator. The reading should stay between 40 and 50 PSI when no water is running. If it exceeds 50 PSI, replace the regulator immediately. If it drops below 30 PSI when you open a faucet, the regulator may be clogged or undersized for your RV’s demand.
Trade-off to consider: A cheap plastic regulator ($5–$8) may be inaccurate and can crack in freezing weather. A brass regulator ($15–$20) delivers consistent pressure and can be insulated against frost. If you camp in sub‑freezing temperatures, spend the extra $10 on brass and wrap it with foam pipe insulation.
Evidence: The same RVIA survey shows water damage as the second most common insurance claim among RV owners, with high pressure a leading cause of blown fittings and cracked water‑heater bypass valves.
Sewer: Dumping Without the Mess
The sewer hookup is a 3‑inch waste connection. The key principle: keep the valve closed until you leave, or until the black tank is near full.
- Hose setup: Use a dedicated RV sewer hose with swivel fittings at both ends. Support it with a hose ramp to prevent sagging and pooling.
- Never leave the black tank valve open while camped. Liquids drain, but solids dry and form a pyramid that clogs the tank. Only open the valve when dumping.
- Flush method: After emptying the black tank, close its valve, open the gray tank valve to rinse the hose, then close everything. Add a few gallons of water and tank treatment to the black tank before your next trip.
Failure-mode detail: If the black tank valve is left open for days, the solid pyramid that forms can block the tank level sensors, causing false “full” or “empty” readings. Over time, the pyramid may harden to the point where a flush wand or professional service is needed to break it up. The same risk applies if you dump too infrequently; the solids dry out and stick. The rule: only open the valve when dumping, and always flush with plenty of water.
Trade-off on hose materials: A collapsible hose ($10–$15) stores flat and weighs less, but it can rupture under the weight of standing waste and does not rinse as cleanly. A heavy‑duty reinforced hose ($25–$35) lasts years and is less likely to spring a leak. If you plan to dump every few days, the reinforced hose pays for itself in avoided mess.
Common mistake: Using a collapsing hose or one with thin walls. Buy a heavy‑duty, reinforced hose (20–25 ft) and store it in a sealed tube.
Step-by-Step Hookup Procedure (Safe Order)
Follow this sequence every time. It minimizes water hammer, electrical damage, and sewer contamination.
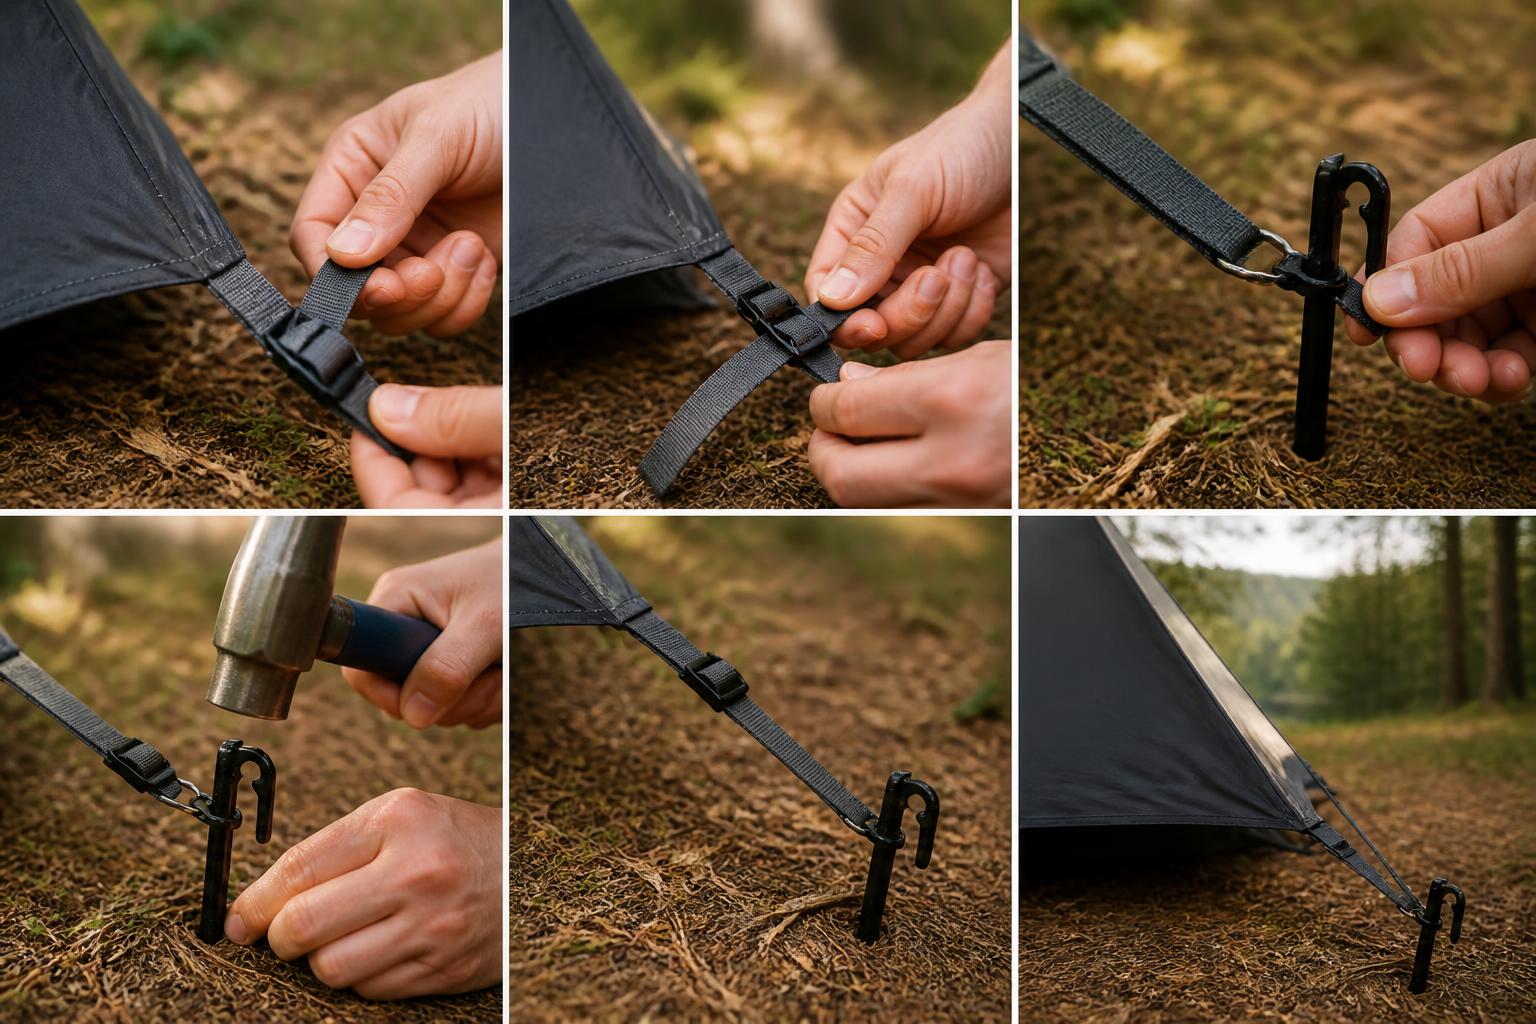
- Level your RV before any hookups – an uneven camper can damage appliances and make water connections leak.
- Connect the fresh water hose to the spigot (with regulator) then to your RV. Turn on the water slowly and check for leaks.
- Plug in the electrical cord – first to the pedestal (with surge protector between plug and cord), then to your RV. Switch your main breaker on last.
- Connect the sewer hose only when you are ready to dump (usually at departure). Cap the campground pipe until then. If staying multiple nights, keep the sewer hose attached but both ends capped — do not open the black tank valve.
Checkpoints during hookup:
– After turning on water, listen for hissing and check all connections with a dry paper towel.
– On electric, verify the pedestal shows proper voltage (108–125V for 30A, 108–125V per leg for 50A) using your surge protector’s display or a multimeter.
– If you smell sewage, check hose connections and caps immediately.
Escalation signals:
– Tripping pedestal breaker repeatedly: You may be overloading or the pedestal may be faulty. Turn off appliances one by one. If it still trips, switch sites or call staff.

- Low water flow: The pressure regulator may be clogged or the campground water system has low pressure. Remove the regulator briefly to test flow.
- Sewer smell inside the RV: Check the black tank valve handle position and the toilet foot pedal — the seal may be leaking.
Practical implication for your setup: If you follow this order precisely, you minimize risk of water hammer damaging your plumbing and prevent electrical surges. If you connect electric first, then water, a surge could damage the water heater’s electronic board. Stick to this sequence every time – it’s free insurance against expensive repairs.
Which Hookup Setup Is Right for Your RV?
Not all sites offer all three hookups (some are “partial hookup” with only electric and water). The decision criterion that changes the recommendation is your RV’s electrical demand and tank capacities.
- Small RV (30A, single A/C, 20‑gallon black tank): A site with just electric and water works for a weekend. Use the campground bathhouse for showers, or your gray tank will fill quickly from dishwashing. Full hookup is convenient but not necessary.
- Large RV (50A, two A/Cs, washer/dryer, 50‑gallon black tank): You need a 50A site. A sewer connection becomes essential after 3–4 days to avoid dumping at a station. Prioritize full hookup.
- Boondocking or state park: Many parks offer electric only (15A/20A) and a dump station. Conserve water and manage battery power.
Table: Typical Site Power & What You Can Run
| Pedestal Rating | Max Continuous Watts | Suitable For |
|---|---|---|
| 15A / 20A | 1,800 – 2,400 | Small trailer with no A/C; battery charging only |
| 30A | 3,600 | One A/C, fridge (electric), lights, small appliances |
| 50A | 12,000 | Two A/Cs, microwave, washer/dryer, all appliances |
Expert Tips for Trouble-Free Hookups
1. Use a clear sewer elbow fitting – This transparent connector attaches between your RV outlet and the sewer hose. It lets you see when the black tank runs clear (no solids) and when the gray water finishes rinsing.
– Actionable step: Buy a clear elbow (about $10) and install it every time you connect the sewer hose.
– Common mistake to avoid: Judging tank fullness by sound alone — the clear elbow eliminates guesswork.
2. Install a quarter‑turn valve on your water hose right after the regulator. This lets you shut off water at the hose instead of walking back to the spigot, and you can quickly disconnect without water splashing.
– Actionable step: Add an inline ball valve ($5–$8) between the regulator and the hose.
Camping Bob has spent over 20 years camping across the US — from BLM dispersed sites in the Southwest to KOA campgrounds in the Pacific Northwest. He writes practical, no-nonsense guides to help fellow campers get outdoors with confidence.